 Tutorial + Photos by Christie Sommers
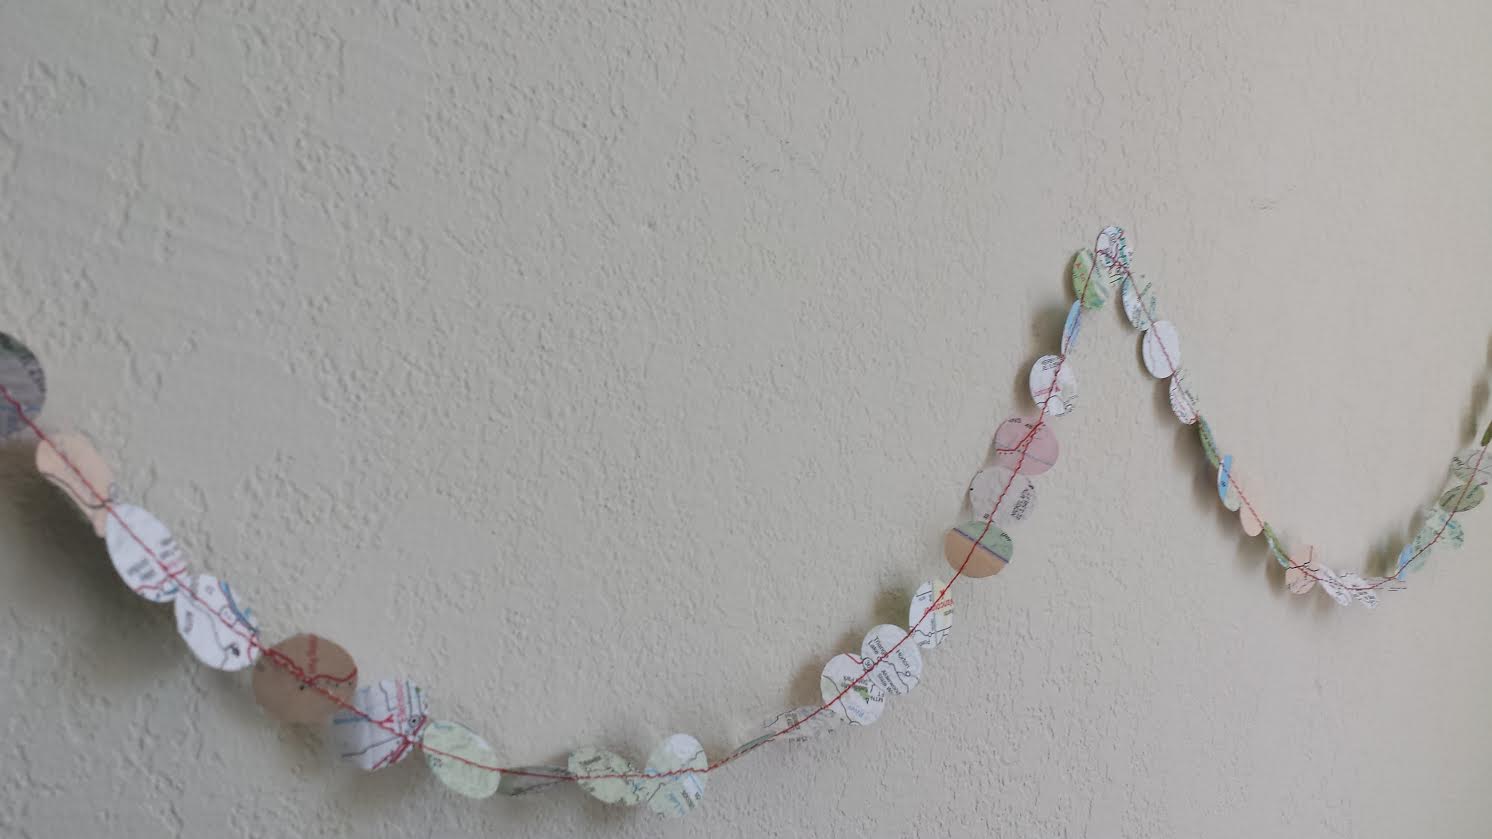
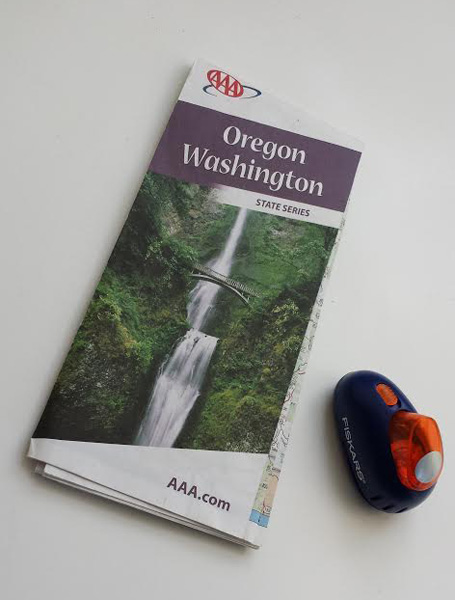
Try this inexpensive and easy tutorial to spruce up your place or decorate for a party. Paper garland is a great way to reuse old travel maps. You can also use colored or decorative paper purchased at your local craft shop.
You will need:
*paper….at least the thickness of printer paper, newspaper may be too thin.
*a sewing machine set to straight stitch, threaded in color of your choice
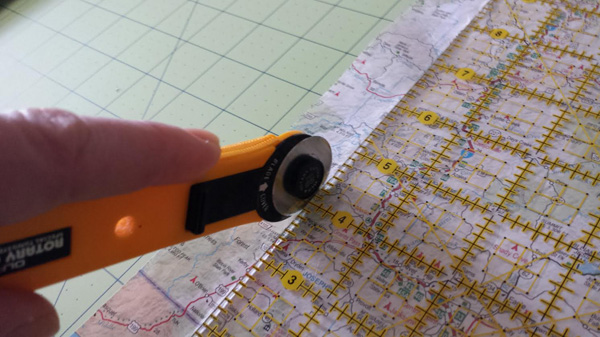
*scissors OR (rotary cutter, straight edge, cutting mat)
*a paper punch (I used a Fiskars 1/2″ paper punch) You can get creative with a vast assortment of paper cutter shapes found at your local craft store in the scrapbook section. Don’t go with anything smaller than 1/2″ because it will be difficult to feed through the sewing machine.
Start by cutting your paper into strips. I cut mine into 1″ strips. Just be sure your strips are larger than your paper punch shape.
Go nuts punching out your shapes.
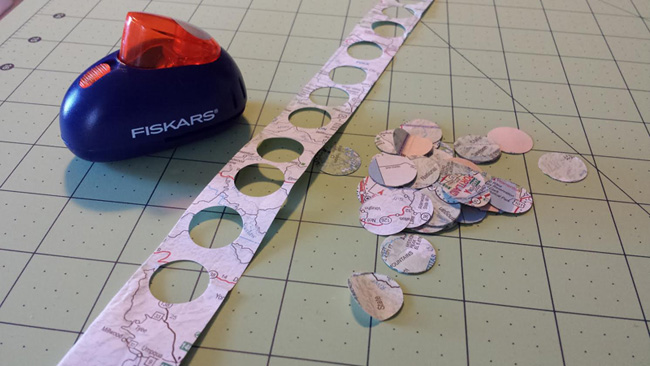
Do a little math to find how many circles you will need to make the length of garland you want. In my case (2) 1/2″ circles equals roughly 1″ of garland.
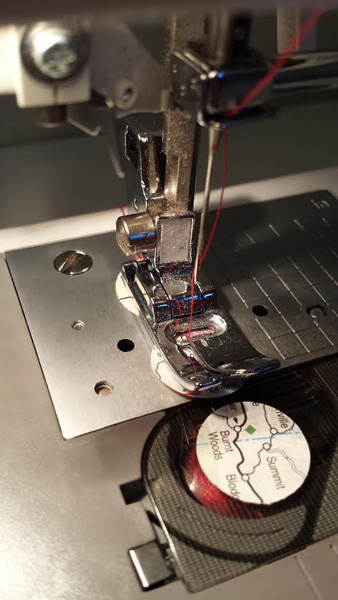
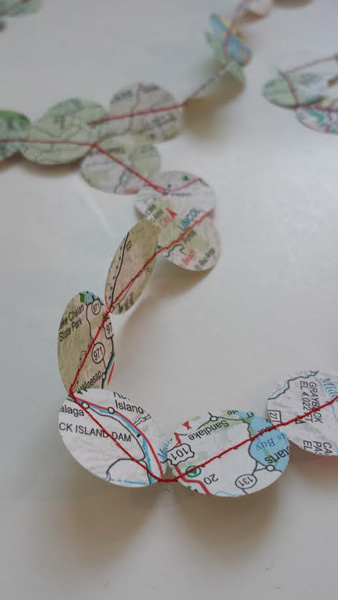
With your sewing machine set to straight stitch & threaded in the color of your choice, begin feeding each circle under the presser foot. The feed dogs will take it from there. Have a pile of circles very close by and place one circle right after the other without overlapping.
Before you know it you will have yards and yards of garland!
To store: you can carefully wrap around a piece of cardboard until you are ready to use..
Enjoy!
——————————————————————————————————————-
Christie Sommers is the designer and maker behind West Oak Design. She handcrafts small batch and one of a kind goods for home, women, and kids in her Wyndmoor, Pa studio. www.westoakdesign.com