 CHECK OUT ALL THE WORK HERE
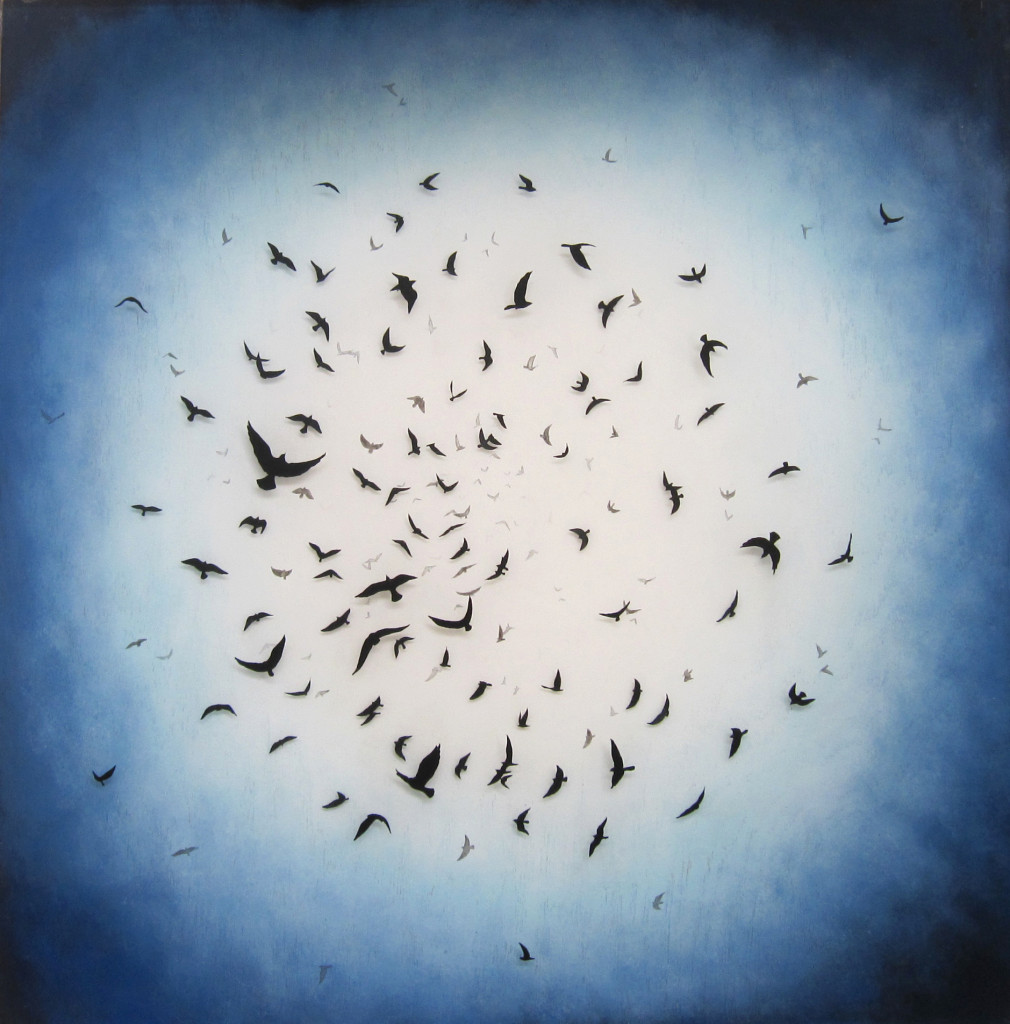
We are so pumped to announce our next exhibition with the incredibly talented Faryn Davis of Fernworks. We have been carrying her line of jewelry at Art Star for years now (you can see it here), but what you might not know is that Faryn also creates dreamy painted landscapes to adorn your walls! I am in complete awe of the 3 dimensional worlds that she creates with her unique technique of layering painted resin.
Her very first solo show at Art Star will features a brand new collection of resin paintings. The show is titled “After the Flood” and will be up from March 19th – May 15th. We will be hosting an opening reception on Saturday, March 19th, from 6-8pm. Come get a first look at the work and share a drink or two with us!
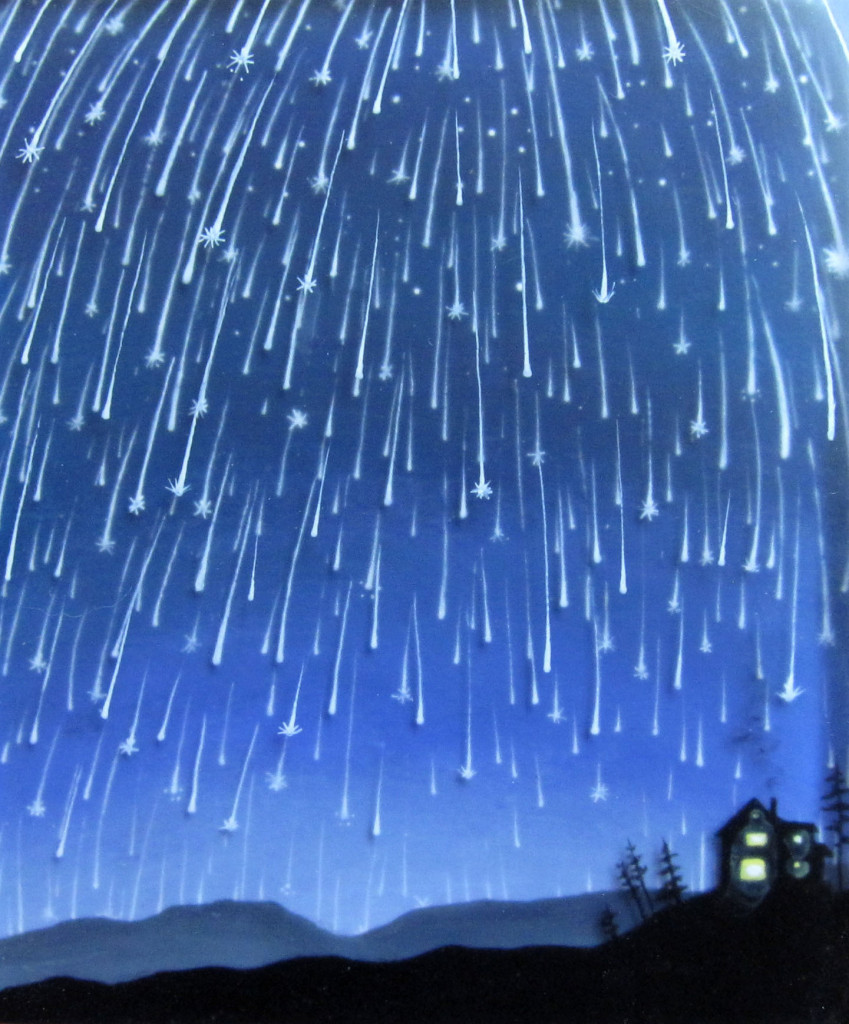
Faryn Davis creates mixed media paintings and a line of jewelry, under the name Fernworks, which combines hand painted scenes and found natural ephemera into layers of polished resin. Each piece is painted with toothpicks and tiny brushes, embedded in multiple layers of resin, then cut and polished into delicate, dreamlike 3-D landscapes populated by plants, birds, bears, foxes and other woodland creatures.
Growing up in Waynesville, N.C, the artist spent many afternoons gathering and collecting items on the family farm. She’d pick up and preserve bird nests, feathers, interesting clumps of dirt, moss, leaves, bones, fur, twigs, bugs, and other tiny things. Her paintings and line of jewelry reflect this lifelong passion and tradition.
Her first solo exhibition at Art Star will include a new body of resin paintings. The artist states, “These new resin paintings reflect a lifelong exploration of the natural world, the land, and how each tiny self finds its place in it all. After the Flood is an allegory of the land and its diverse beings emerging after a metaphorical flood or shift. Many of these pieces quietly reflect restoration and new beginnings; how new land rises to meet us after old things have been washed away.”
Faryn Davis studied at North Carolina School of the Arts, in France, Italy, and Nepal, and received a BFA degree in sculpture at the University of North Carolina at Asheville in 2000. You can find her work in stores and galleries throughout the US and abroad, as well as at various art and craft shows like the Art Star Craft Bazaar in Philly, The Renegade Craft Fairs in Chicago, Brooklyn, Austin, San Francisco and Los Angeles, The Urban Craft Uprising in Seattle, and many others. She now lives in Asheville, NC with her husband Eli and their 6 year old son Milo Gray after an 8 year hiatus in the Pacific Norweast. She creates art full time in a modified 8’x8’ garden hut in her backyard.
Get a sneak peek at her studio and process here
go visit her website here
