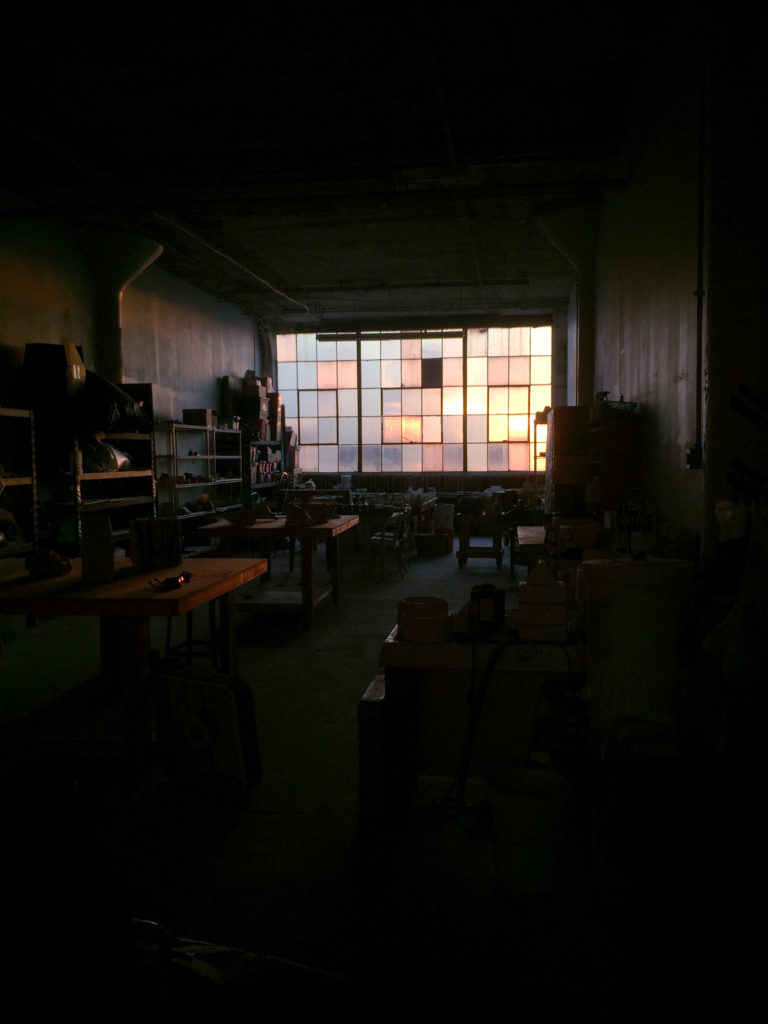
Hi! My name is Lauren and I make functional ceramics under the name Lauren H-B Studio. I grew up in a suburb near Cleveland, Ohio and always loved when my dad took me to the city. I loved visiting the Old Arcade with its beautiful wrought iron architecture and glass ceiling and window-shopping at all the small businesses that called this place home. My love of Cleveland and its architecture grew to include the century-old warehouses and factories that are found all over the city. My studio is housed in one of these old buildings, one that used to make electric cars at the turn of the century.
Clay has always been my go-to material. My mother started a community art center when I was young and I learned to throw on a pottery wheel before I could drive. But I did not always make pots. While I started my college education making functional work, I went to graduate school in Minnesota to study ceramic sculpture (you can see that work at laurenhb.com). I moved back to Cleveland from Minneapolis about four years ago and started making pots to support myself until I could find a full-time job. I discovered a lot of support for my work in my hometown and now I am happily self-employed as an artist, working on both my sculpture and my functional work.
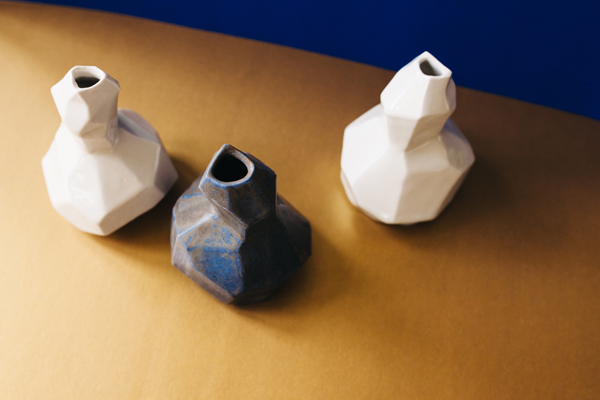
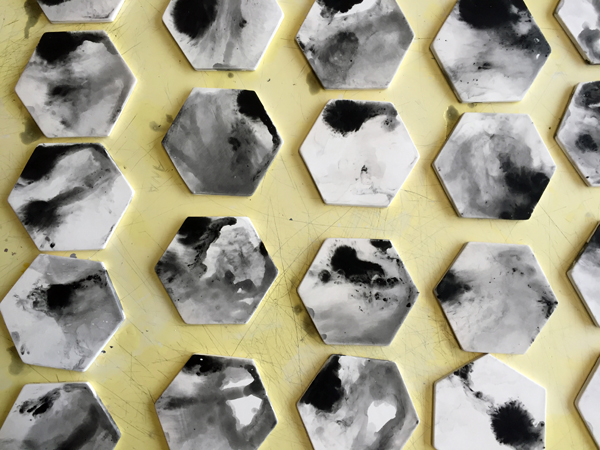
Drawing on my background in sculpture, my forms take inspiration from abstract art and architecture. For surface inspiration, I look to natural phenomenon, such as moving water, rock striations, and star clusters. I love making things that can be both beautiful and useful. I design pots that have multiple uses. My serving bowls serve as tabletop artwork when not in use, but are also food safe and great for passing food around the table.
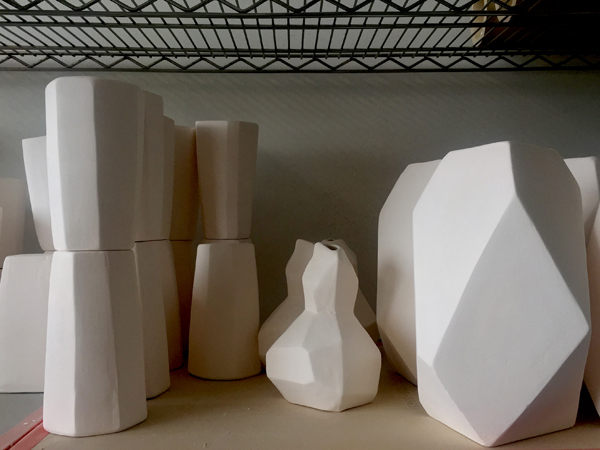
Making ceramics is a multi-step process. I work with plaster molds made from original designs to create my forms. This allows me to make geometric shapes and to repeat the same shape with consistency. I pour a porcelain casting slip inside each plaster mold. The plaster absorbs the water from the slip and leaves a skin. After some time passes, I pour out the remaining slip. The remaining ‘skin’ becomes the ceramic object.
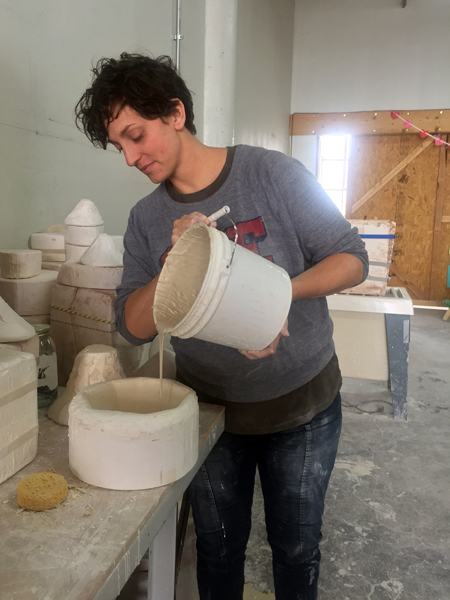
After each piece comes out of the mold, I refine the surface and add any necessary slip details prior to the first firing. After the first firing, I spend a lot of time working on the surfaces of each pot. I really love the glaze process! I enjoy layering colors and finding new ways to add surface to my pieces. After I finish glazing, the pieces go back in the electric kiln for a glaze firing. Some pieces will go in the kiln one more time, this time for a luster firing, which allows me to add a low temperature metallic surface to the pieces.
This is my first year traveling to Philly for Art Star Craft Bazaar and I couldn’t be more excited to share my work with a new audience. I’m bringing lots of new pieces and a new color palette to the show. Please stop by Booth #55! And thank you for shopping small business and handmade!
 Porcelain Skull by Julie Moon
 A snapshot of Julie’s studio at The Clay Studio. Love seeing all the sculptures drying on the side there!
 Julie slip casts all of her skulls from a mold. Here they are drying before they can go in the kiln.
 Here are some flowers in progress. These will be made into jewelry or used as crowns on some of the skulls’ heads. The skulls with flower crowns always sell out first here at Art Star.
 A bucket of glazes. The next step is glazing.
 Here they are after they have been glaze fired. The final step will be to apply the decals to the skull heads.

