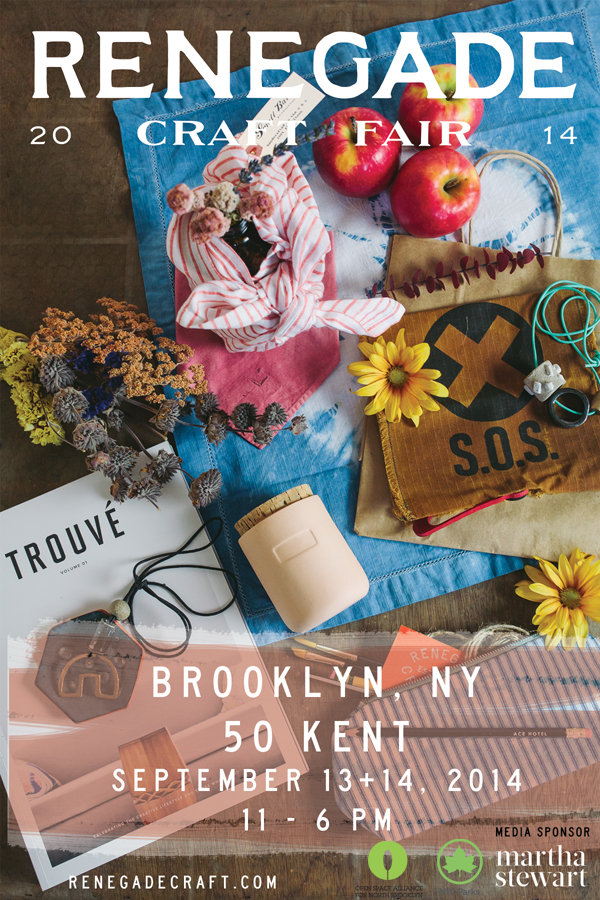
We are off to Renegade Craft Fair in Brooklyn this weekend! If you plan to come check out this awesome indie craft explosion, please come say hi! We will be at booth #167. Our booth will be chock full of handmade goodies by a variety of artists from our shop, including some favorites like Horrible Adorables, New Academy Press, Noosed Kitty, Kristin Tercek, Paper Sparrow, and Julie Moon!
Category: craft projects
-
Make This: Conversation Heart Pin DIY
I love conversation hearts! I dreamed up this little DIY to make your own out of sculpey for your friends or sweetheart! My husband tried to eat one this morning, so that means they look pretty close to the real deal, right?
Step 1: Gather your supplies
 You will need the following:
Sculpey in pastel colors
2 sharpie fine point markers in red or pink
a little heart shaped cookie cutter (i found this in the baking section at AC Moore)
a pack of pin backs (make sure they are small enough to fit on the back of your heart)
Jewelry + Metal Glue (also from AC Moore, any type will do)
a rolling pin or as you can see, I used a fat knitting needle (whatever works!)
a small sheet of sandpaper – a nice light grit Roll out a piece of your clay evenly and not too thin! Mine was probably around an 1/8″ thick.
 Now cut out your little hearts with your cookie cutter! No worries if they don’t come out perfect, you can sand them smooth after baking.
 After you’ve cut out your desired amount of hearts, gather them up on a baking tray or piece of foil and stick them in your preheated oven. Bake at 125 for 15 mins (or whatever it reads on your sculpey packaging). Remove from oven and let cool before handling. Sand the edges, front & back to remove imperfections.
 Grab your sharpie (make sure it is permanent b/c otherwise it will smear) and write in your favorite sayings! This is definitely the fun part. I kept it somewhat sweet and PG-13 for this post, but I did have fun writing in some really naughty ones! I practiced my handwriting on paper first, cuz I’m a dork. They didn’t all come out perfectly but that’s okay – it gives them character!
 Next you will glue on your pin backs. You need just the tiniest dot of glue on the back. Let them dry overnight before handling.
 All finished! They make cute and easy v-day gifts! I pinned this one to my hubby this morning after he tried to eat it. As tasty as they look, don’t eat them. You’ll die.
 I hope you enjoyed this post! Feel free to share but please credit me and link back to our site.
If you plan to come to our Crafty Hearts Party on Valentine’s Day, I’ll have some blank ones of these for you to customize and take home. xo.
Copyright 2014, Megan Brewster / Art Star / All Rights Reserved.
-
DIY Silkscreen Kit Debut / Make + Take with Julie Lange
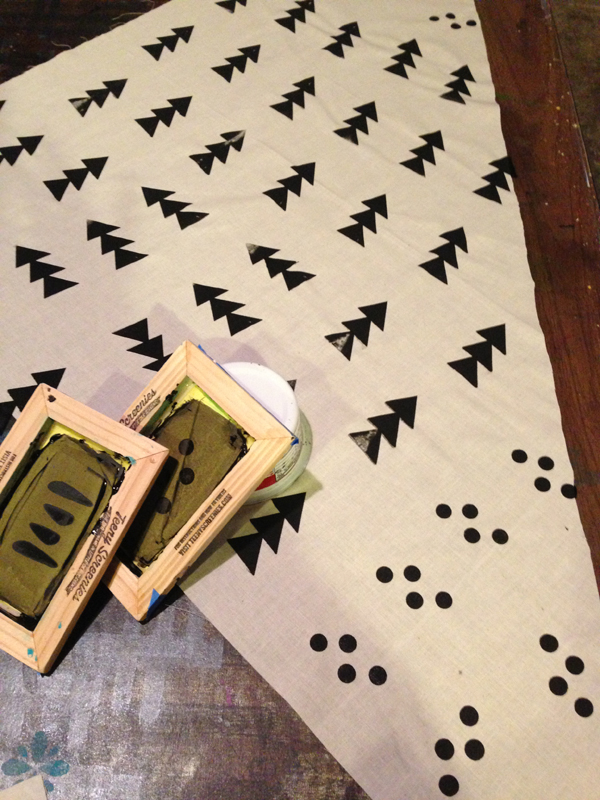 The lovely Julie Lange of On3Designs has been hard at work creating a new line of DIY Silkscreen Kits, which she will be debuting at our DesignPhiladelphia Celebration / Closing party for Farmhaus + Friends on Friday, October 11th from 6-9pm. Guests will be able to sample one of the kits on a piece of muslin to create their own one of a kind scarf to take home with them. The make & take is completely free but we encourage visitors to purchase a kit to take home with them!
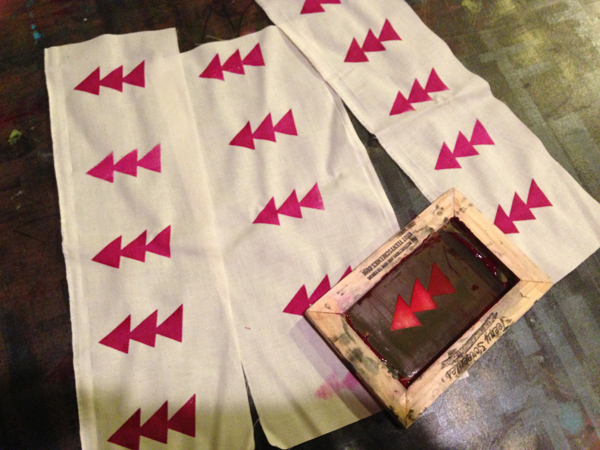
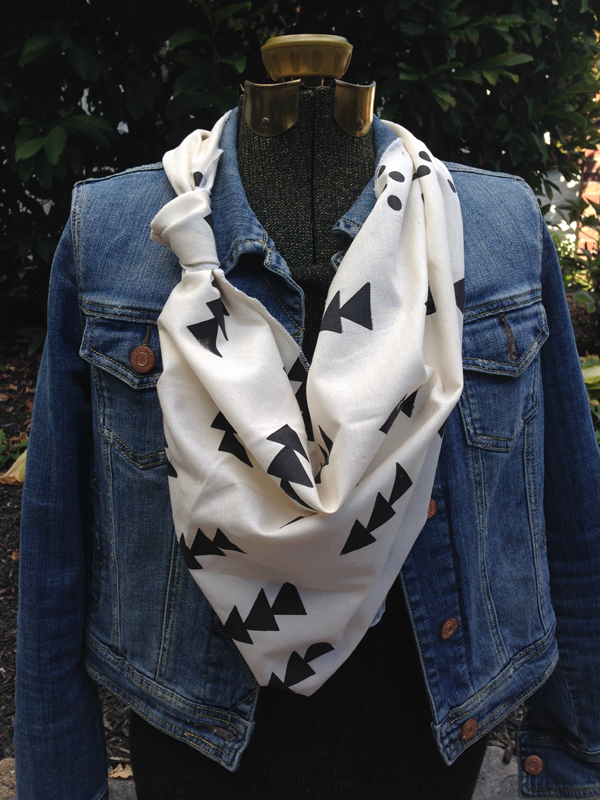
Each kit will include a screen, 3 stencils of 1 design, small package of textile ink (which can also be used on paper), a squeegee and directions. There will also be refill packs for purchase that will include 3 stencils of 3 designs. These kits are great for kids 10+ up or beginners who would like to learn how to silkscreen. By using the kit, you will learn what you will need to do to create your own one of a kind designs!Here are some samples of what your finished scarf may look like but there are endless possibilities of what you can create!
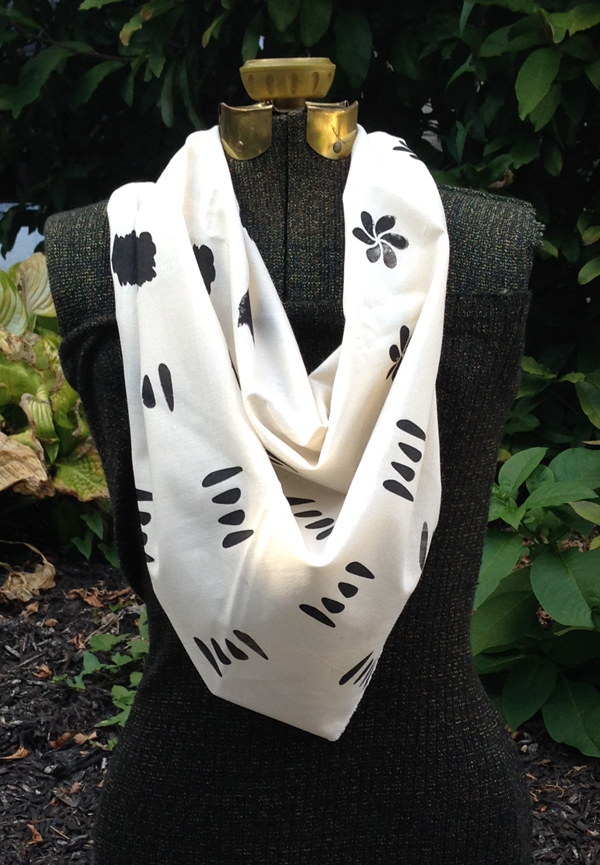
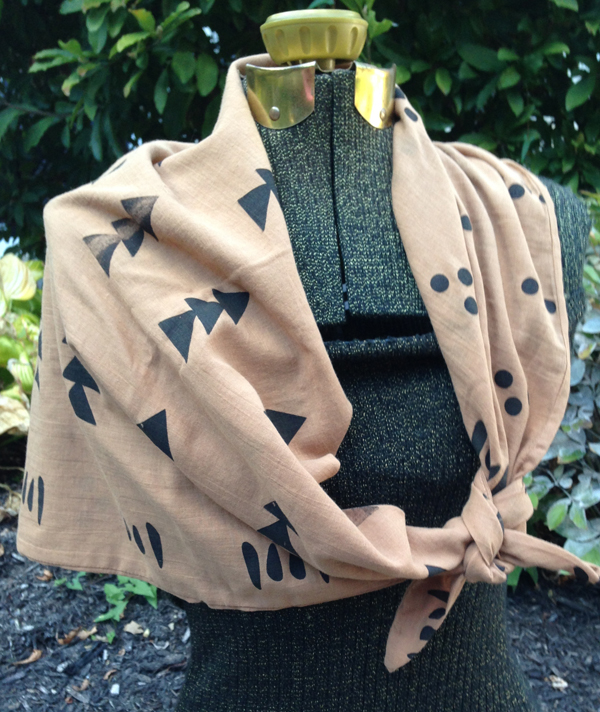
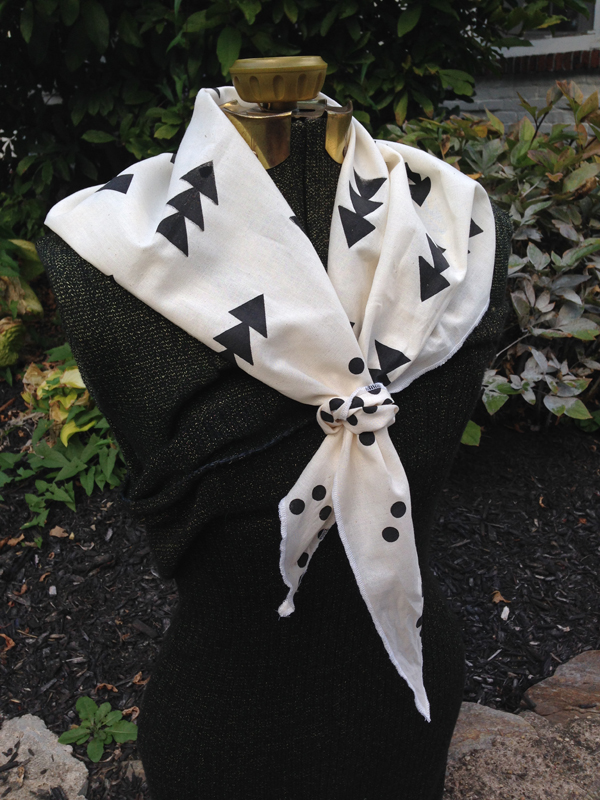 We did a wonderful blog feature on Julie & her line of hand printed purses and bags. Click here to learn all about her and her work!
 -
Thirsty Thursday and 80’s Iron On Make and Take
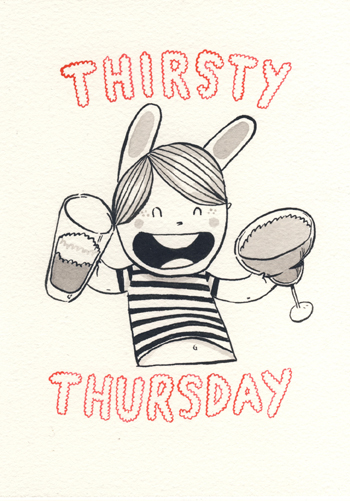
Image by Andrew Zangerle of The Maple Ridge. Copyright 2013 ALL RIGHTS RESERVED. Click on image to buy his work. Thirsty Thursdays are back by Popular Demand this summer. We will be hosting a couple of these each month and our first one will be this Thursday (June 13th) from 5-8pm.

Photo Courtesy of A Beautiful Mess We will be serving up the above Cucumber and Mint Gimlets. The recipe is by Emma from A Beautiful Mess. You probably already read their blog and If you don’t, you should. I am pretty obsessed with it. Those ladies are very inspirational to me. Anyway……..Thirsty Thursdays.
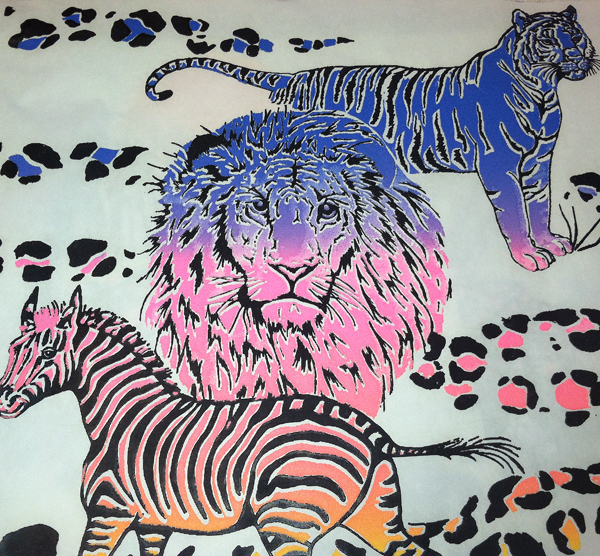
A sample of one of the Awesome Iron Ons Hope will be bringing with her. The coolest part about this Thirsty Thursday is that our friend Hope Rovelto of Little Chair Printing will be set up with her Heat Press. She will have a slew of 80s themed Iron on Transfers for you all to use and design/heat press your own t-shirt! It is Free if you bring your own T-shirt (any color, though Hope says white works with all the designs) OR you can purchase a blank from her for just $10.
And that’s not all! Enjoy 20% off all regularly priced items during the event. Just for you! Because we like you and we’ll all be drinking.
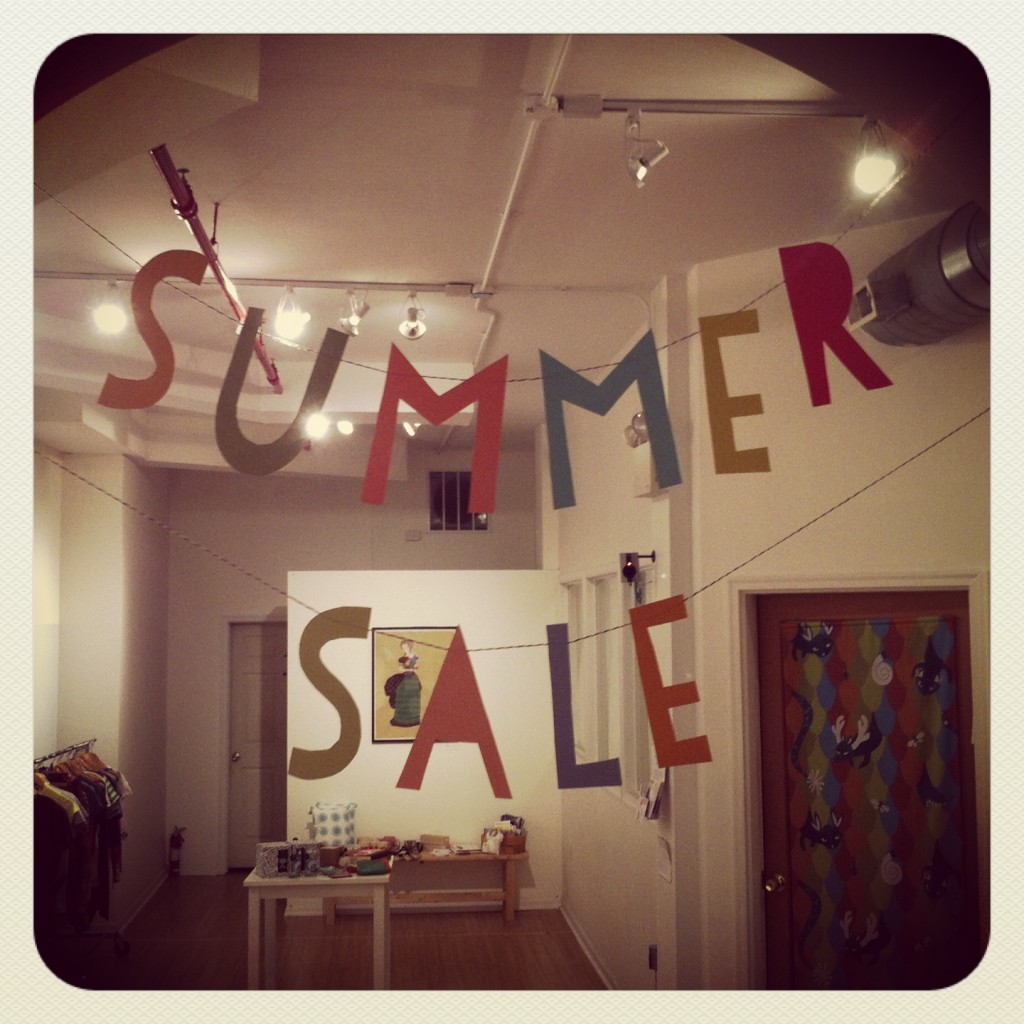 While your here, check out our HUGE SUMMER SALE which is taking up our entire back gallery space. We have Art, Clothing, Housewares, Prints, Ceramics and MORE priced to sell!
Soooo Come drink with us and make a sweet T-shirt. Maybe buy some of our stuff too 😉 See ya Thursday! Peep the Facebook Invite and tell us if you can make it – Invite your Friends!
-
Adventures in Knitting: Summer Beach Tote with O-Wool Yarn
One of our goals for the year was to expand our craft supply section. Since most supplies must be purchased wholesale, we can only add to our selection slowly so we don’t break the bank. Yarn was one of the first things on our list to stock. We wanted to find a company that made their yarn entirely in the US. We came across a wonderful Philly based company called O-Wool, which makes a line of organic cotton yarn in beautiful colors. The cotton is grown in Texas and the yarn is dyed and wound right here in Philly. And it turns out the owner of the company, Jocelyn Tunney, has been a customer of ours for years. Extra bonus!
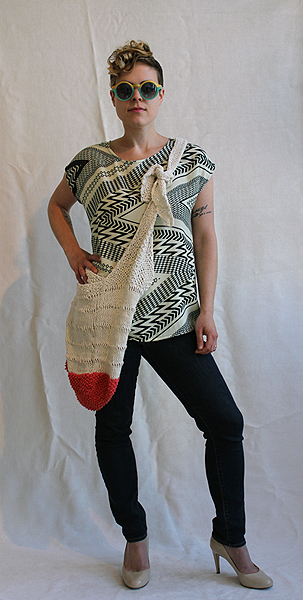 Being a knitter myself, I couldn’t wait to try it out. I wanted to make something for summer, since we got the yarn in a little later in the season. I decided to design a beach tote. I had intended on sharing the pattern on the blog, but I am not 100% happy with my design. The yarn knitted up really nicely but it ended up being a little bigger than I had initially envisioned. I am not a knitting expert by any means. I am still learning. I like how it turned out overall but next time I’d make it smaller and use a more sturdier yarn for the base. I felt the bottom of the bag stretched out a little more than I liked when I put in a beach towel, book & phone…… I might try a thicker cotton next time or maybe I’d use smaller needles to make it tighter. I also thought I could make the bottom (knit in cinnabar) out of fabric , maybe canvas or leather & then knit the rest. I really like how the strap came out though!
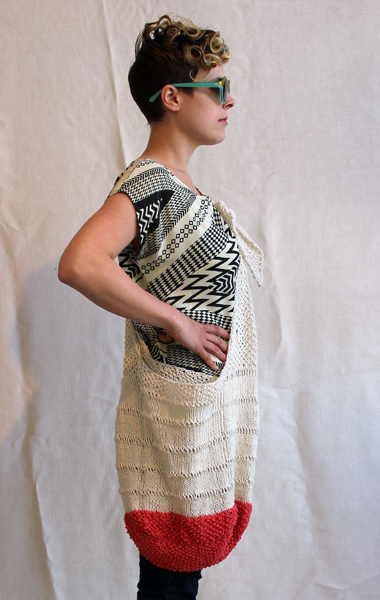
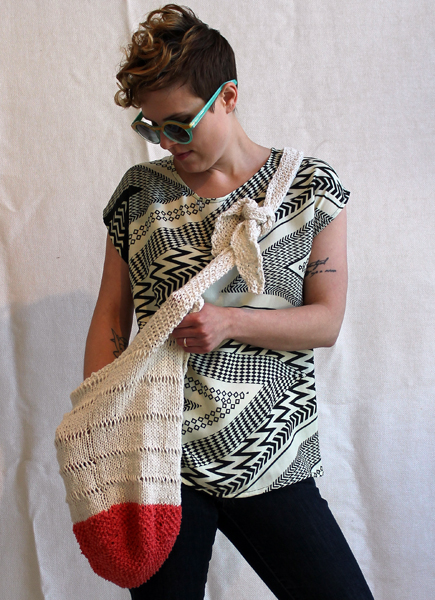
It is a pretty simple pattern. The base is just a seed stitched rectangle that I knit on two needles. Then I picked up stitches all around with double points & continued knitting in seed stitch for a few inches. I switched over to the Natural colored yarn and knit in a basic faggoting stitch until I felt it was big enough, then I seed stitched for a couple inches and bound off. I used graph paper to plot out the shaping of the strap. I picked up stitches on each side and seed stitched each strap separately. They taper off at the top & look cute tied together.
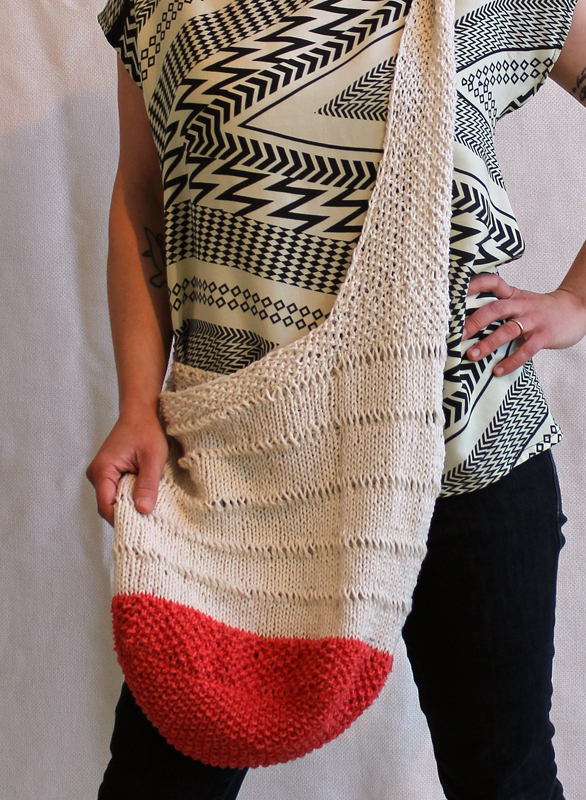 I love the yarn & with a bit of tweaking to my design, I think I’ll have a great summer beach tote to share with you all eventually. I can’t wait to try out the yarn on some other project ideas I have cooking up in my head.
Here is a link to what we have in stock. I think it is very affordable for organic yarn. At $6.75 a skein, you get a good amount out of it. This bag took 1 skein of cinnabar & 3 skeins of natural. Try the yarn out for yourself, I think you’ll like it. Happy knitting!
-
Art Star Craft Bazaar Claymations!
Our friends from The Clay Studio were teaching the art of claymation at our bazaar a couple weeks ago. Attendees of the show really got into it & created some great stuff! The Clay Studio put together a little video of all the creations made during our bazaar. We love the finished piece aptly titled animal parade! Lots of little animals and dinosaurs fighting, snacking and falling in love. And there is also a pretty great little bowling scene. Our customers (big and small) are so talented!! Thank you to The Clay Studio for providing this treat!
http://youtu.be/EntEhWC_eGg
-
Crafternoon #2: Janell Wysock + Rachel Sherman of Malagueta
Our first Crafternoon was such a hit, so we are excited about our 2nd in the series! We will be visiting the studio of textile artist Janell Wysock & then we will head back to Art Star for a trunk show / make + take with Rachel Sherman, the lovely woman behind the amazing clothing line Malagueta.
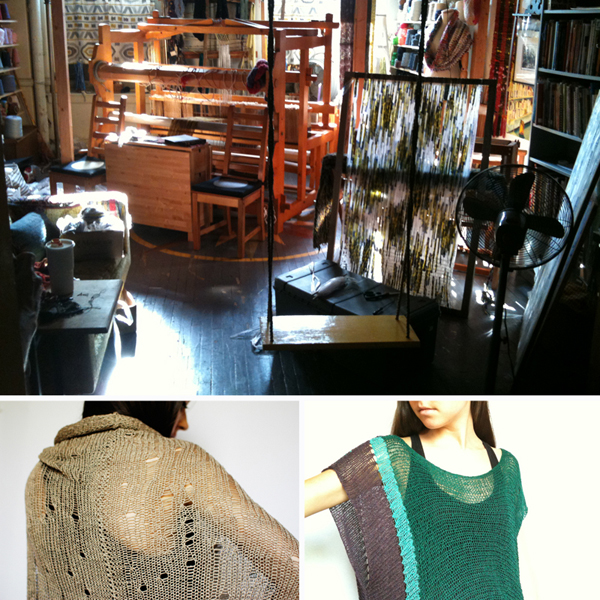
Janell Wysock’s studio & samples of her work Here are the details & full itinerary for the day:
Sunday, October 21st
10:15am-approximately 2pm$25 per person, limit 10 people per Crafternoon (must have 5 to run)
10:15am– Meet up at Janell Wysock’s studio at the 915 Spring Garden Street Studios
You will get an intimite view of Janell’s studio + she will talk about her work & give a demonstration on her process. She will also have her collection of goods out & available for sale for 20% off – for crafternooners only! coffee, tea & snacks will be provided.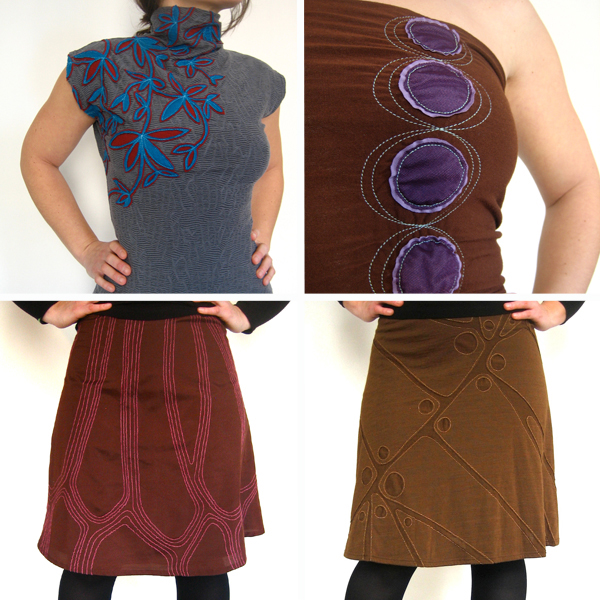
sample of clothing designs by Malagueta 11:45am – approximately 2pm Meet at Art Star where Malagueta clothing designer Rachel Sherman will be set up with her latest line of clothing. She will talk a little bit about her work & then give a demonstration on one of the techniques used on her clothing (see images below) called Couching. Bring a blank t-shirt, skirt, bag, or any other simple fabric piece to try out the technique. All other materials will be provided. Finger foods & refreshments provided.
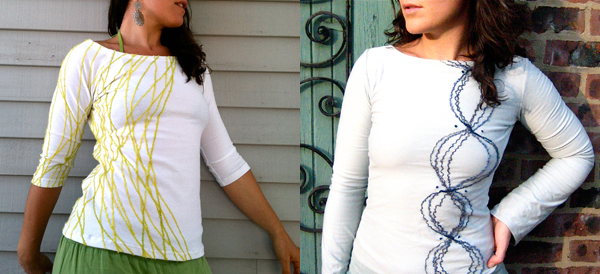
Sample of the Couching Technique that Crafternooners can try You will receive 20% off any item purchased from Art Star or from any of the artists that day!
Register here or call us at 215.238.1557
About the Artists:
Janell Wysock completed her BFA at Moore College of Art and Design in 2004. Since then, she has lived and worked in Philadelphia and successfully established her textile work by developing a strong following with her unique and creative woven works of art. Janell is a member of the 3 by Three collaborative with Melissa D’Agostino, and Rachel Sherman, of Maleugeta, who believe hand made local fashion is important to building a caring and sustainable community that respects local makers which, in turn, supports other various local suppliers, creating an over all smaller carbon foot print.
Check out our interview with Janell here or visit her website for more info
After receiving her BFA in Textile Design from Moore College, Rachel Sherman traded in her east coast lifestyle for a stint in Seattle. It was there, in 2002, that she launched her label “malagueta”, based on improvised surface manipulation techniques such as applique, couching, shirring, top-stitching, ruching, embroidery, piecing, and pin-tucking. Her inspiration: foliage, architecture, fruits, vegetables, insects, and machinery.
Malagueta, in Portuguese, is known as a tiny, hot red pepper that grows in Brazil, where her mother was born and where Sherman has visited on many occasions. Her lively interpretations of color and pattern pay homage to her passion for nature and music. Her vibrant, modern and easy to wear creations found their way into independent boutiques down the west coast to Portland, San Francisco and Los Angeles, then east to Tucson, Miami, and DC, where funky and feminine were embraced by a diverse clientele.
Presently, based in Philadelphia, Sherman has reestablished herself on the handmade scene through local fine art festivals and indie craft shows such as Art Star Craft Bazaar, Crafty Bastards, Holiday Heap, and the SOWA Market.
Visit her website for more info
-
Paper Made! Book Signing & Kirigami Wallflower Make + Take with author Kayte Terry
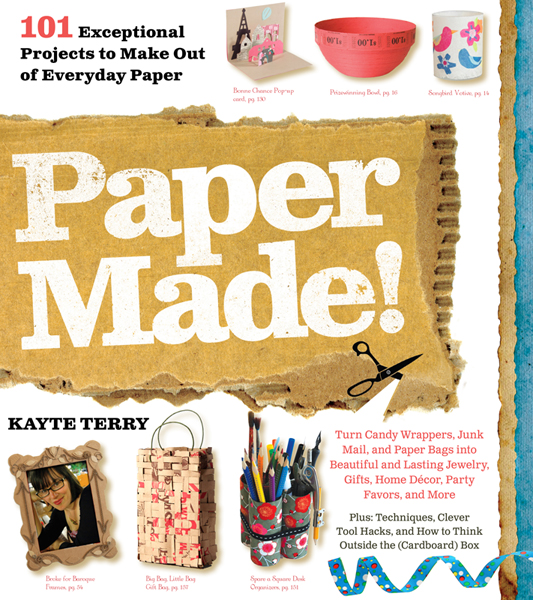 Art Star is pleased to announce a book signing with author and expert crafter, Kayte Terry on First Friday, November 2nd from 6-8pm. Kayte will be here promoting her new book Paper Made!, which features over 100 really cool projects to make out of paper. She will have books on hand for you to purchase/have signed & also will be demonstrating one of the projects in the book – the Kirigami Wallflowers. Guests can try their hand at making them too & will get to take home what they create!
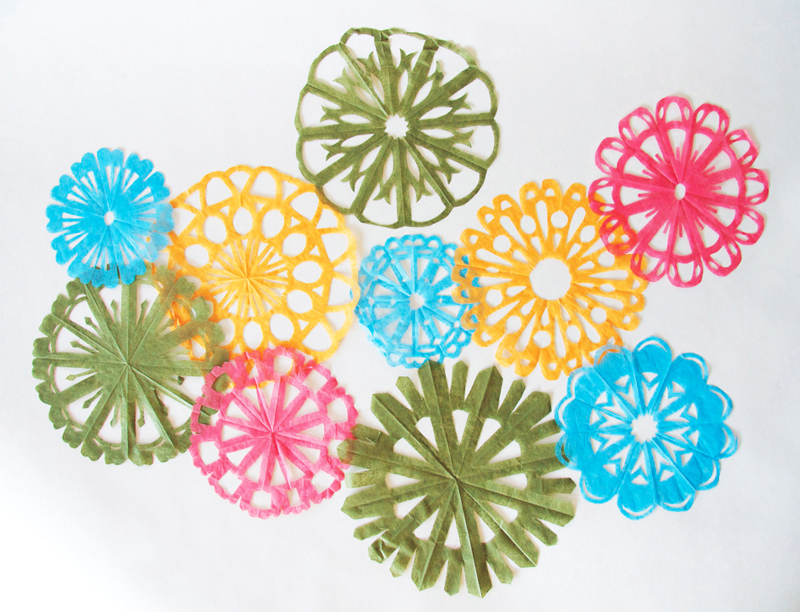
an assortment of colorful Kirigami Wallflowers from the book I plan on making a bunch to incorporate into Art Star’s Window display. I have a copy of this book & can’t wait to try some of the projects. I love that many of the materials needed can just be found around the house, so you won’t need to spend any money to make many of the things in the book. Some of my favorites include “Strike Your Fancy Matchbook” that you hide a secret message inside, a curio shelf made from layers of corrugated cardboard, a beautiful hanging lamp inspired by the designs of Tord Boontje, giant paper pom-poms, and too many wearable accessories to list here.
So come by, have a boozy drink, make some colorful flowers with us & pick up a copy of the book! And like every First Friday, all Art Star purchases (does not include the book) are 10% off. See you then! And hey, check out our facebook invite & let us know if you can make it. Reservations are not required, but it will give us an idea of how much paper to have on hand. (maybe bring your own scissors if you can?) Free & open to all.

Kayte Terry Kayte Terry is a trendsetter in the world of paper design and Visual Communication and Inspiration Manager at Anthropologie. Her previous crafting books include Complete Embellishing (Collins and Brown) and Appliqué Your Way (Chronicle). Her work has appeared in Parents, Quick and Simple, Cutting Edge, Adorn, HGTV Ideas magazine, and on Etsy, Design*Sponge, GetCrafty, and others. For more crafting ideas and inspiration, visit Kayte’s blog at www.thisisloveforever.com.
-
September Crafternoon Recap
We had so much fun this past Saturday at our first ever Crafternoon! We are definitely going to make this a monthly event – so please sign up for our email newsletter or follow us on Facebook/Twitter for updates!
We met up at Penelope Rakov‘s studio in the morning & she treated us to donuts & coffee while she chatted about her work & walked us through her process. Here are some photos from the visit. Check out all the photos on Flickr.
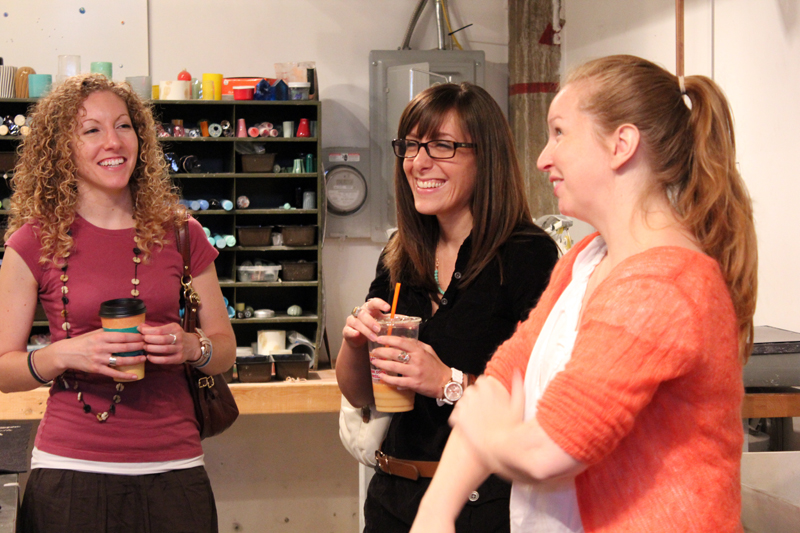
Penelope (far right) chatting about her work 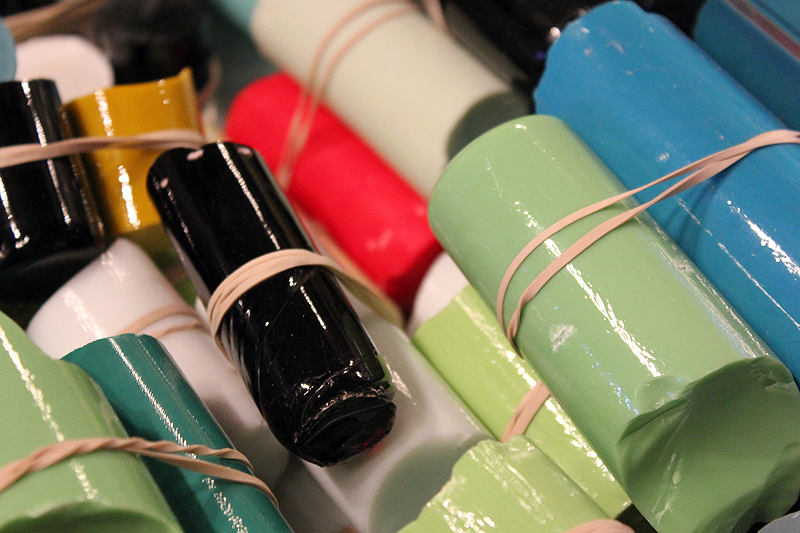
bars of colored glass that Penny uses to pull glass cane used to make her jewelry 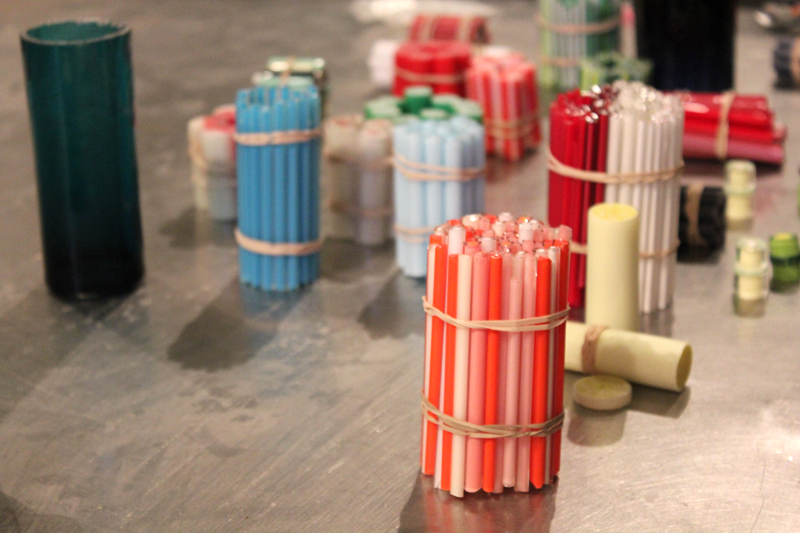
Penny showed us each step that is involved in her process. Here are bundles of pulled glass cane. 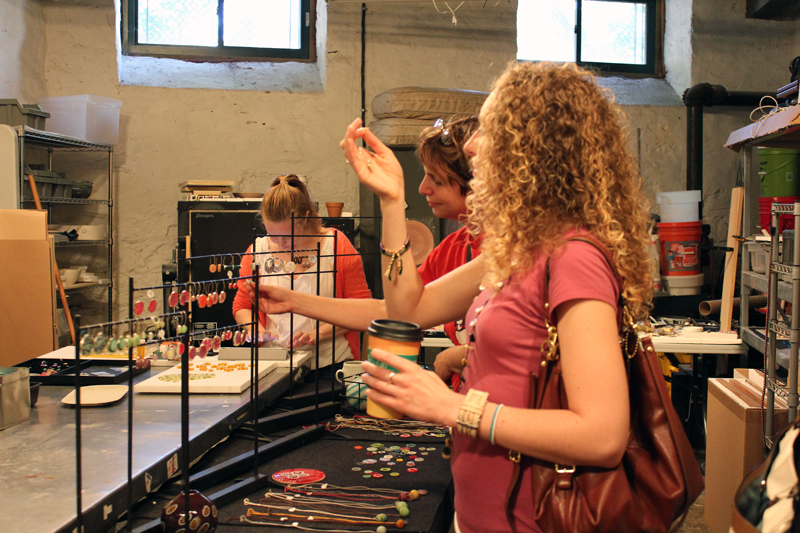
after Penny talked about her work, we all got to shop her entire collection, which included new & older pieces. All crafternoon purchases were 20% off! 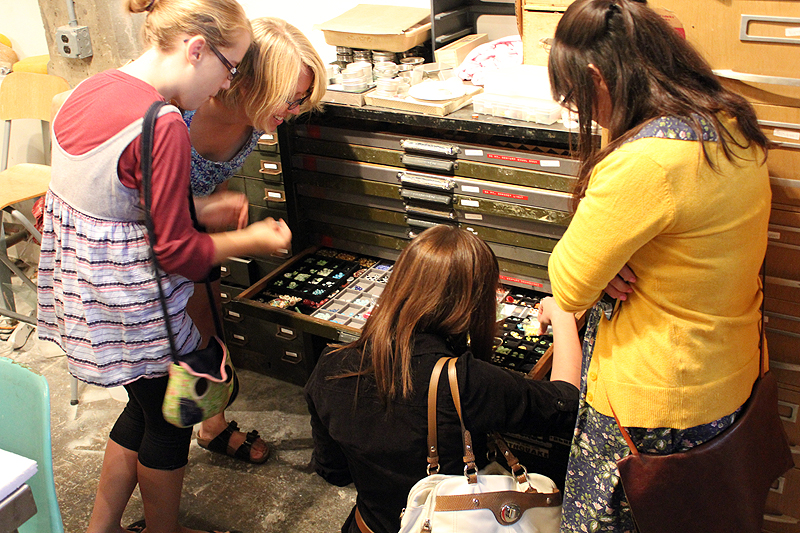
We found a drawer filled with finished glass pieces that just needed to be set in sterling silver. A few of our crafternooners picked out their favorites from the drawers & Penny custom set them! After we were finished at Penny’s studio, we headed over to Art Star for a lovely spread of food from A Full Plate Cafe. Bonnie & Susan of Kaye Rachelle were all set up & ready for us. They chatted a bit about their line of printed home textiles & then we dove right into our make & take! They created 3 simple chevron designs cut from acetate & crafternooners could choose their color/design/placement for their tote/tea towel. We had tons of extra totes & towels, so everyone got to make a few. The results were great!
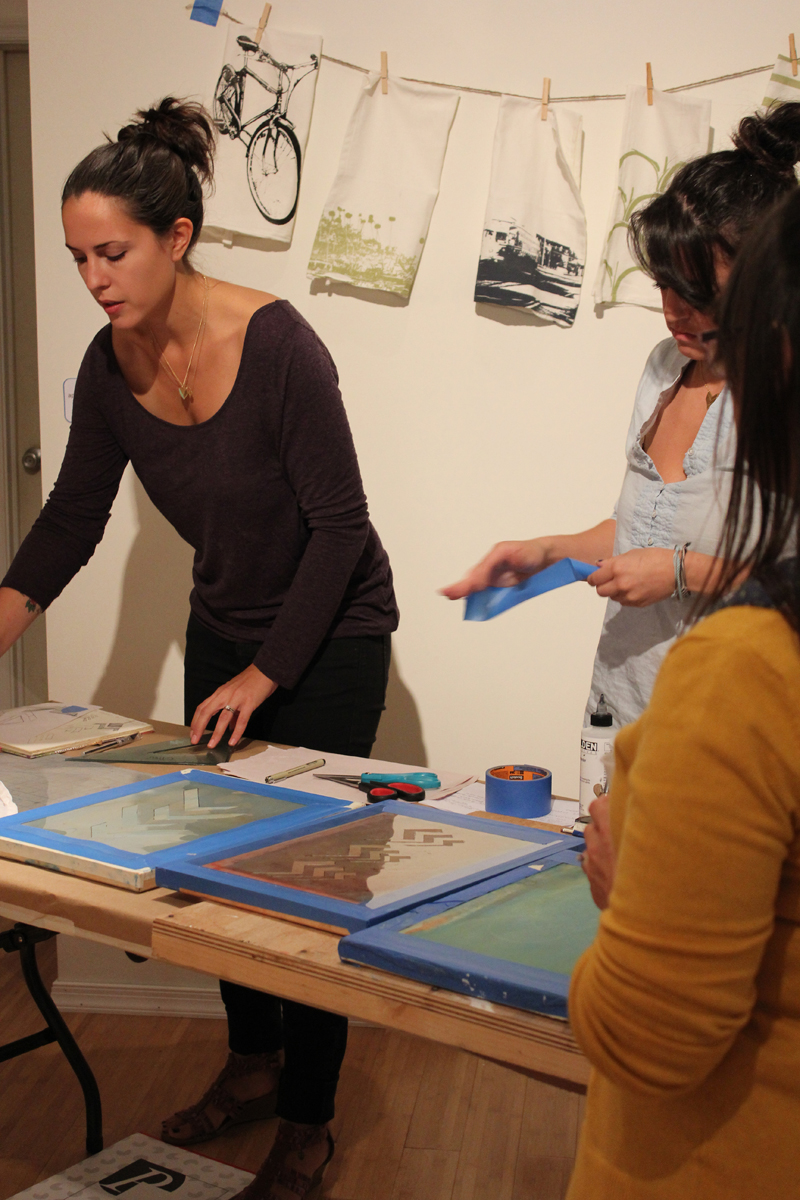
Bonnie & Susan with their three screens. They gave us step by step instructions on how to silk screen. The cut stencil technique is so simple to do at home. Their chevron designs were inspired by the One & Two Liberty Place Buildings right here in Philly. All three designs worked so great together – perfect for layering them onto the totes in different color inks. 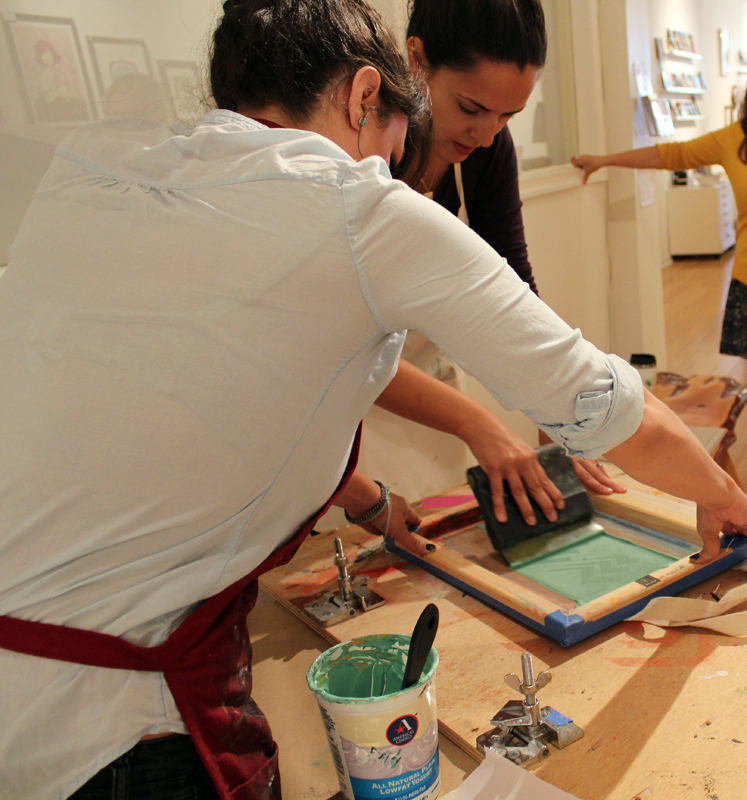
Bonnie & Susan showing us how to print. Everyone loved the minty green color they mixed! They chose the perfect fall palette – this green, mustard yellow, & navy blue. Susan suggested mixing a little of each color in with the color you choose so they all have the same tone & work nicely together. 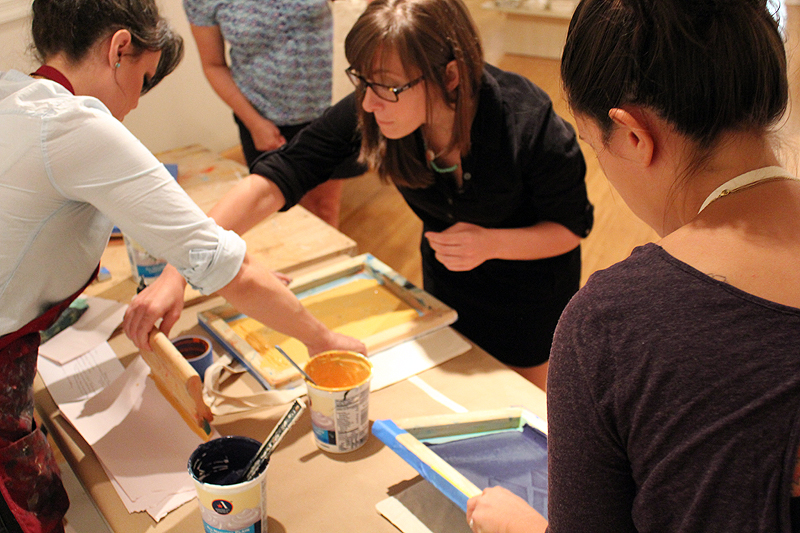
The lovely Lisa Castellano is the first one up to print her tote bag! 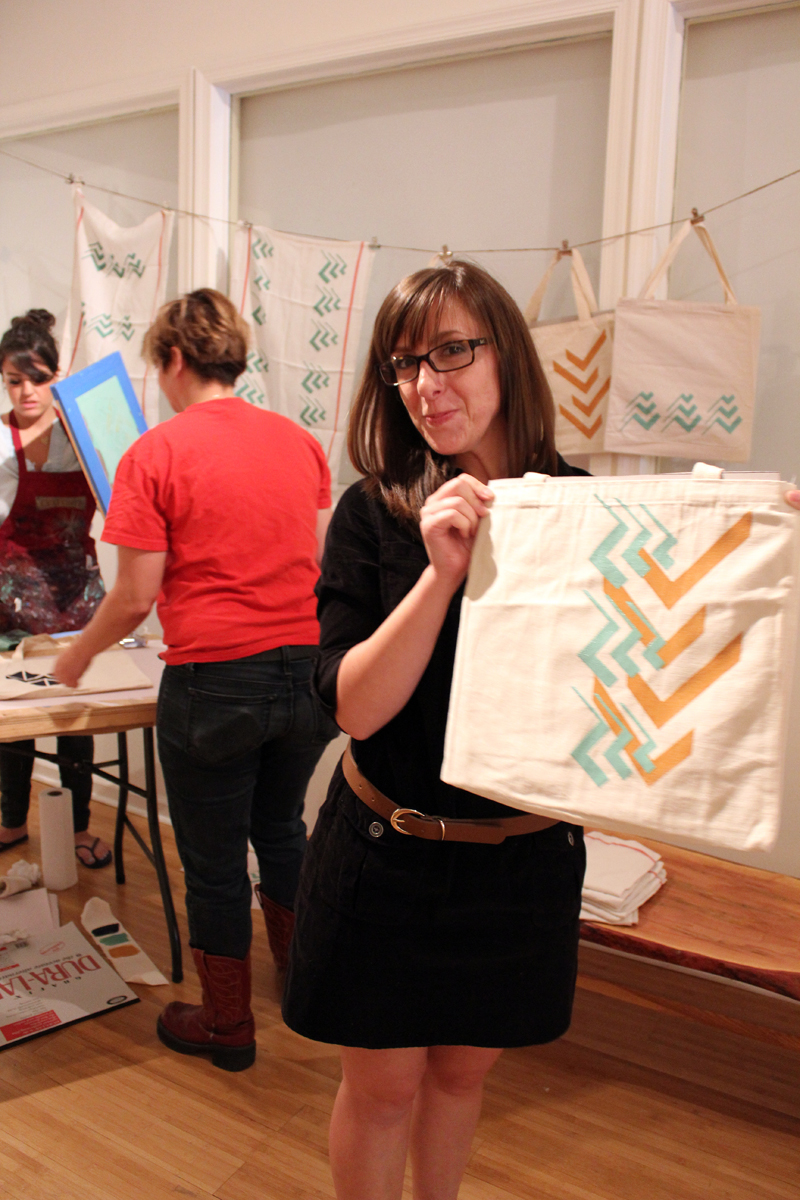
Lisa with her completed tote bag 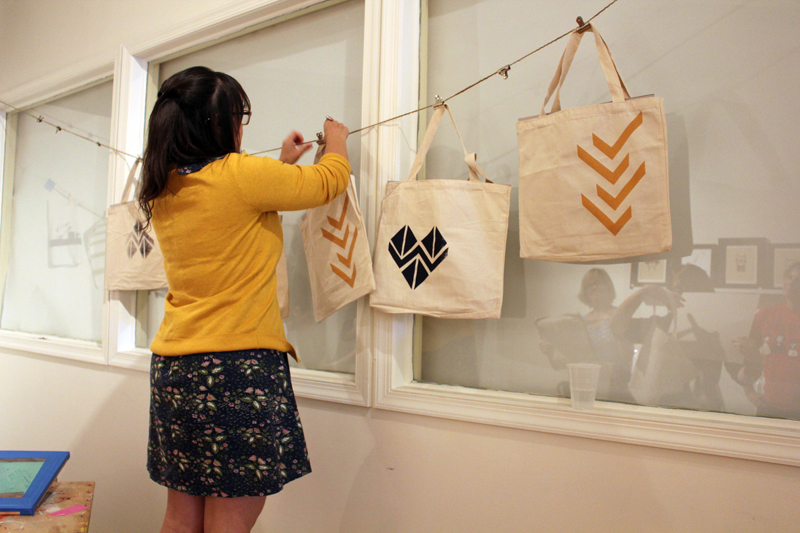
Me (Megan) hanging up all the printed totes to dry. Thanks so much to Penny, Bonnie, & Susan for making our first Crafternoon so special.
Visit their websites: http://peneloperakov.com/ + http://www.kayerachelledesigns.com/
-
Make This: Raffia Flower Gift Bow
 We love making these pretty gift bows when we are feeling overwhelmed with projects & need to see something finished. It is our way of dealing with stress…… We offer free gift wrapping in our shop & our customers are always asking how we make our fancy bows. Here is a little how-to so you can make your own!
 You just need some paper raffia & a pair of scissors. We always keep a variety of colors in stock. We buy ours from Nashville Wraps.
 Step 1: take one color of the paper wraphia & cut 6 pieces that are 6 inches long.
 Step 2: Peal each 6″ slice of paper raffia completely open
 Step 3: Layer all 6 pieces together – one on top of the other. Then cut points on either side.
 Step 4: Cut a long piece of raffia (enough to go around your package) & one 12″ piece in a contrasting color. Lay 12″ piece of raffia down flat & then cross longest piece on top of that. Take two petals & pinch together in center. Lay at center point of the crossed raffia pieces. Take shorter piece of raffia & tie once in center of two petals. It should look like the image below:
 Step 5: continue adding petals in the same way.
 Step 6: Cut 6 more pieces of contrasting color (here we used pink) about 5″ long. Tie 2 pieces at a time in the same way you tied the petals. When you come to the last 2 pieces, tie a double knot & trim.
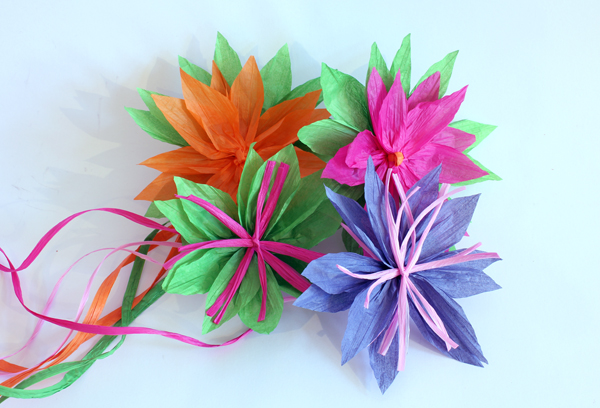 The next time you are in Art Star buying a gift – ask us to wrap it for you! You’ll get one of these lovely flowers to top off your gift!
