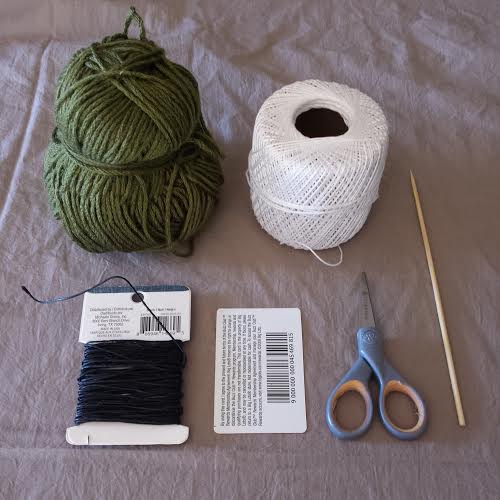
You will need:
*An old card of the un-needed variety… pre-approved credit cards, price club cards, your old West Coast Video card… Just make sure it’s nice and firm, no flimsy paper ones.
*A variety of string/yarn/twine. In this tutorial I am using a thin cotton cord for my warp (I’ll explain soon). For my weft I am using waxed cotton cord in black, thin gauge yarn in green, and more of the white cotton cord I used for the warp.
*scissors
*quilting needle (not shown)
*ruler
*pencil
*toothpick, wooden skewer, or short section of brass tubing
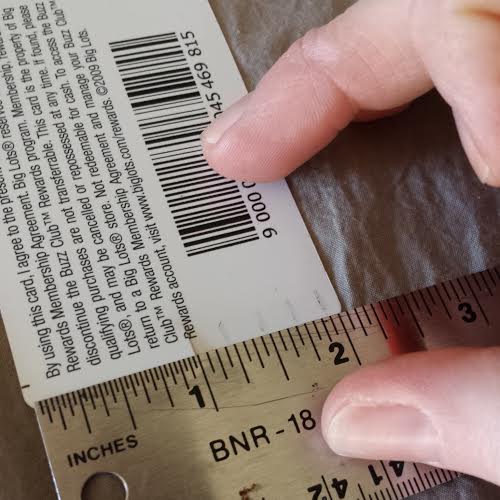
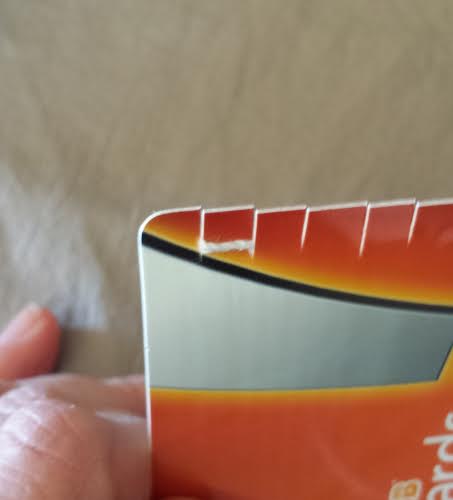
Chances are, the card you are using is 2″ x 3.5″. Turn your card sideways so that the 2″ side is at the top and the bottom. Start by marking every 1/4″ across the top and bottom (see pic). After all of your marks are made, come back with your scissors and make a small cut in each pencil marking. Cut about 1/4″ into the card each time trying to be consistent.
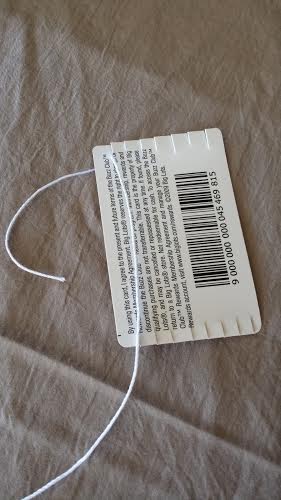
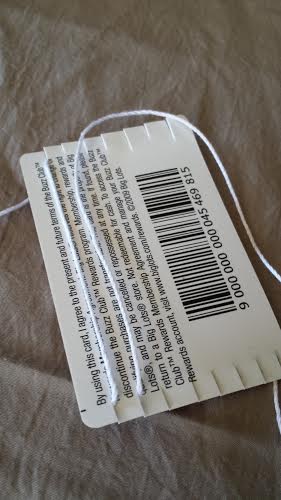
You will now begin to lay down your weft. The weft is the base that you will be weaving in and out of. I started in the top left corner bringing the thin cotton cord through the first cut from back to front. Bring the string down to the first cut in the bottom left corner, wrapping around the back and coming back up through the 2nd cut on the bottom left corner (see pics).
Continue this motion wrapping back and forth until you get to the end. You will have a tail hanging from your starting and end points. Make sure these tails are at least twice as long as your needle.
Now you are ready to start weaving!
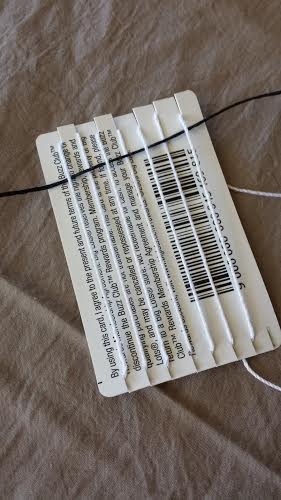
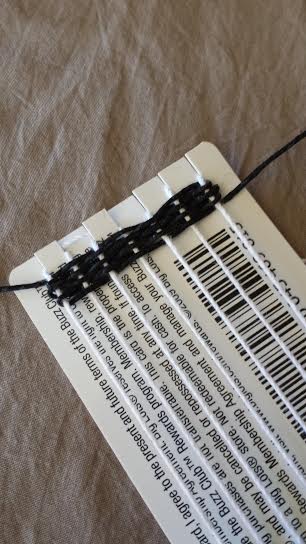
I threaded my quilting needle with the black cord and wove under one, over one from left to right. When you come back for your return pass make sure you do the opposite of what you did on the previous pass. If you went under the warp on the last pass, go over the next time. It sounds more confusing than it really is… see pic.
Continue for as long as you’d like before changing colors.
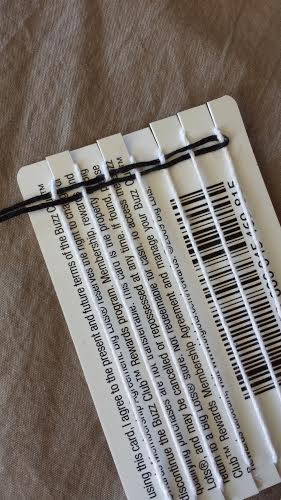
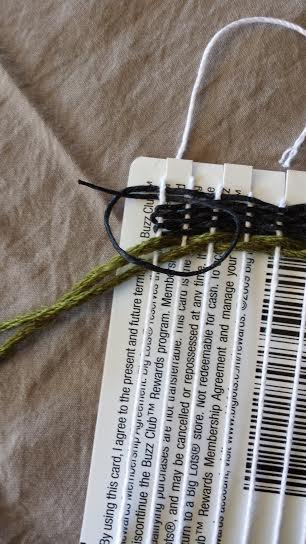
To change colors/yarn simply trim your previous weft (black cord) leaving a tail that is at least twice as long as your needle. Begin weaving the next color through starting on the opposite side of the previous weft’s “tail”.
Continue weaving and changing color/yarn as desired until you simply cannot fit any more rows. You can use your needle to push each row up to the top so they fit snugly together.
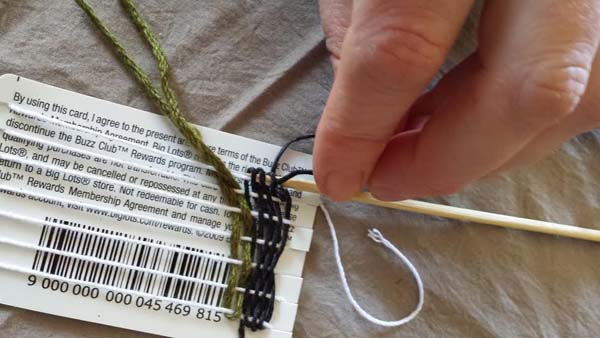
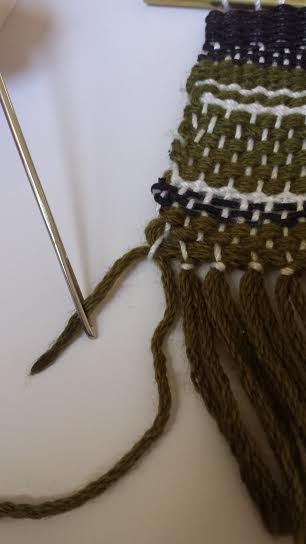
You’re probably wondering what to do with all of those little tails hanging out of the sides of your weaving. Some people leave them as a deliberate design choice. For this weaving, I am tucking these little tails in for a nice finished edge.
To tuck: starting at the top left, thread the first tail onto your needle. Tie the tail to the first string of warp and slide the needle down through the loops of the weft carefully trimming the tail and letting it slide back slightly into the loops so that it is hidden.
Once all of your tails are tucked in, you can stop here or add fringe if you like.
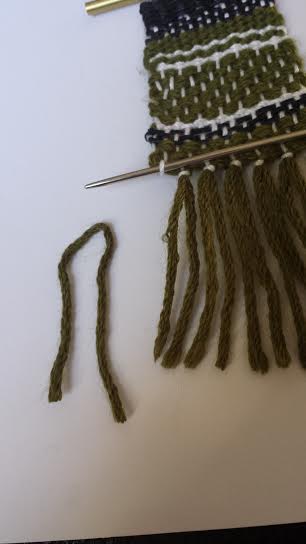
For the fringe: Because this is such a small weaving, I am going with a very simple fringe. Cut seven 4″ pieces of the green yarn.
Thread the first one onto your needle and run the needle through the bottom left warp loop.
Line up the ends of the 4″ piece of yarn and tie it into a knot, sliding the knot snugly up against the bottom of the weaving before tightening.
Repeat across the remaining white warp loops with the remaining 4″ yarn pieces.
Do a final trim across the bottom of your fringe.
Finish your weaving by lining up a 8″ piece of black string with your toothpick/skewer/tubing and thread it through the top warp loops. Tie a knot in your black string & you can easily hang it on a nail. Heck, you can even use a longer string and make it into a necklace… go nuts.
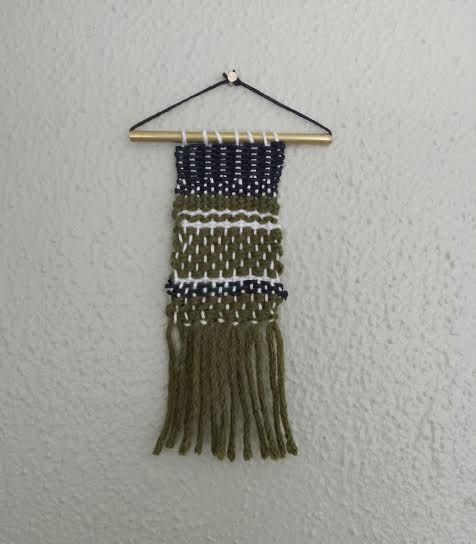
You’re finished!
Once you get the hang of the simple act of weaving one over, one under…. take to the internet or your local library and research some new techniques!
*Disclaimer: I am not a trained weaver. I am self taught. Most people start with the fringe first and work their way up. Starting at the top works for me… so that is how this tutorial goes;)
Enjoy!
—————————————————————————————————————————————
Christie Sommers is the designer and maker behind West Oak Design. She handcrafts small batch and one of a kind goods for home, women, and kids in her Wyndmoor, Pa studio.www.westoakdesign.com
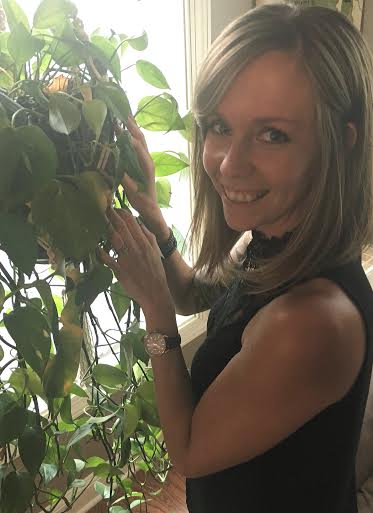 Hey there! My name is Nicole Hemmerly and I am a macramé artist & the owner of a super fun business called MossHound Designs. Aptly named after two of my favorite things, moss (and anything moss colored) and our hound dog Maycie, the peaceful beast.
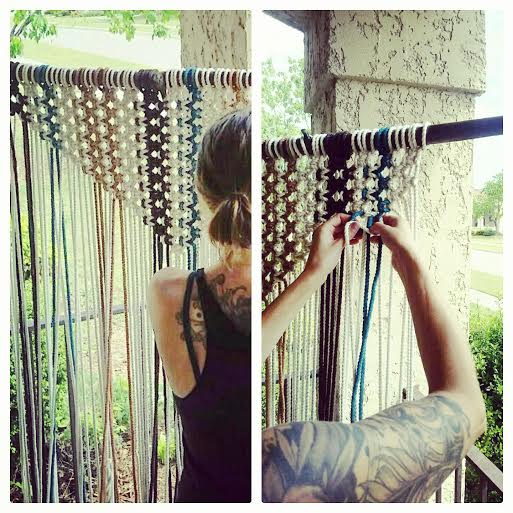 It all came about after spending most of 2015 craving a craft, craving something purely fun and uplifting to my soul. While doing research on different crafts I came across this weird knotting technique popular in the 70’s and thought “where have you been all my life!” You see, growing up we didn’t have a stitch of macramé in the house. However, my parents and the house I grew up in, is a complete inspiration to me. My mother can decorate with such ease & is crafty as all get out and my desire to be in the great outdoors comes from my father. My husband and I also share the same love for nature. When we go hiking, he helps me pick out the natural stones and driftwood I use.
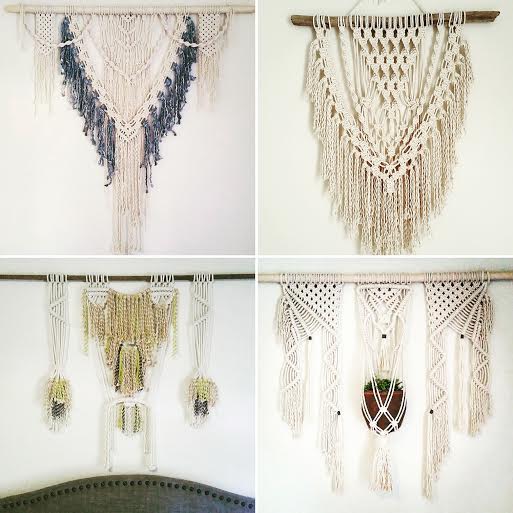
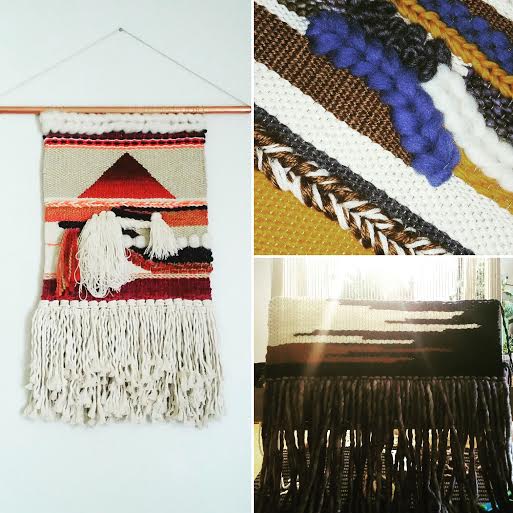 My pieces are a culmination of earthy but bright color schemes and an equal mix of vintage and natural fibers. The cord I use for the macramé is 100% cotton and produced in the USA. The cream yarn used for weavings comes straight off the sheep on my in laws farm in northern Pennsylvania and the other yarn colors were taken out of an old school house being torn down. I try to repurpose and reuse as much as I possibly can.
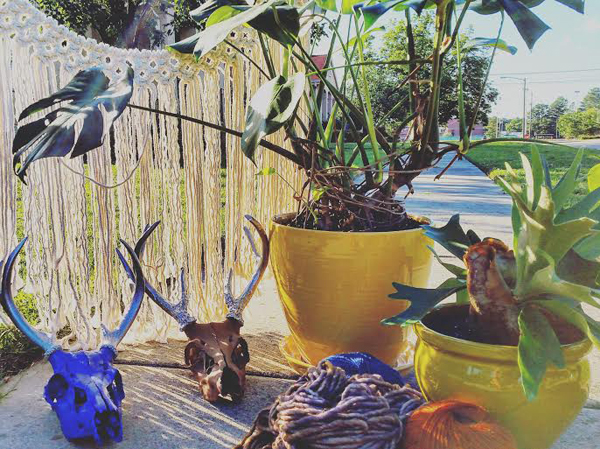 What started out as a little craft is now a full-fledged business adventure that has expanded in ways I could have never imagined! Currently, I have been hand painting deer skulls, dip dying fabric, decorating with succulents and houseplants, weaving and even have created macramé pieces for weddings.
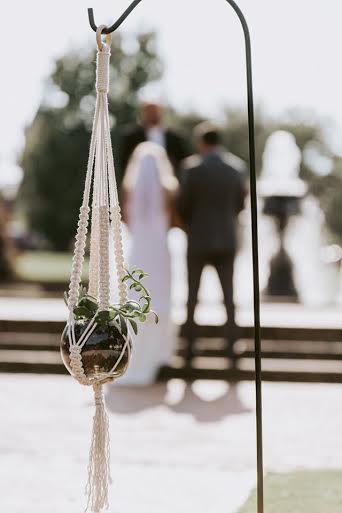 Swing by booth #10 and say hi! I love meeting new people and can’t wait to see you all!
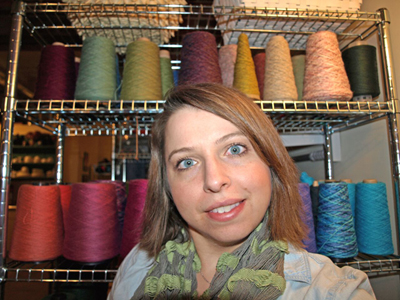 My studio is in a giant live/work industrial loft at Western Avenue Studios & Lofts in Lowell, MA, a complex of historic mill buildings that are home to over 300 artists. Lowell was the birthplace of the American Industrial Revolution and there are dozens, maybe hundreds, of old mill buildings that have been transformed into studios, condos, schools, restaurants, and small businesses.
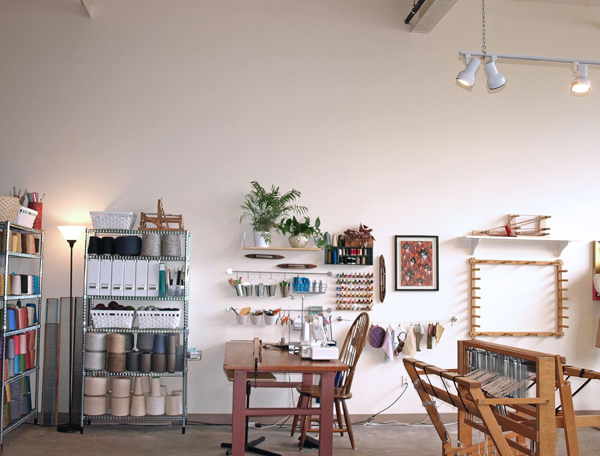 A lot of artists and craft hobbyists talk about their tendencies to hoard fabrics, beads, paint, pretty much any kind of supply they can get their hands on. Here at Loomination, it’s all about the yarn. I usually have about 250-300 pounds of yarn on hand, and I use it up really fast!
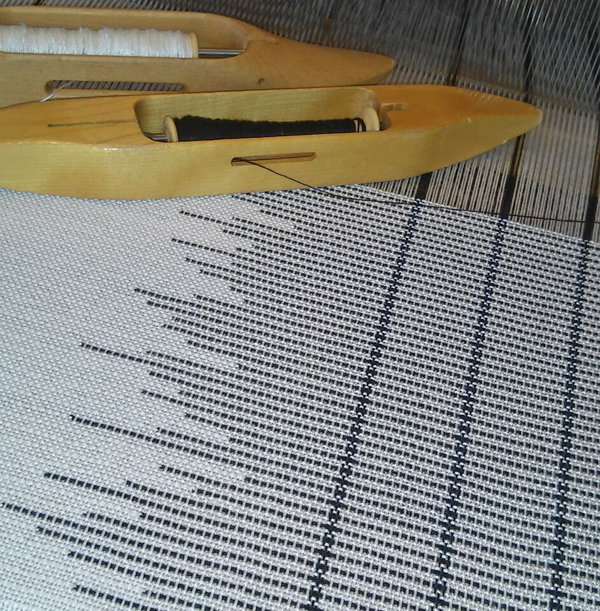
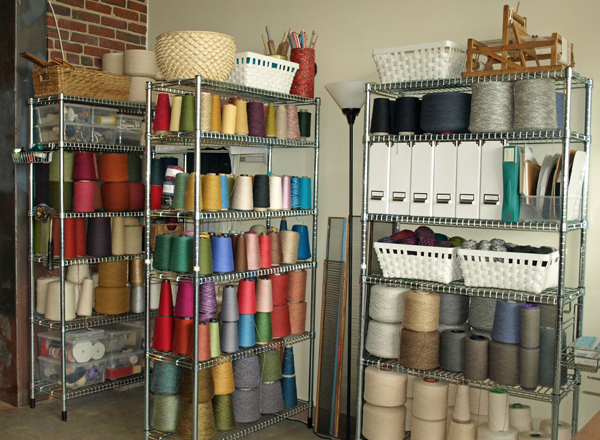 Every product I create is made using fabric that I have woven myself. I start with the yarn (of course!) and thread it on to my vintage handloom, a huge wooden machine that is operated by hand. It can take up to 8 hours for me to prepare the loom before the actual weaving can begin. After the fabric is woven, the next step is to wash and shrink it before sewing into the final product. The fabric shrinks A LOT, usually 15-25% for most pieces, although it depends on the fibers I’m using. Calculating shrinkage is a big part of the process.
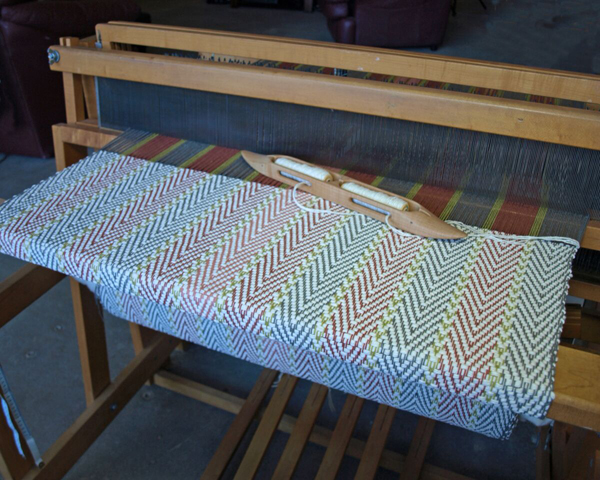 My newest collection of tableware – tea towels, placemats, and table runners – is what I’ve mostly been working on lately. I just started making placemats a few months ago and I’m a bit obsessed with them – there are so many different color combinations that I’ve been dying to try. Most of my home textiles are inspired by vintage feed sacks and ticking fabrics, everyday designs that are timeless and classic.
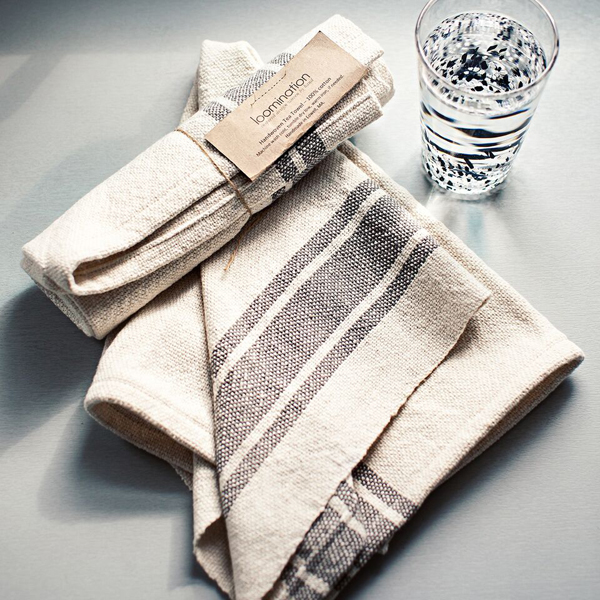
 I’m really excited to participate in the