Tag: #artstarcrafts

  • Make This: Avocado Seed Dye Tutorial

    Photos and Tutorial by Christie Sommers

    In my last tutorial, I showed you one way to carve avocado seeds to make a pendant necklace. Today I will show you how to turn those failed attempts and carving scraps into a dye suitable for dying natural fibers like wool and cotton.

    This is a simplified method that will result in a subtle, warm pink/rust color. If you are looking for deeper color saturation, or if you require colorfast results for fabric that must hold up through multiple washing, you will need to use a mordant. I’m keeping it simple and will be using my dyed fabric to make zip pouches.

    You will need:
    – avocado seeds, carving scraps from last tutorial (I used about 2 cups)
    – 4 cups of filtered water
    – 100% natural fabric or yarn (synthetic fabrics will not hold the dye without a mordant) I used a half yard of 100% cotton fabric. As with any newly purchased fabric, you should give it a run through the wash.
    – fine mesh sieve
    – a bowl or container large enough to hold dye and fabric. Stainless steel is great for this, plastic will stain.
    1

    To make your dye:
    Bring 4 cups of water to a boil, add avocado seeds and scraps. Cover lightly.
    Boil for at least 30 minutes. *note… the seeds have an astringent, cedar wood smell. You may want to crack a window or use the oven fan.
    I let my seeds sit in the water overnight in attempt to pull out as much color as possible. You can skip this step if you’re feeling impatient.

    2When you are ready to dye:
    Put your fabric into a pot and cover completely with tap water. Bring to a boil and let simmer for 5-10 minutes. This should strip away anything clinging to the natural fibers… (like soap residue or oils) and make it more susceptible to absorbing and holding dye.

    3

    Remove fabric from water and set aside

    Pour your dye through a fine mesh sieve to remove all seeds and bits. Submerge fabric into dye and let sit for at least 30 minutes. The longer it steeps, the deeper the resulting color.
    For a color gradient effect, try submerging your fabric for 10 minutes, pulling it out of the dye bath a few inches every hour for a few hours. I fully submerged a few pieces of fabric and tried a gradient effect with the others.

    45

    After dyeing:
    Taking note that your fabric will fade when it dries, remove fabric from dye bath when you have reached a desired depth of color.  Allow your fabric to air dry.

    6

    After your fabric has completely dried, rinse it in cold water. Let dry again, and your fabric is ready to use!

    Here’s a little color chart to show the results I got from rinsing in cold water once, and placing the other in a full laundry cycle.

    7

    When I removed my gradient dyed fabric from the dye bath, I was really happy with the result. There was a bit of sediment in my dye which clung to the fabric creating a marbled effect that I loved. I decided to frame that one without giving it a rinse.

    8

    You can save your dye liquid in a sealed jar in the fridge for up to one week.

    9
    Christie Sommers is the designer and maker behind West Oak Design. She handcrafts small batch and one of a kind goods for home, women, and kids in her Wyndmoor, Pa studio.www.westoakdesign.com
     

  • Make This: Easiest Handmade Book Ever

    Photos + Tutorial by Bonnie Kaye Whitfield

    I am obsessed with this book form. It is the fastest way to turn a simple sheet of paper into an 8-page book, all without gluing or sewing. Use this tutorial to whip up a quick notebook, zine or to quickly transform an old work of art.

    Blog_9_Pic_14

    You will need:

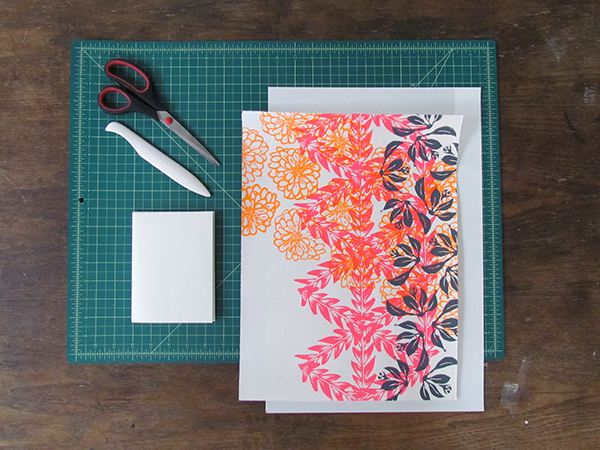
    paper – either blank or an old print, etc
    scissors or cutting knife
    bonefolder – optional

    Blog_9_Pic_1

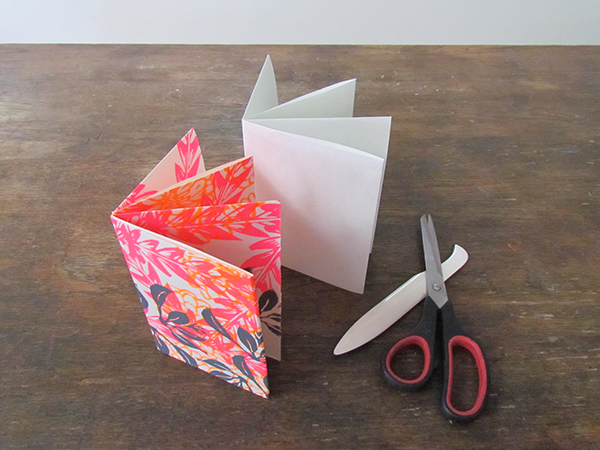
    Gather your materials. I’ll demo with a blank sheet of 12 x 18” paper, but I also have an old test print to make into a book, too.

    Blog_9_Pic_2
    Blog_9_Pic_3

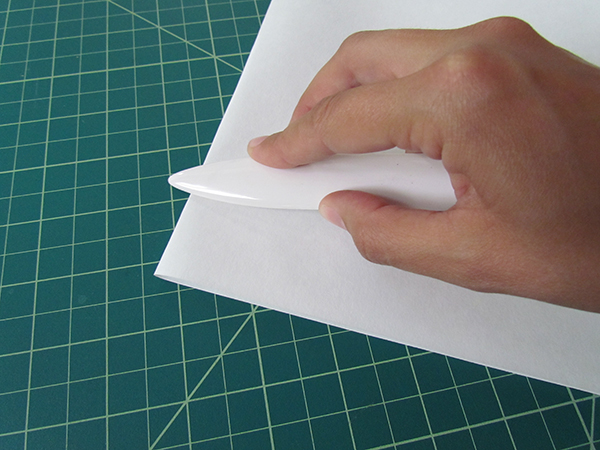
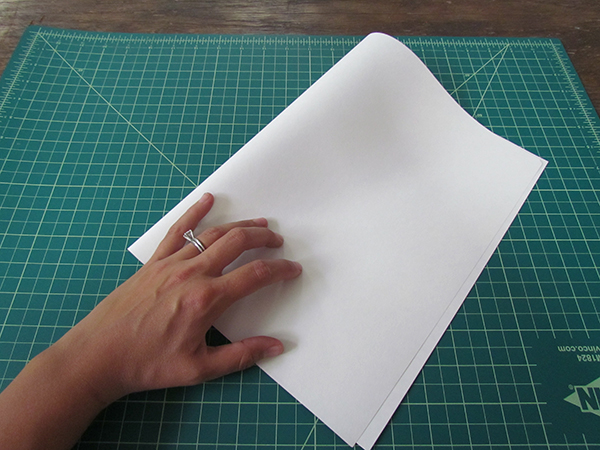
    Start by carefully folding your paper in half, with the shortest ends together (like a “hamburger”). If you have a bonefolder, a super handy tool for making tight creases, then use it. Otherwise, your finger/fingernail will work just fine.

    Blog_9_Pic_4 Blog_9_Pic_5

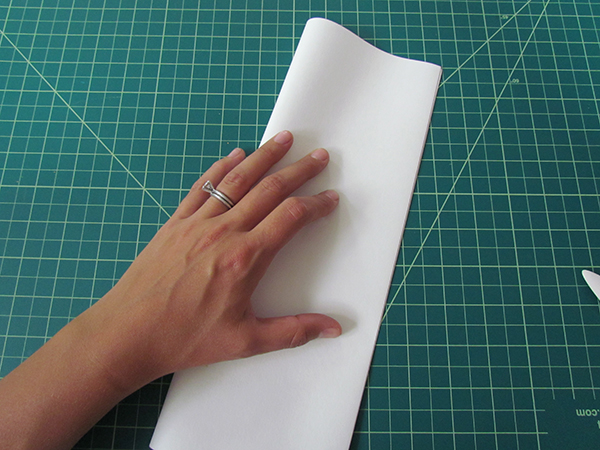
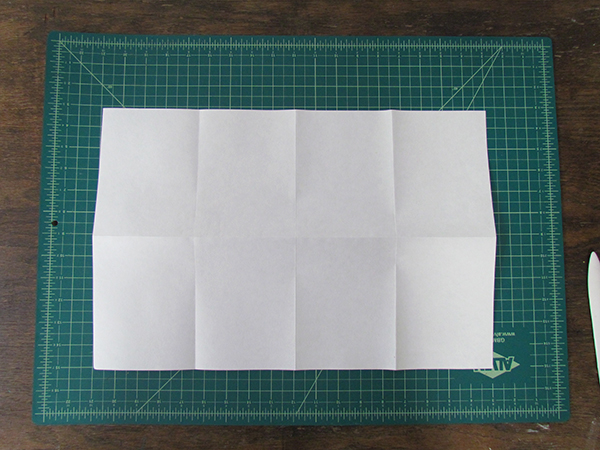
    Next, fold your paper once more in the same direction. When you open it, you should have 4 sections created on your paper.

    Blog_9_Pic_6 Blog_9_Pic_7

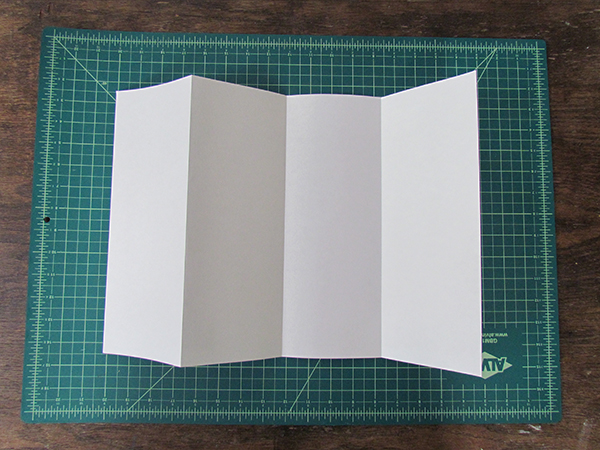
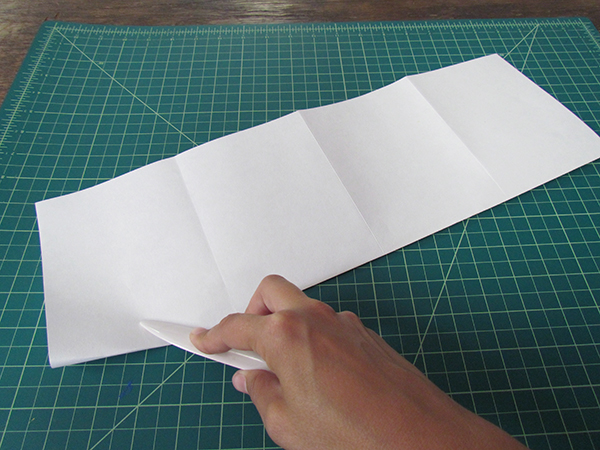
    Then fold your paper in the opposite direction, where the longest ends touch (like a “hotdog”). Make a tight crease. When you open your paper up you should now have 8 sections.

    Blog_9_Pic_8 Blog_9_Pic_9

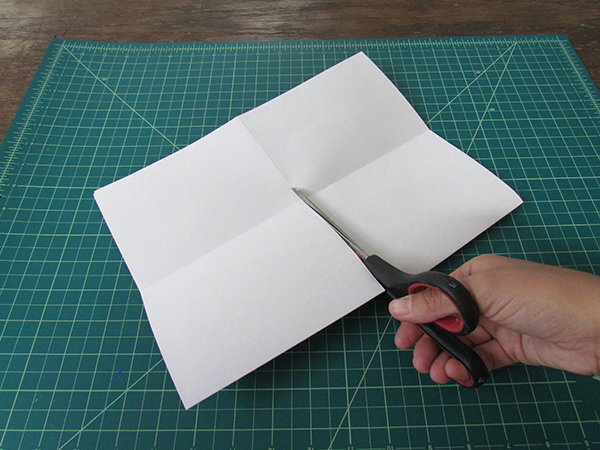
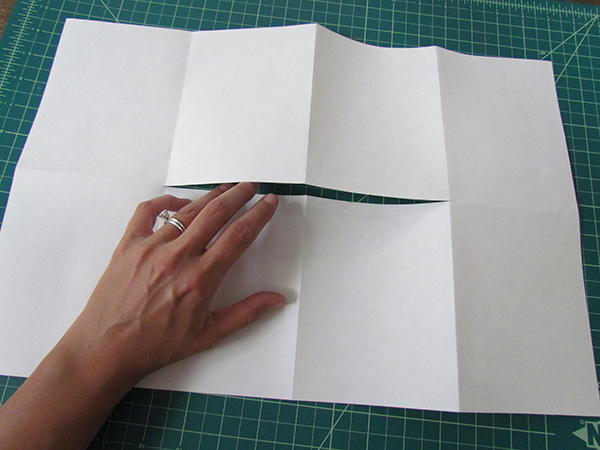
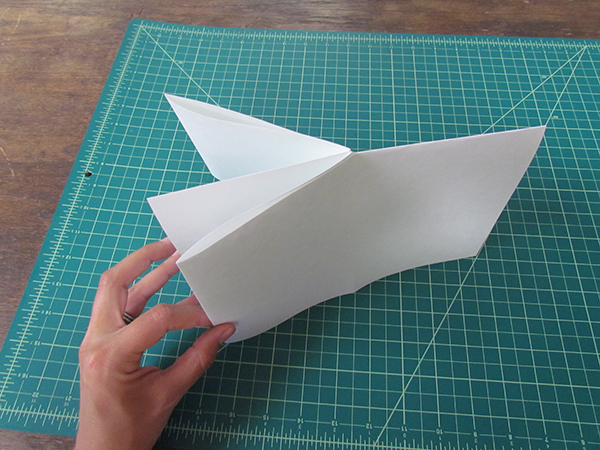
    Fold you paper back in half again, on the very first crease you created (like a “hamburger”). Hold the paper carefully, and begin to cut into the folded edge on the crease – STOP when you get to the corner where the 4 creases come together. When you open your paper, it should look like you have a big slit in the middle.

    Blog_9_Pic_10 Blog_9_Pic_11

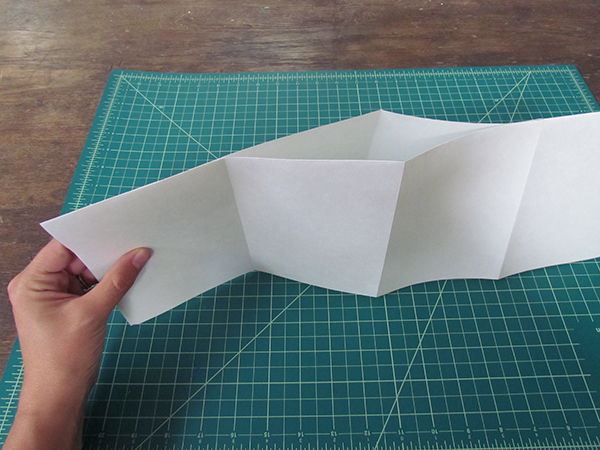
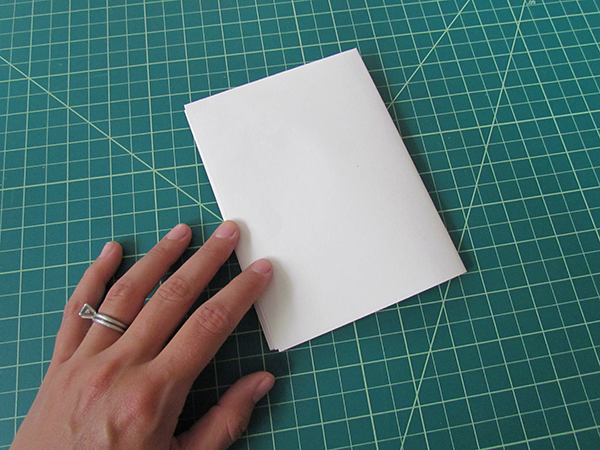
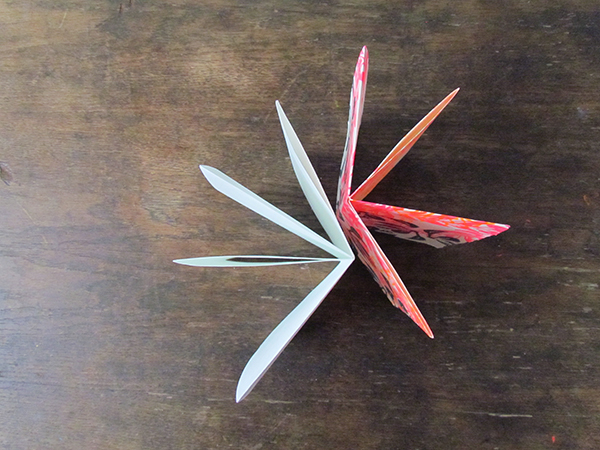
    Refold you paper long ways (like a “hotdog”) and begin to squeeze the two ends of the paper together so that the hole in your paper closes to form 2 more pages. Fold these 4 page “spokes” together to close the book. Sometimes the book has a mind of its own, and you just let the pages tell you how to close up the book.

    Blog_9_Pic_12

    And there you have it, your new 8-page, no-glue, no-sew book!

    Blog_9_Pic_15

    —————————————————————————————————————–
    Bonnie Kaye Whitfield designs and screen prints home textiles + paper goods under the name, Bonnie Kaye Studio. Products are created to inspire memories at home and around the table. A donation is made with every purchase to help feed hungry Americans.

    www.BonnieKayeStudio.com

  • Make This: Avocado Seed Pendant

    Photos and Tutorial by Christie Sommers

    pic8

    If your household goes through as many avocados as mine, you may have thought “there must be something I can do with all these pits!” (cue exasperated infomercial actor). Well there is! In fact there are a few things you can can do with them. I will walk you through two options over the course of this,and my next, tutorial for Art Star. In this tutorial, I will show you how to make a hand carved pendant, and later this month I will show you one way to turn the carving scraps and pit skins into a natural dye. So save those scraps!

    You will need:

    Pic 1

    *Hass avocado pits (at least two)

    *Xacto blade or other carving tools. No experience necessary! I have no “official” carving training aside from a brief period of self taught printmaking. Just proceed with caution, these tools are sharp! You can get creative with items in your kitchen or toolbox. Use a Phillips head screwdriver for “x” shapes, metal skewers for dots, drag a fork for perfectly spaced lines…. you get the idea.

    *a drill or Dremel for making holes

    *a length of rope or string from which to hang your pendant (I used waxed cotton cord, hemp works well too)

    You will need to allow your your seeds to dry out for at least 3 days before carving. No more than around 2 weeks or they will shrivel up and solidify, making them very difficult to carve.

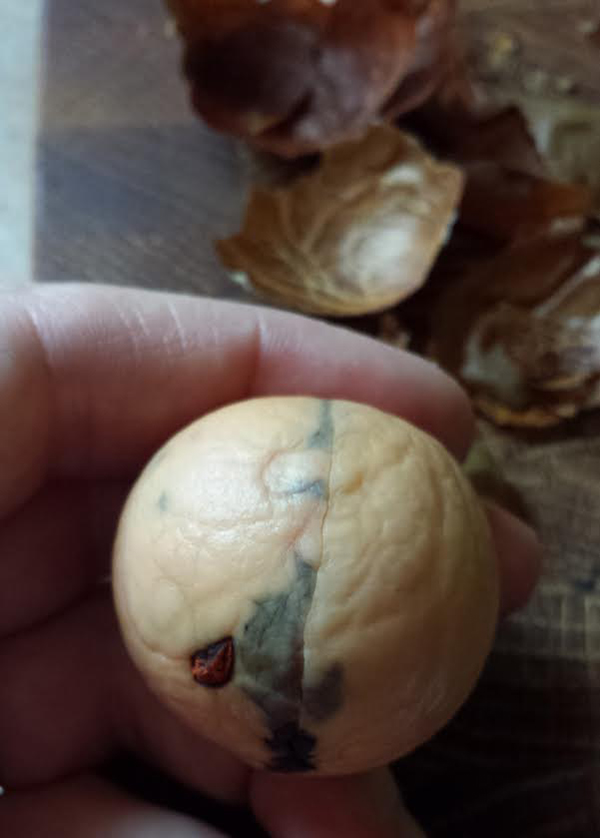
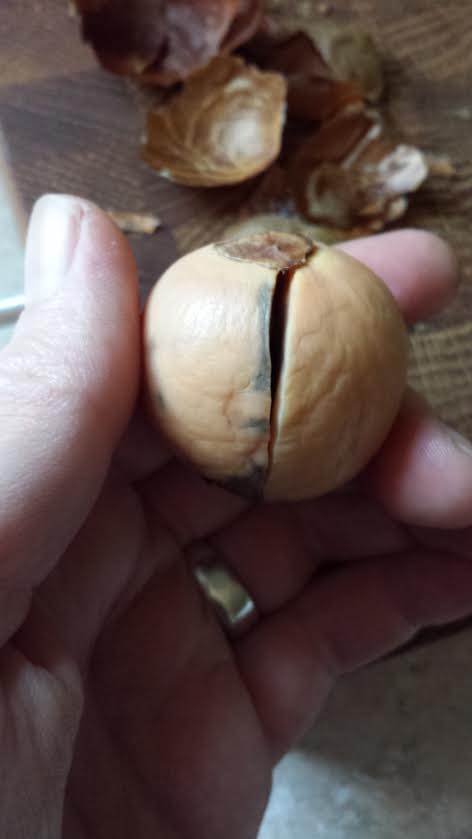
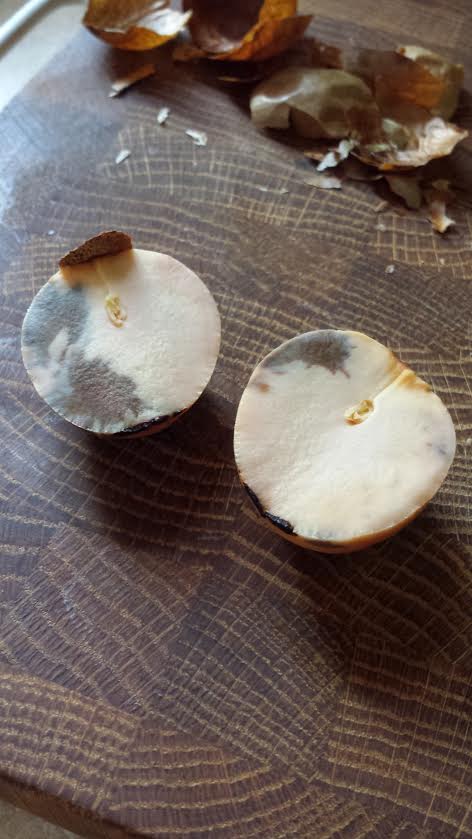
    Avocado seeds are dicots. Simply put, they are in two parts. You need to find the natural split that separates the two sides. If you don’t split them prior to carving, they will split on their own later.. most likely straight through your nice design. I learned this one the hard way.

    After your seed has dried for a few days, peel the outer layer of skin away and set skin aside.

    Pic 2

    Pinch the seed between your thumb and forefinger until the natural split begins to appear.

    Pic 3

    You may need to stick a flat head screwdriver into the split to pry them apart, otherwise just get a finger in there to separate.

    Pic 4

    You now have two halves… two potential pendants.

    Pic 5

    Start by deciding where you would like to drill the hole for your string. Don’t go too close to edge if you want to avoid unwanted cracks.

    Drill a hole through the seed being careful not to press too hard, let the drill do the work. Too much pressure may cause the seed to split where you don’t want. You may have to go through a few practice seeds to get a feel for it.

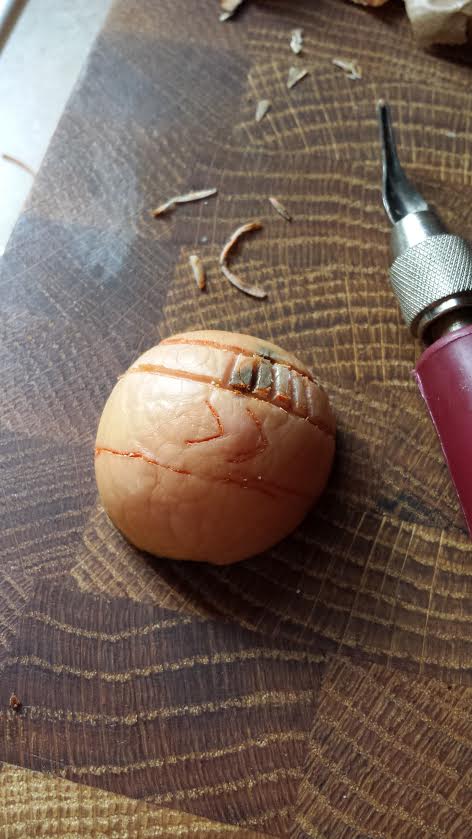
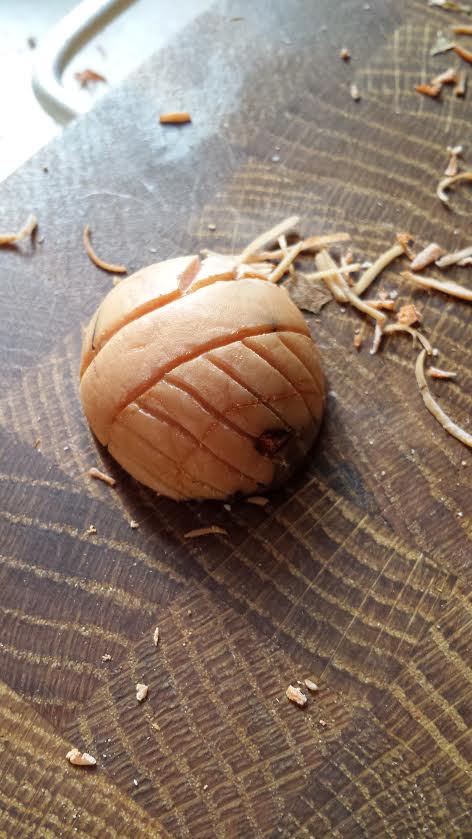
    Start carving! You can lightly scratch designs into the seed with a pencil first as a guide.

    Pic 6 Pic 7

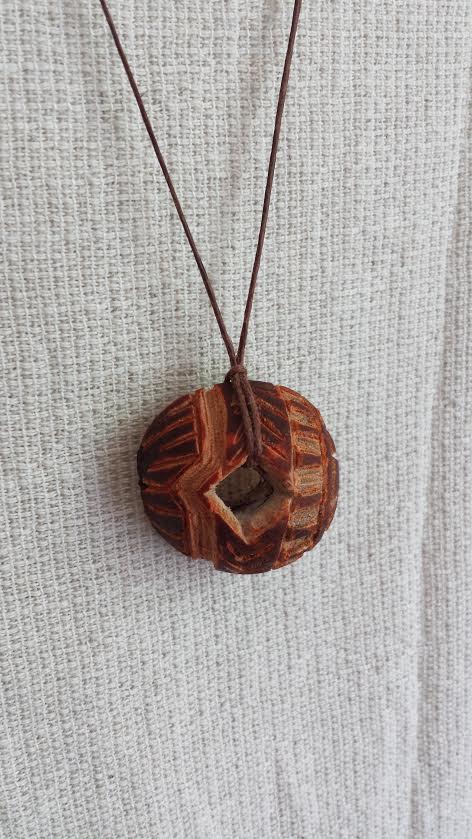
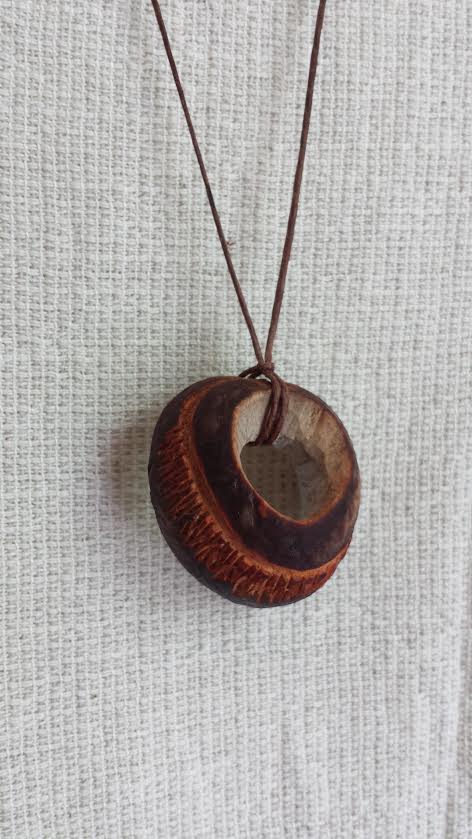
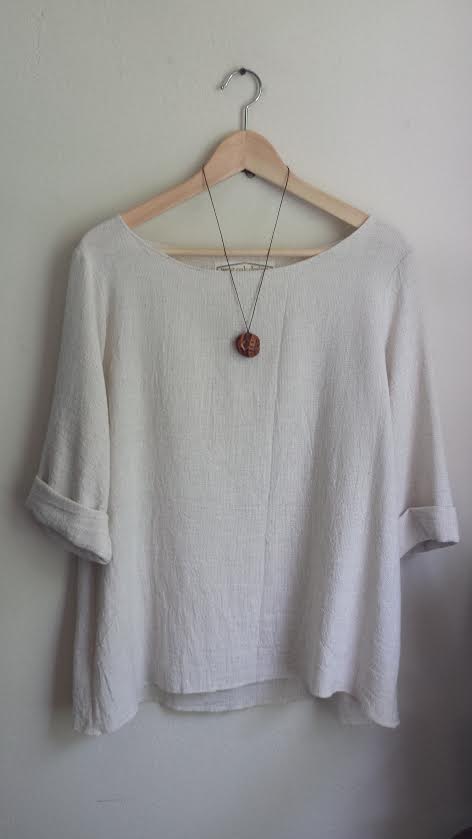
    For this tutorial I carved one pendant with a little mountain landscape, one that was inspired by mud cloth designs, and lastly a pendant with a more simplistic organic shape. I tried to make the drilled hole an intentional part of the design.

    pic 9 Pic 10 Pic 11

    String your new pendant onto your rope/string and tie in the back at your desired length.

    If you’d like to give your pendant a nice finish, try wiping with a cloth that has been lightly dipped in mineral oil.

    Now throw those seed shavings and skins into a ziplock bag and toss them in your freezer until next time when I share a way to turn those scraps into a natural dye.

    —————————————————————————————————————–
    Christie Sommers is the designer and maker behind West Oak Design. She handcrafts small batch and one of a kind goods for home, women, and kids in her Wyndmoor, Pa studio.www.westoakdesign.com
The owner of this website has made a commitment to accessibility and inclusion, please report any problems that you encounter using the contact form on this website. This site uses the WP ADA Compliance Check plugin to enhance accessibility.