Photos and Tutorial by Christie Sommers
If your household goes through as many avocados as mine, you may have thought “there must be something I can do with all these pits!” (cue exasperated infomercial actor). Well there is! In fact there are a few things you can can do with them. I will walk you through two options over the course of this,and my next, tutorial for Art Star. In this tutorial, I will show you how to make a hand carved pendant, and later this month I will show you one way to turn the carving scraps and pit skins into a natural dye. So save those scraps!
You will need:

*Hass avocado pits (at least two)
*Xacto blade or other carving tools. No experience necessary! I have no “official” carving training aside from a brief period of self taught printmaking. Just proceed with caution, these tools are sharp! You can get creative with items in your kitchen or toolbox. Use a Phillips head screwdriver for “x” shapes, metal skewers for dots, drag a fork for perfectly spaced lines…. you get the idea.
*a drill or Dremel for making holes
*a length of rope or string from which to hang your pendant (I used waxed cotton cord, hemp works well too)
You will need to allow your your seeds to dry out for at least 3 days before carving. No more than around 2 weeks or they will shrivel up and solidify, making them very difficult to carve.
Avocado seeds are dicots. Simply put, they are in two parts. You need to find the natural split that separates the two sides. If you don’t split them prior to carving, they will split on their own later.. most likely straight through your nice design. I learned this one the hard way.
After your seed has dried for a few days, peel the outer layer of skin away and set skin aside.

Pinch the seed between your thumb and forefinger until the natural split begins to appear.
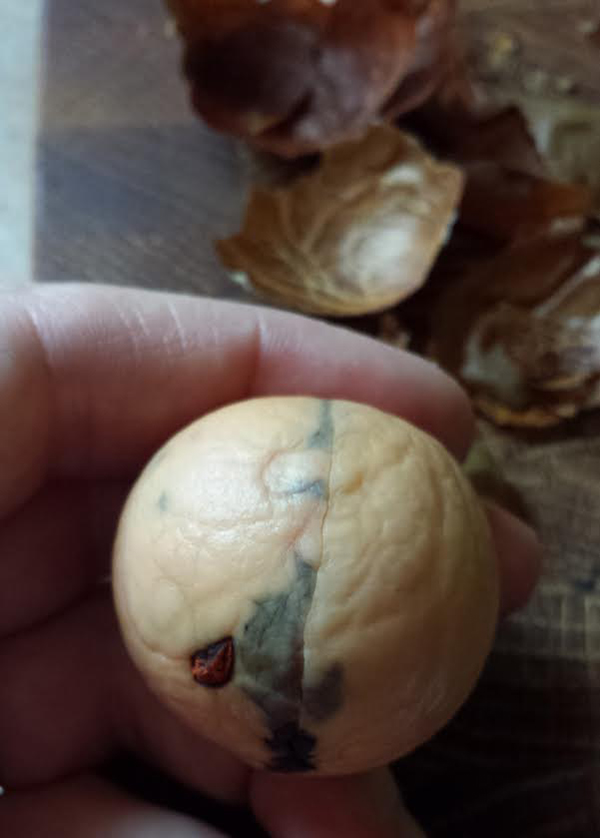
You may need to stick a flat head screwdriver into the split to pry them apart, otherwise just get a finger in there to separate.
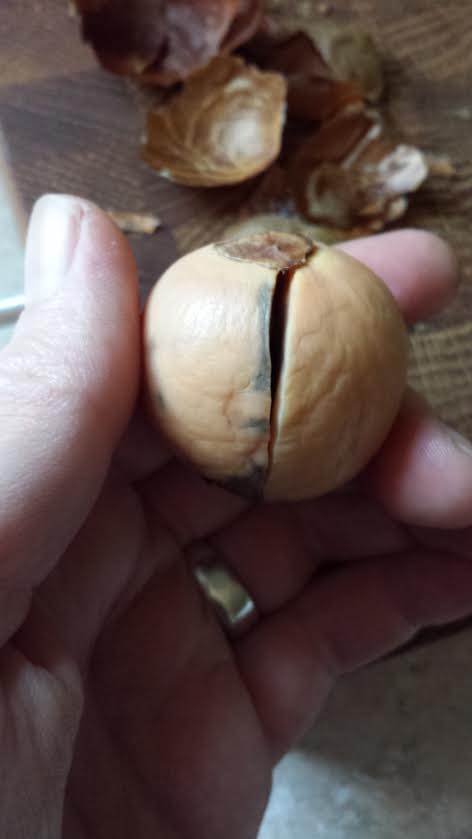
You now have two halves… two potential pendants.
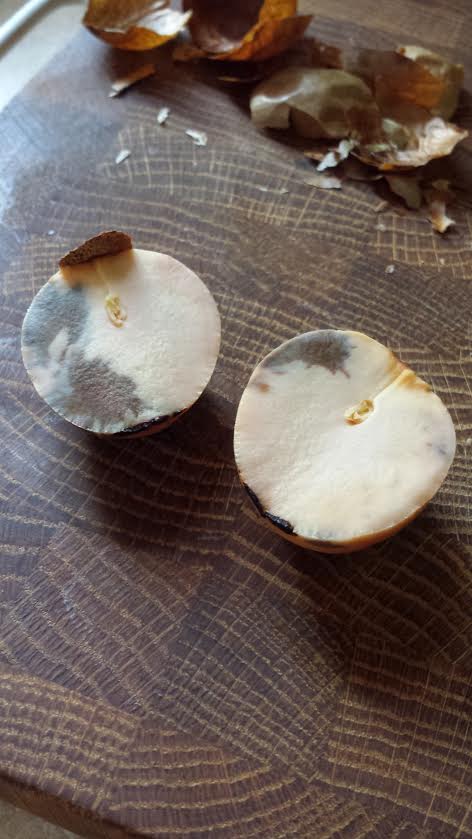
Start by deciding where you would like to drill the hole for your string. Don’t go too close to edge if you want to avoid unwanted cracks.
Drill a hole through the seed being careful not to press too hard, let the drill do the work. Too much pressure may cause the seed to split where you don’t want. You may have to go through a few practice seeds to get a feel for it.
Start carving! You can lightly scratch designs into the seed with a pencil first as a guide.
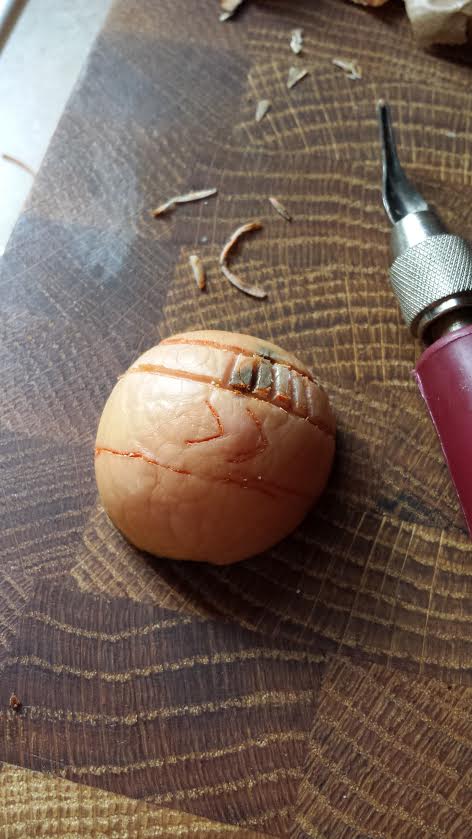
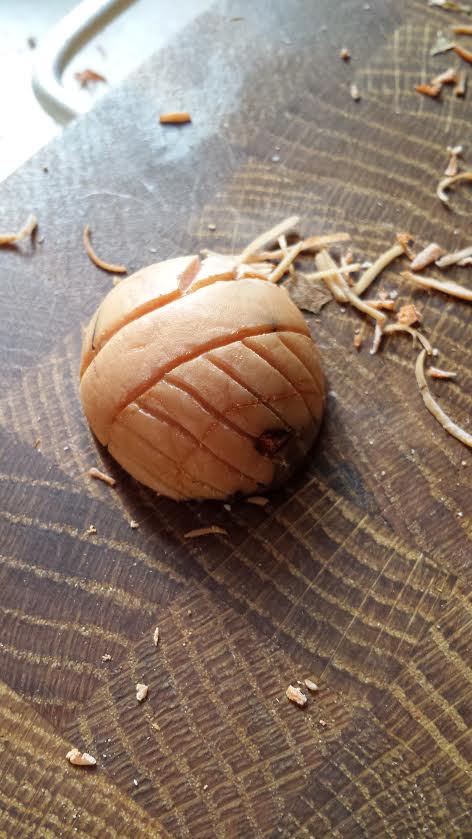
For this tutorial I carved one pendant with a little mountain landscape, one that was inspired by mud cloth designs, and lastly a pendant with a more simplistic organic shape. I tried to make the drilled hole an intentional part of the design.
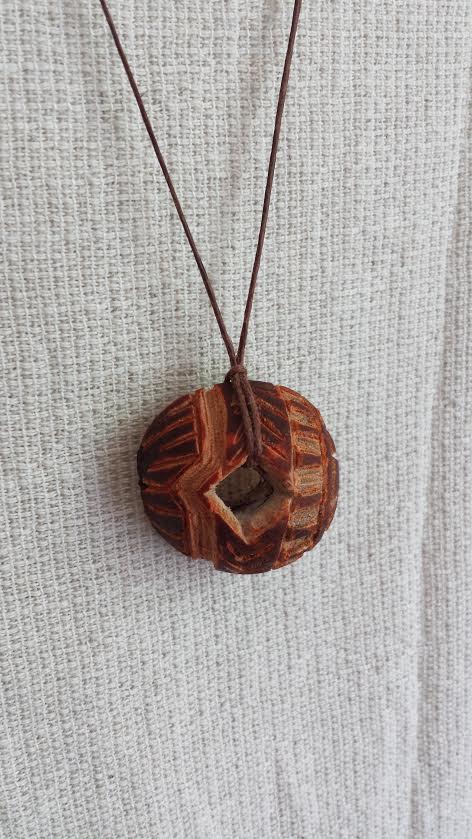
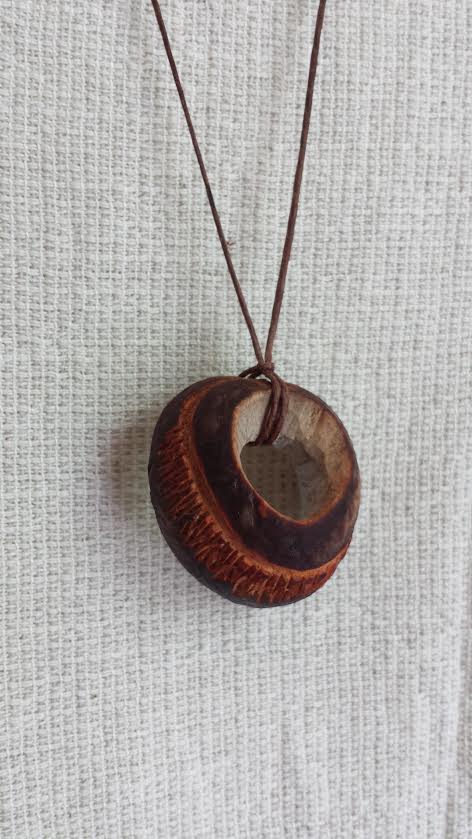
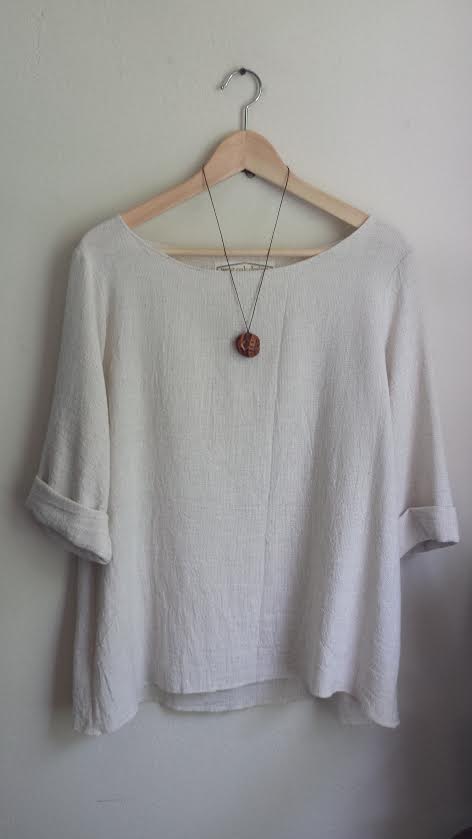
String your new pendant onto your rope/string and tie in the back at your desired length.
If you’d like to give your pendant a nice finish, try wiping with a cloth that has been lightly dipped in mineral oil.
Now throw those seed shavings and skins into a ziplock bag and toss them in your freezer until next time when I share a way to turn those scraps into a natural dye.
—————————————————————————————————————–
Christie Sommers is the designer and maker behind West Oak Design. She handcrafts small batch and one of a kind goods for home, women, and kids in her Wyndmoor, Pa studio.www.westoakdesign.com
