Tag: Craft Tutorials

  • Make This: Quick + Easy Matte Medium Transfer

    Photos + Tutorial by Bonnie Kaye Whitfield

    Here’s a quick and simple image transfer for using matte medium and a photocopy of an image. It’s a helpful trick for adding layers of imagery to mix media works of art. On the other hand, it can also be a beautiful way to create a piece for your home or a friend that encapsulates a memory or person.
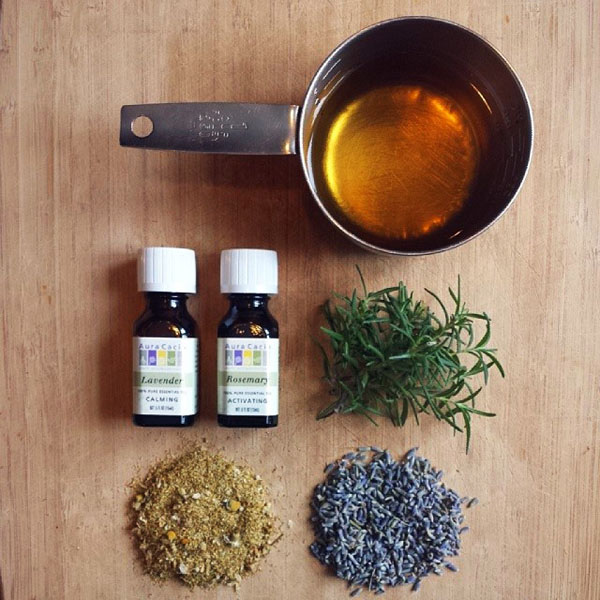
    Blog_8_Pic_1

    You will need:

    photocopy of image to transfer / copy in reverse if it matters to the image
    thick paper, canvas, or wood to use as background
    matte medium
    foam brush or wide brush
    old plastic card or brayer
    container for water
    sponge (optional)
    hair dryer (optional)

    Blog_8_Pic_3

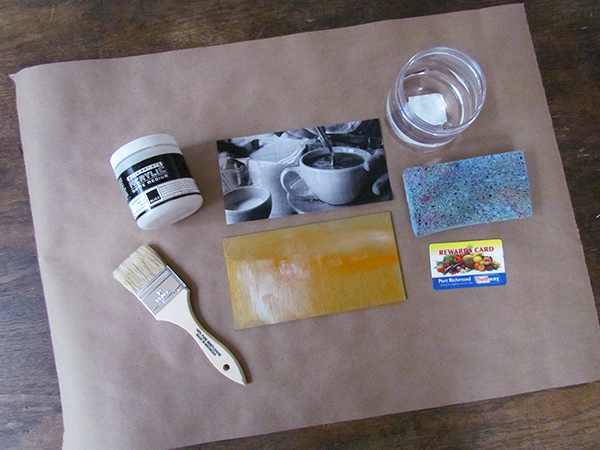
    Gather your materials. Make a photocopy or laser print of your image that you want to transfer. You need the toner in the paper, so an ink jet print will not work. I recommend starting with a small image the first time you try this process.

    Depending on your design or what you want to make, if you want a background to your image then you’ll want to do that first. Go crazy, if you like, with painting a simple background using paint or ink washes. Let the background dry completely.

    Blog_8_Pic_5 Blog_8_Pic_4

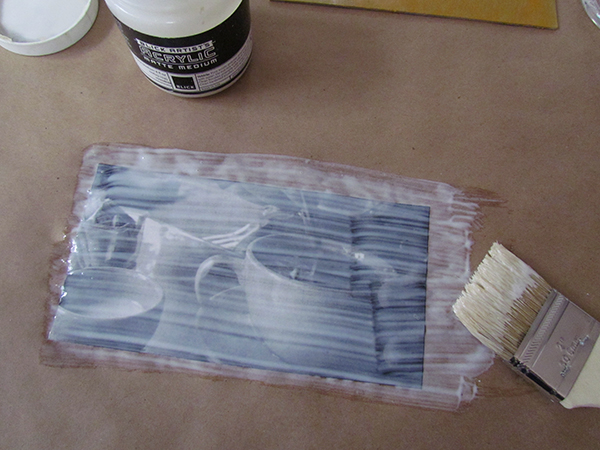
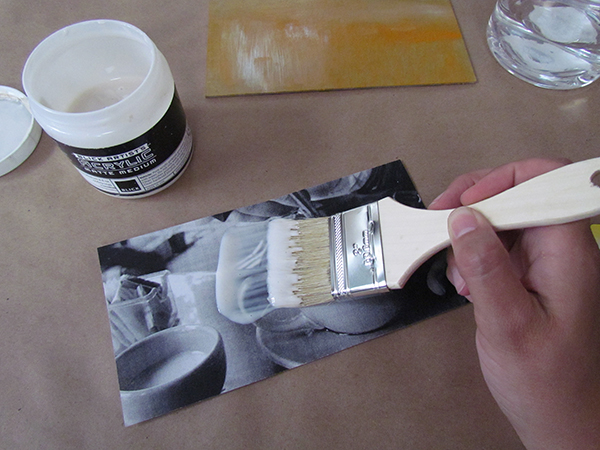
    Cut out the image that you want to transfer, removing any excess paper. Using a foam brush, brush on matte medium on the frontside of the entire image, using a smooth and thick coat. Foam brushes are ideal since they don’t leave many streaks, but any brush can work.

    Blog_8_Pic_6

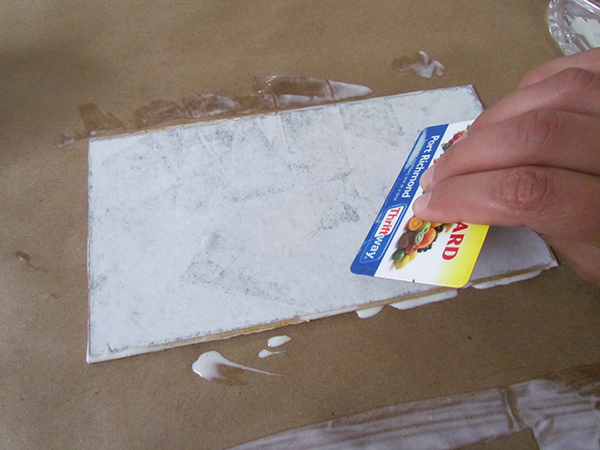
    Flip the image over onto your background. Use a brayer or old plastic card to smooth out the image and make sure that it has solid contact to the background. Any air bubbles may result in small areas of the image not being transferred. Let dry completely. Feel free to use a hairdryer to speed up the process.

    Blog_8_Pic_8

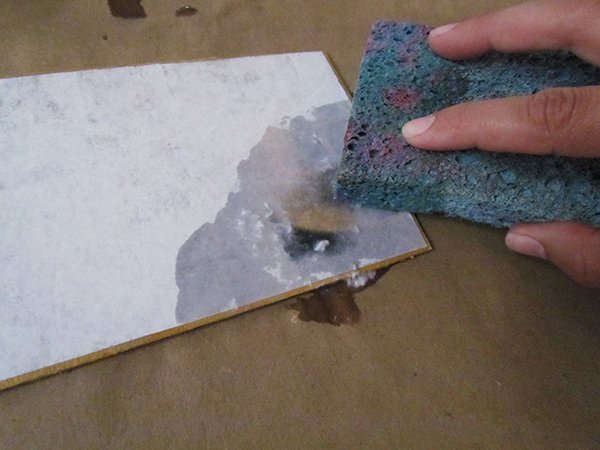
    Once the image dries (the paper will turn opaque again), grab your water container and sponge. Slowly use a damp sponge (or your finger) and work in a small circular motion to begin to remove the paper backing. This might take a while so put on a good podcast or your favorite Netflix show.

    Blog_8_Pic_7
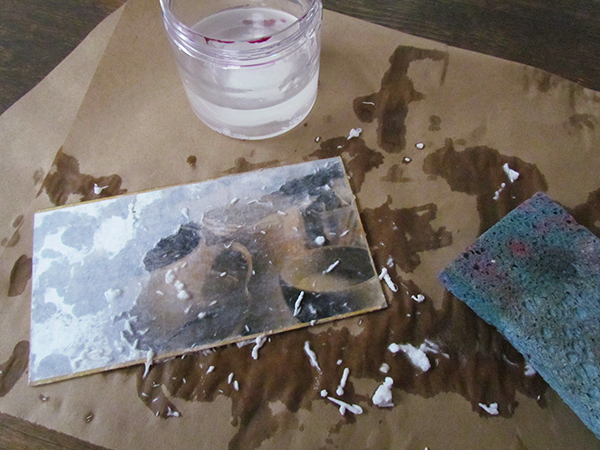
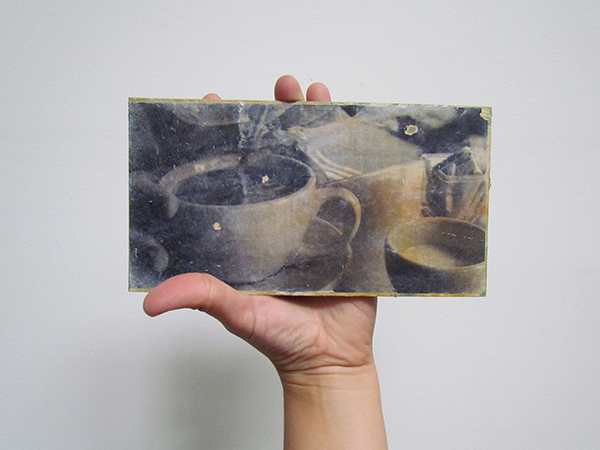
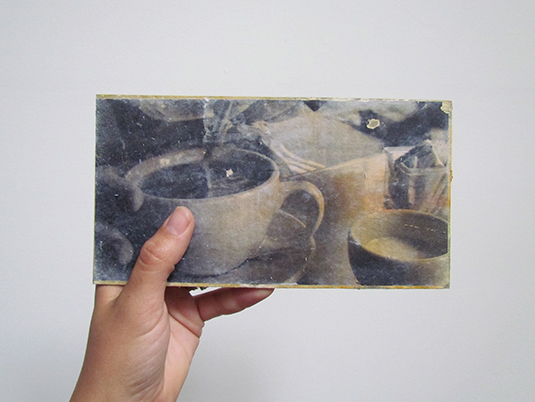
    Try to work slowly, but if some of the transfer rubs off, it will just add to the rustic quality of the image. You’ll likely need to repeat this process a few times. As the image dries, any fibers that are not rubbed off will continue to cloud the image. Once you get the image to your satisfaction, give the image a top coat of matte medium to seal it.

    Blog_8_Pic_2

    ————————————————————————————————————-
    Bonnie Kaye Whitfield designs and screen prints home textiles + paper goods under the name, Bonnie Kaye Studio. Products are created to inspire memories at home and around the table. A donation is made with every purchase to help feed hungry Americans.

    www.BonnieKayeStudio.com

  • Christie’s Herbal Conditioning Rinse Tutorial

    Tutorial + Photos by Christie Sommers of West Oak Design

    Here is a miracle rinse to tame the driest of winter hair. Don’t be afraid of the vinegar… I promise you won’t smell it in your hair after your shower. The acidity of apple cider vinegar smooths the hair cuticle and leaves the frizziest hair looking shiny and healthy and feeling incredibly soft.  Try this herbal rinse as a treat for yourself.. or your valentine.

    You will need:

    -3 cups of filtered water (separated)
    -1/2 cup of apple cider vinegar
    -A few sprigs of rosemary (dry or fresh)
    -2 teaspoons of lavender..use more or less to your liking.
    You can add just about any herbs you like according to your scent preferences. I added chamomile. This recipe is very flexible
    -5-10 drops of essential oil of your choice (I used rosemary & lavender)

    Image 1

    *Boil 2 cups of filtered water

    *Remove from heat and add your herbs. I use rosemary for its clarifying properties, lavender for its relaxing scent, and chamomile which adds subtle golden highlights. Note: try hibiscus for red highlights

    Image 2

    *Let steep for at least 45 minutes. The longer the better. Sometimes I’ll let it sit covered all day.
    *Allow herbal tea to cool completely.
    *Pour tea through a fine mesh sieve to remove herbs.  A tea ball infuser works well too.

    Image 3

    *Add 5-10 drops of essential oil to…
    * 1/2 cup of apple cider vinegar

    Image 4

    *Add 1 cup filtered water to the filtered “tea”, then add the vinegar/oil mixture

    Image 5
    *Recipe yields 3 cups.
    *I fill a spray bottle for the shower and pour the remainder into a mason jar for later.
    *I wash my hair every other day and use this rinse every time.

    After 2 or 3 uses you should begin to see a huge improvement in the softness and shine of your hair.

    Enjoy!

    _____________________________________________________________

    Christie Sommers is the designer and maker behind West Oak Design. She handcrafts small batch and one of a kind goods for home, women, and kids in her Wyndmoor, Pa studio.www.westoakdesign.com

The owner of this website has made a commitment to accessibility and inclusion, please report any problems that you encounter using the contact form on this website. This site uses the WP ADA Compliance Check plugin to enhance accessibility.