Photos + Tutorial by Bonnie Kaye Whitfield
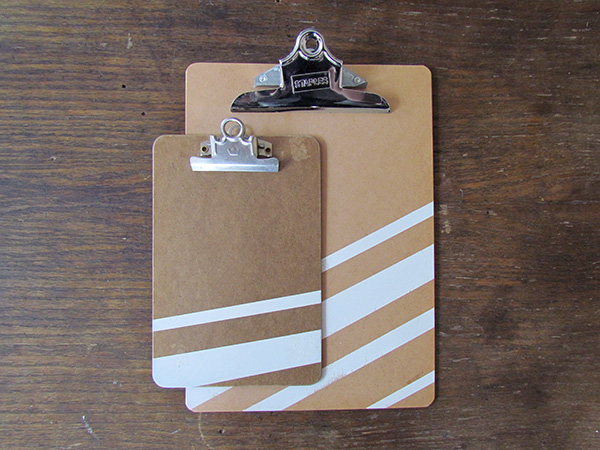
Sometimes things just needs a little sprucing up. This time of year, when many of us try to focus on spring cleaning and organizing, I find that I need a bit of motivation. Here’s a speedy screen printing method to jazz up old clipboards, but could also be used on other flat office supplies, such as binders, folders, box lids, etc.
You will need:
clipboards
screen printing frame
screen printing ink
spatula or plastic spoon
squeegee
packaging or blue tape
a friend to hold down your screen / or a hinge clamp board
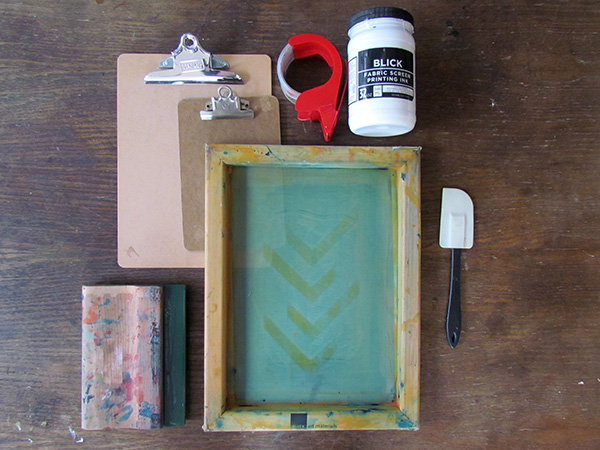
Gather your materials. I had a few old clipboards lying around my studio that definitely needed a facelift, but you can always purchase plain ones at Staples or Target. The screen printing frame that I am using is from Blick. It’s pretty amazing what you can do without fancy screen printing equipment. With screen printing, you are masking, or blocking, parts of the open screen to create a stencil. Whatever is “open” will print, whatever is “blocked” – in our case with tape – won’t print. I find that you can create fun geometric designs by simply using tape. If you’re looking for something more complex, try cutting a stencil out of contact paper. Same idea.
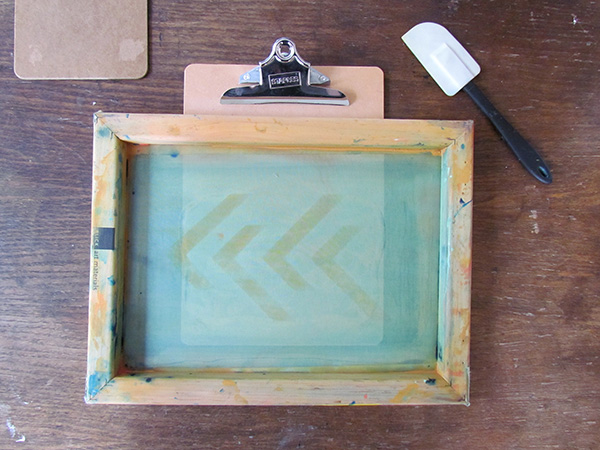
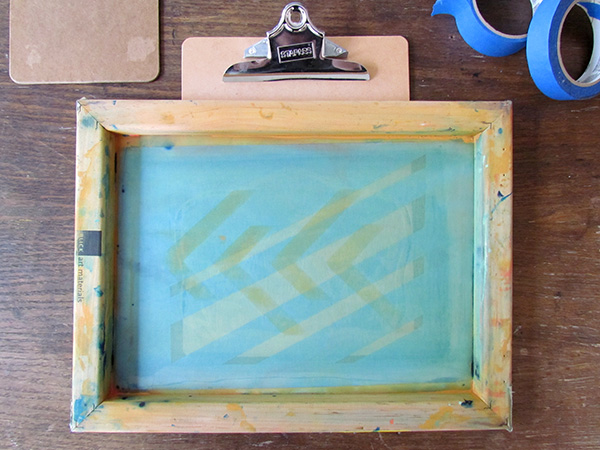
When you screen print, the screen needs to be directly flush and in contact with whatever you are printing on, with the frame facing upwards. Place your clipboard underneath your screen, as you’ll be printing, to get a sense of size. Your screen should be larger than your clipboard, and needs at least a 2” border buffer, as printing too closely to the edge of the screen is tricky and just doesn’t print well.
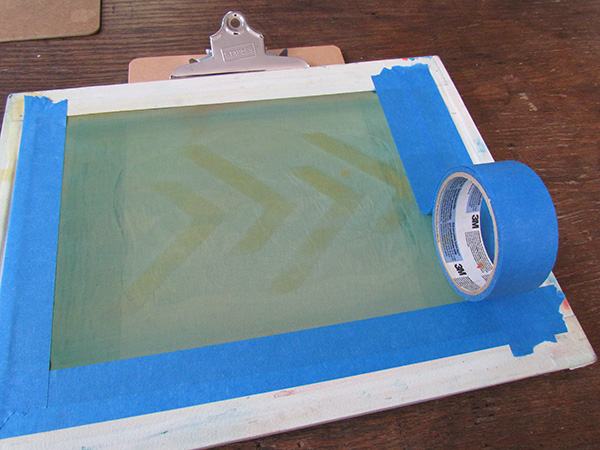
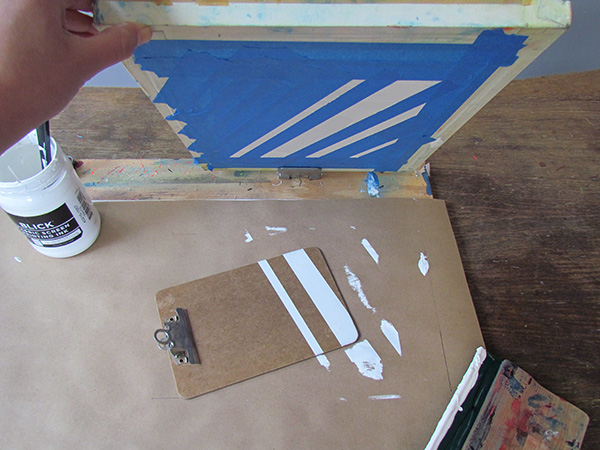
Flip your screen over. You’ll now block parts of the screen using tape. Begin with the sides and bottom of the screen so that you get closer to the actual size of the clipboard. Then have fun with creating open stripes or geometric patterns with your tape. Just keep in mind that you’ll eventually have to flip your screen over again, so remember that your print will come out in reverse of what you are taping.

Before printing, flip your screen over to get a better sense as to what will print. I’m going to print off the edges of my clipboard, which is why the open area is larger than my clipboard, but feel free to keep the printing contained within the printing surface. It’s definitely less messy that way.
To print, you’ll need the frame to be held in place, either by a handy friend or in my case, a hinge-clamp board. Gather your ink + squeegee.
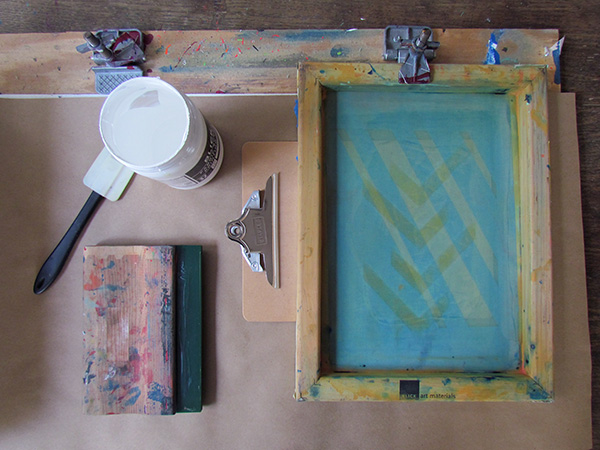
Position the clipboard directly under the screen where you want to print. Using a spatula or spoon, spread ink to the top of your screen in a line.

Before printing, you need to “flood” your screen. Using your squeegee, which should be a little wider than your design, in your dominant hand and holding the frame up in your other hand, pull the ink towards you at a 45 degree angle. This is filling the open screen with ink prior to printing. (Since I was taking a picture, I just rested my frame on my tape roll.)

Once the screen is full of ink, place the screen down directly on the clipboard. With the screen firmly in place, pull the squeegee down again at a 45 degree angle. Don’t be afraid of really applying some pressure here. In fact, you may want to do 2 or 3 pulls, as wood will absorb some of the ink.

Gently pull up the frame and you should have a new, fancy updated clipboard. If you are printing on various size clipboards, as I did, be sure to print in order from large to small. And with printing, the time is in the setup not the printing, so why not line up a pile of flat items to print on while you’re at it!
—————————————————————————————————————————
Bonnie Kaye Whitfield designs and screen prints home textiles + paper goods under the name, Bonnie Kaye Studio. Products are created to inspire memories at home and around the table. A donation is made with every purchase to help feed hungry Americans.
Leave a Reply