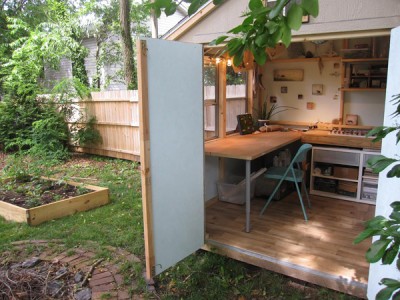
I’m Sammi Nguyen, the hands and brains of a little operation called Group Hug Quilts. My working process is not always the most photogenic, what with piles of fabric scraps towering ever higher around me and loose threads always getting caught in my hair and stuck to my socks, but I’ve cleaned up my act for a few photos to show you how I make a baby quilt.
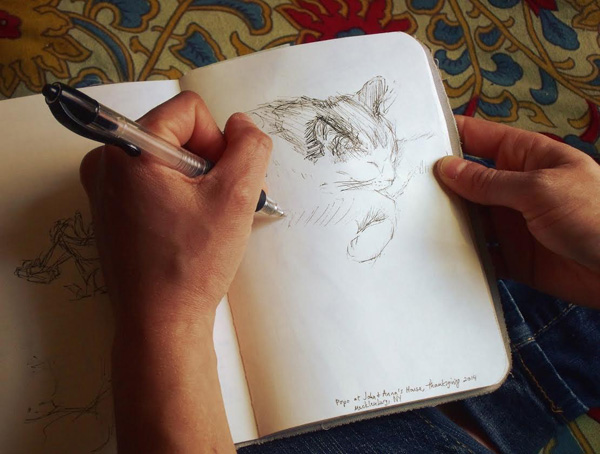
For my baby quilts, I most often take my inspiration from animals. I sketch critters in my sketchbook, until I alight on one in just the right attitude for the quilt of the moment. (The rest of this post shows me making an elephant quilt, but this cat sketch was nicer than the elephant sketch.)
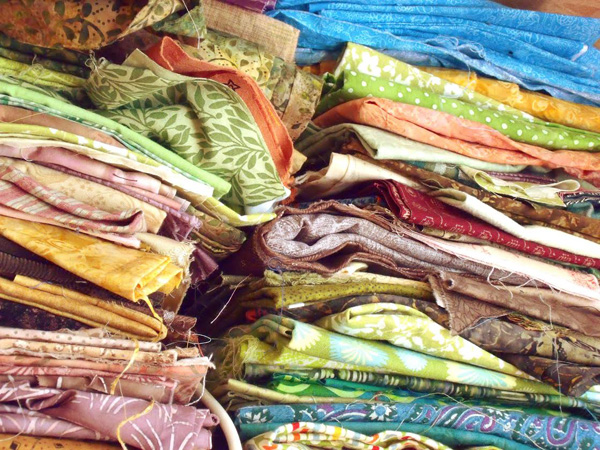
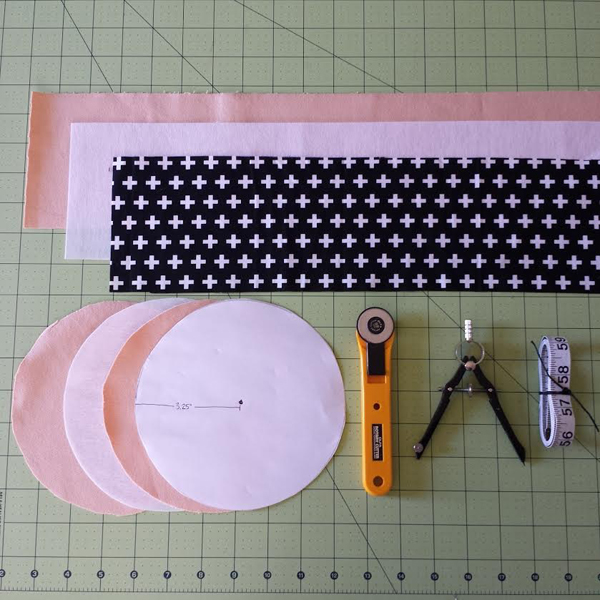
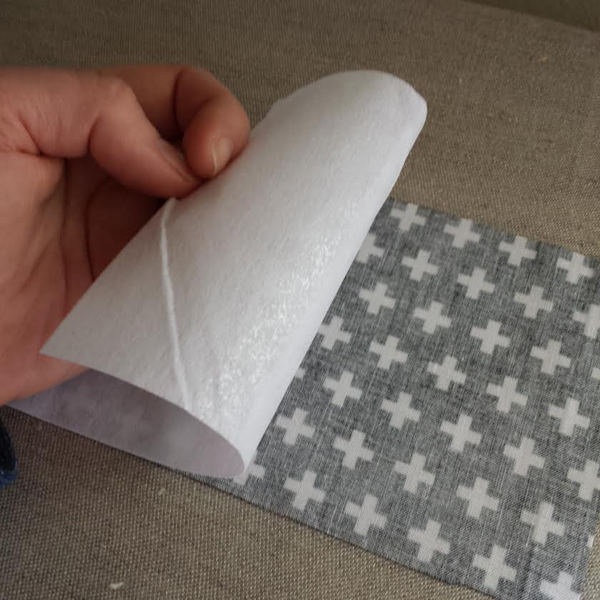
My studio is filled with overflowing shelves of fabric, which I source from all four corners of the earth, but especially from New York’s fabric district, which is a short trip by subway from where I live and work in Greenpoint, Brooklyn. Fabrics are an additional source of inspiration, whether they are solid or patterned, new or vintage. I work almost exclusively with natural fibers like linen, silk, denim, and cotton, with the exception of the occasional too-intriguing-to-pass-up piece of vintage polyester.
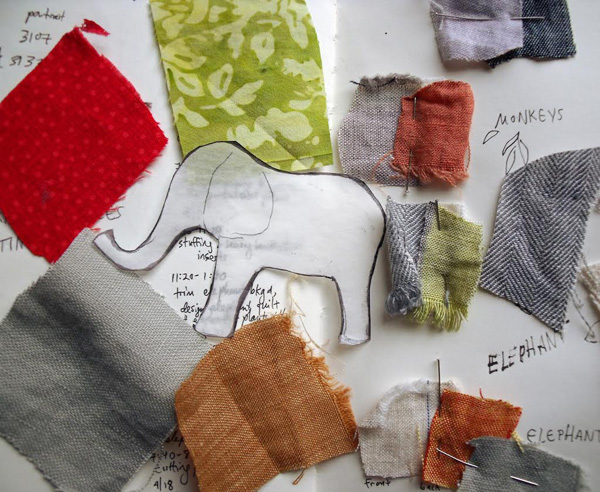
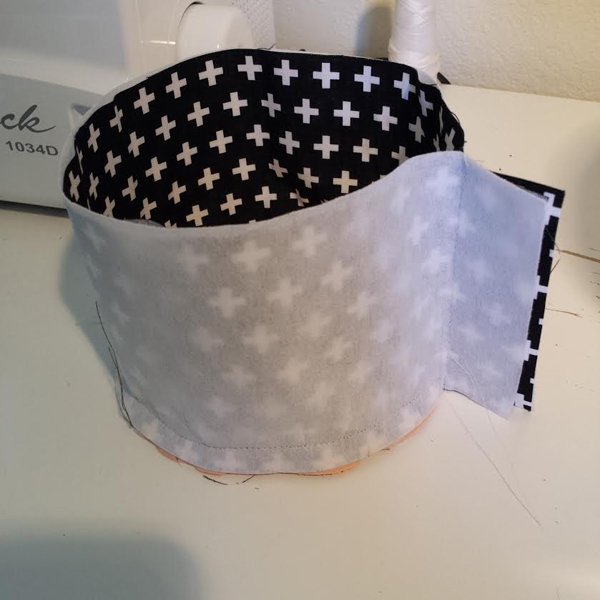
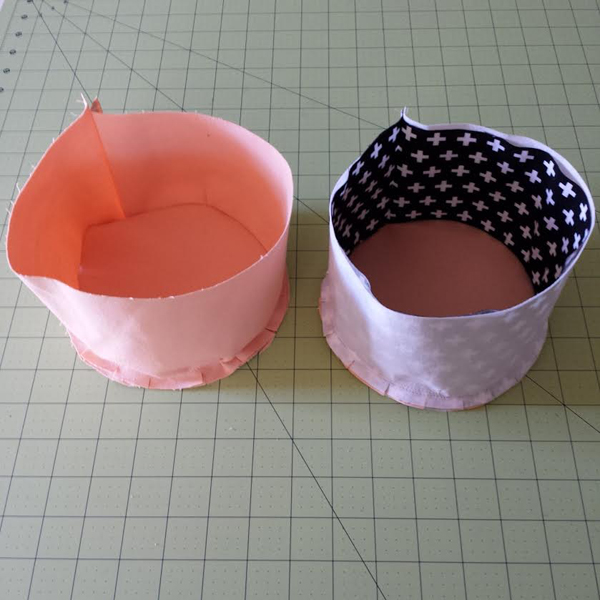
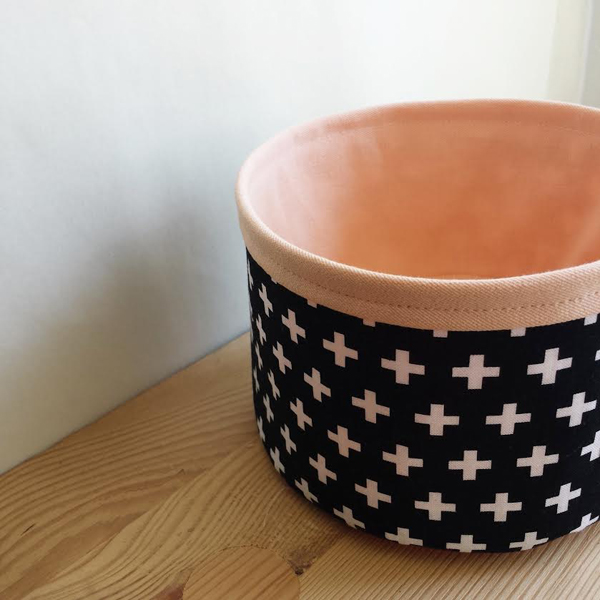
After I have chosen a charming member of the animal kingdom, I comb through my fabrics until I settle on a basic color scheme and textures. For this elephant quilt, I chose a muted orange linen for the quilt top and an oatmeal linen for the back and border, feeling that they suggested a dusty savannah environment that would be a suitable home for a leathery pachyderm.
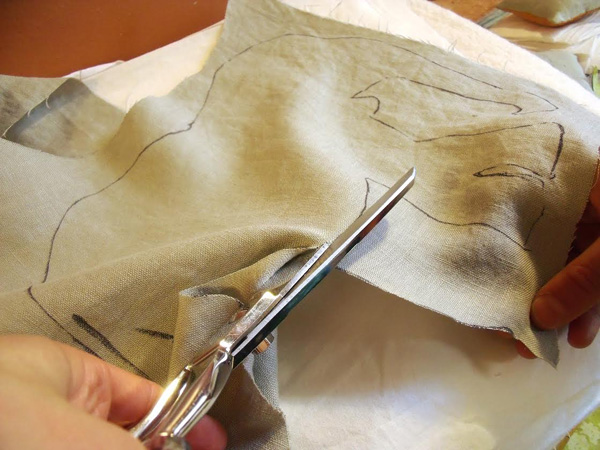
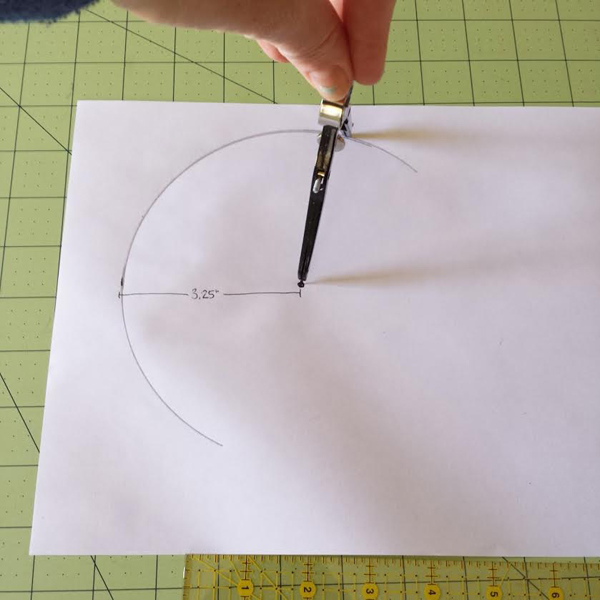
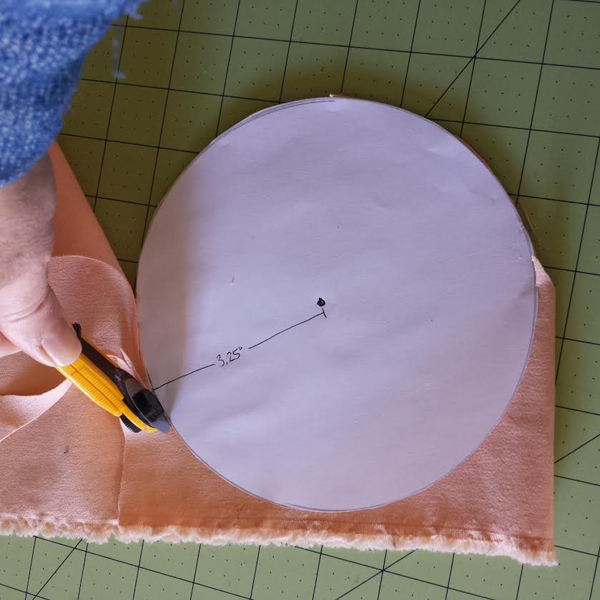
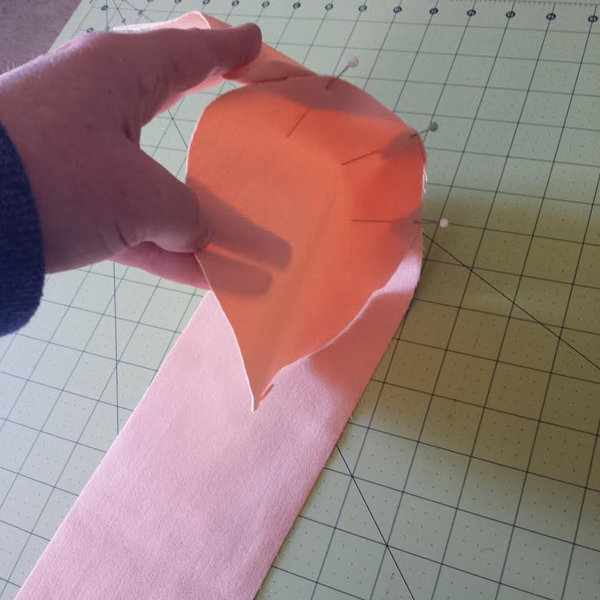
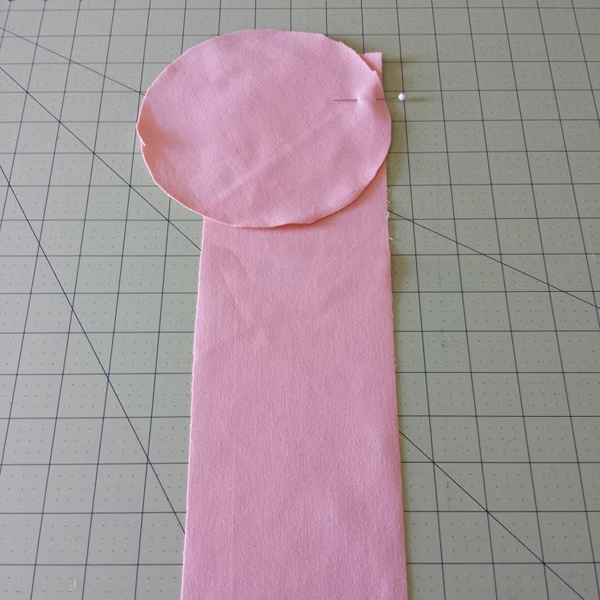
The subtlety of an animal’s shape makes a huge difference to the finished piece, and it often takes a while to get the drawing of the quilt’s subject just right, even if it is a fairly simple silhouette. From the finished drawing, I make pattern pieces out of tracing paper and trace and cut each piece individually, which leads to a lot of subtle variation from quilt to quilt.
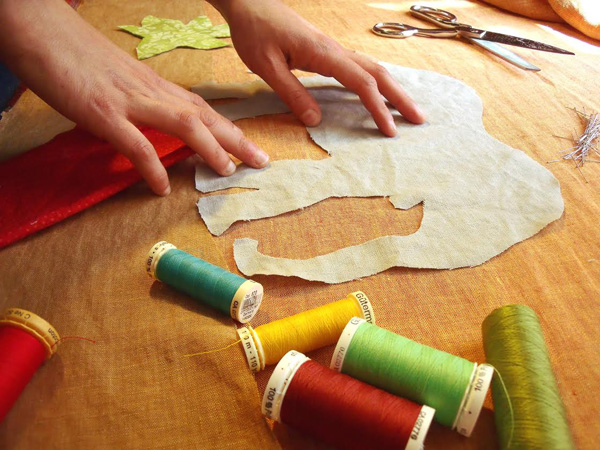
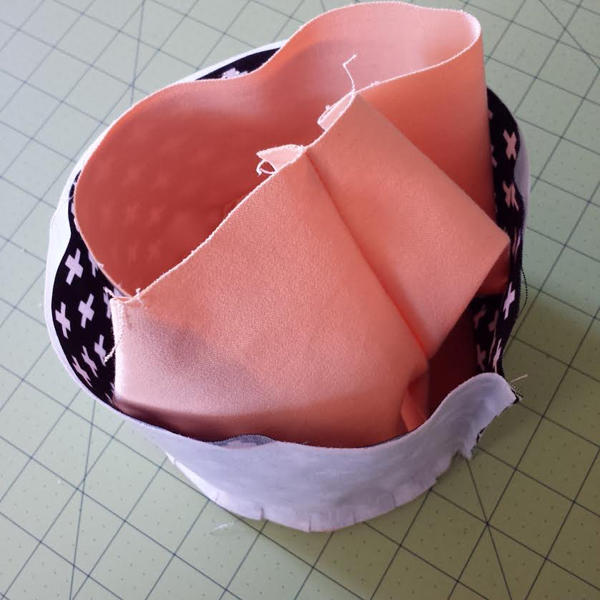
While I usually start with a picture in my head and a small thumbnail sketch on paper, each piece really takes shape directly in fabric. This allows me to experiment with the composition of the quilt top and see things closer to how they will look in finished form. During this part of the process, there is a lot of cutting, arranging, pinning, adding bits that don’t work to the scrap bin, resizing, shifting, and more cutting, rearranging, and pinning. It always creates a glorious mess on my studio floor.
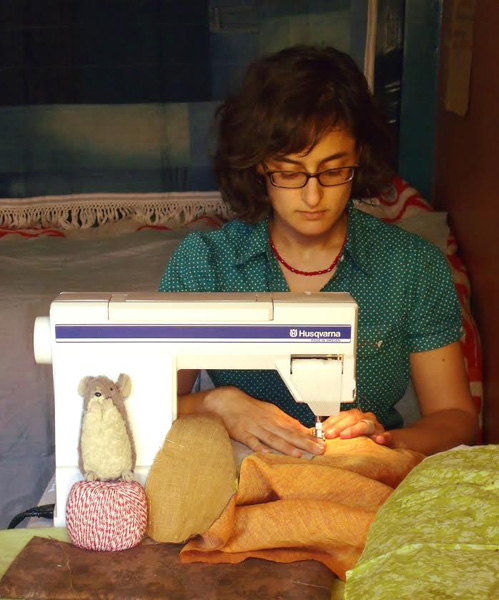
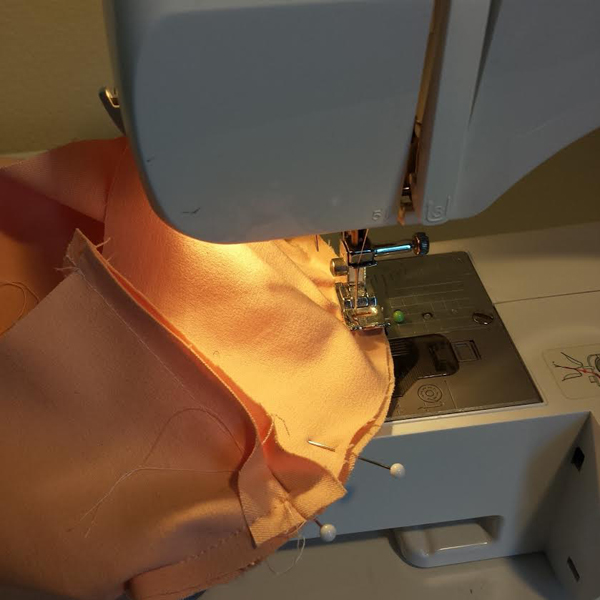
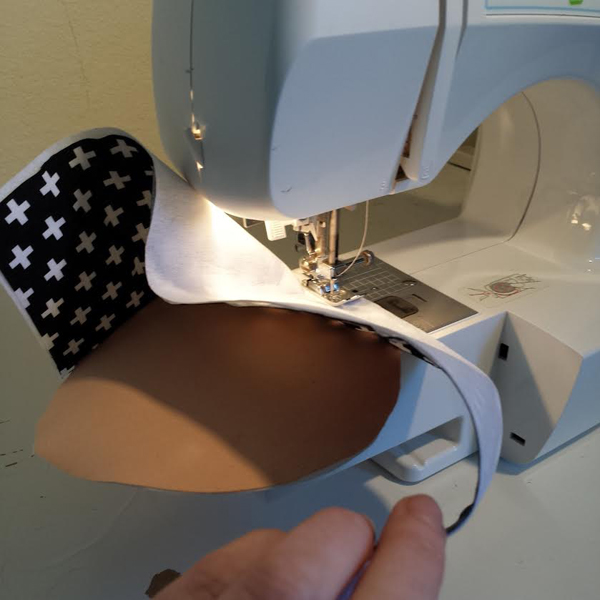
Once the composition of the quilt top is finalized, it’s time to sew all the pieces together. I still do all of my sewing on the Viking sewing machine my parents so generously gave to their wannabe fashion designer daughter on her twelfth birthday. This machine is a workhorse, and hasn’t let me down yet, despite all the weird, bulky piles of fabric I send under its needle.
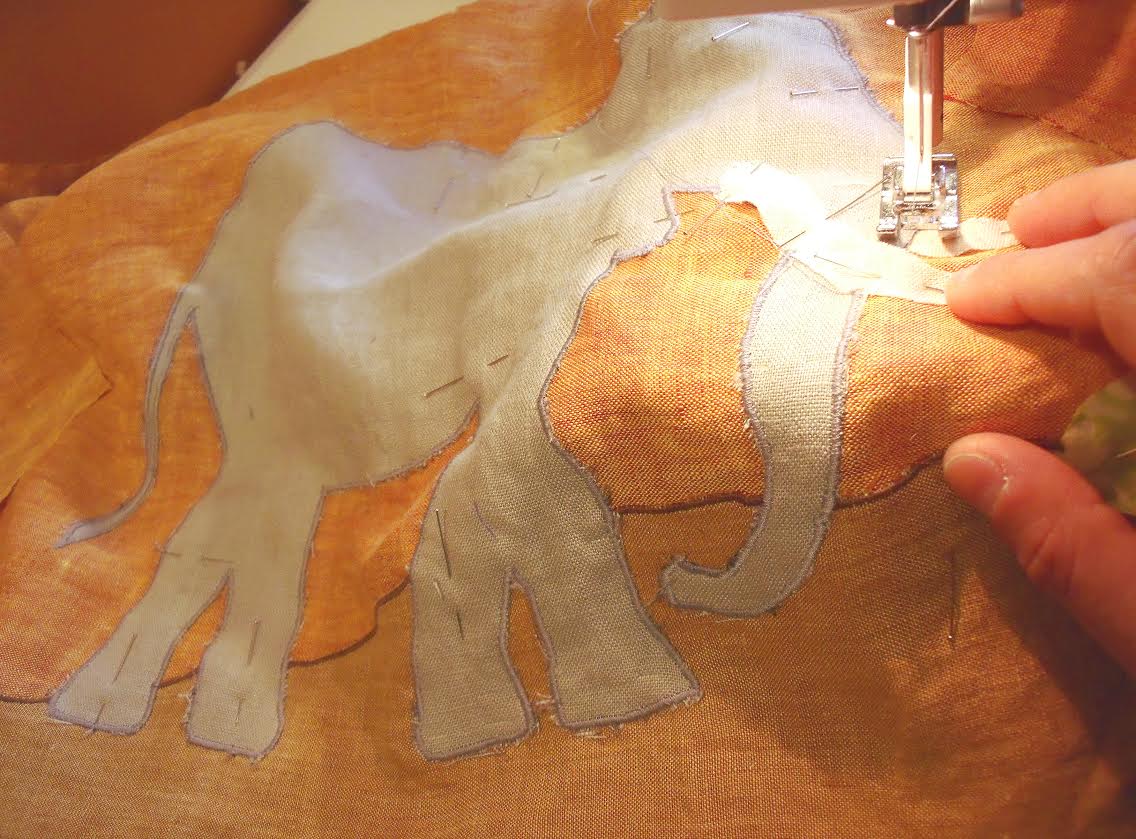
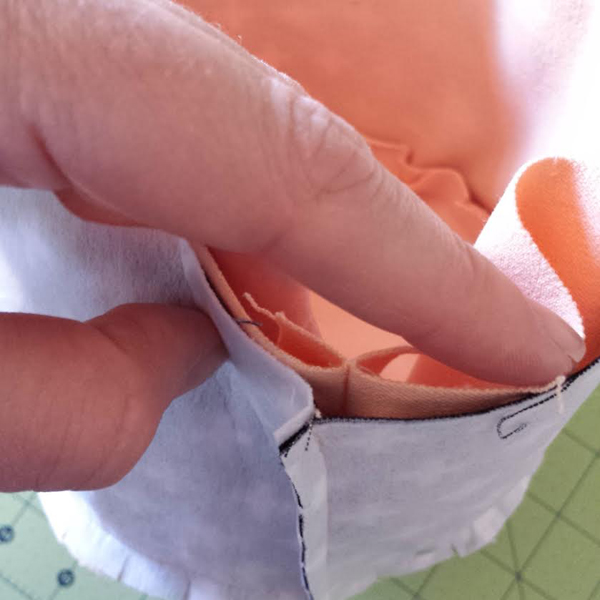
For all of my pictorial pieces, I use a satin stitch, a heavy back and forth stitch that traps and sews down the raw edges of each piece of fabric and adds an important design element in the form of colored outlines. When I first started sewing this way, my work was painfully slow and pretty clunky, with lots of missed stitches and bunched fabrics, but after many years of practice, my stitch work has gotten finer and finer. The technique allows me to forego traditional piecing and applique styles for a more spontaneous collage-like approach to image-making.
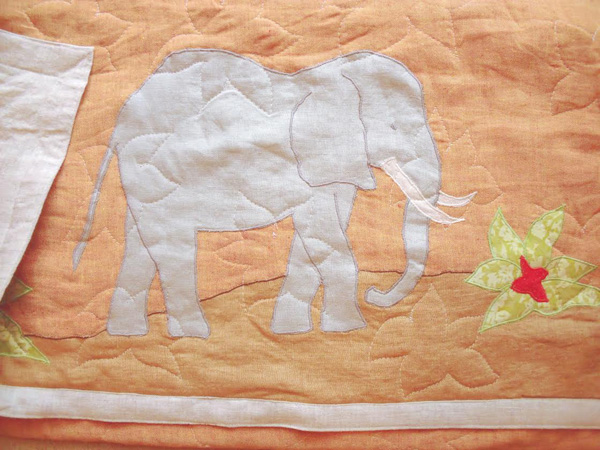
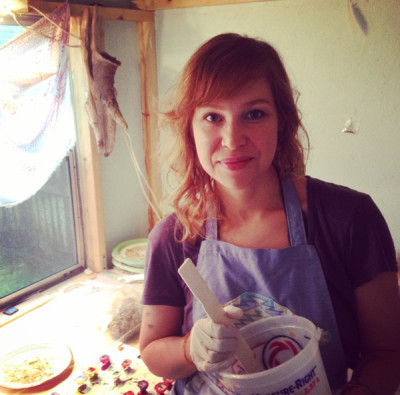
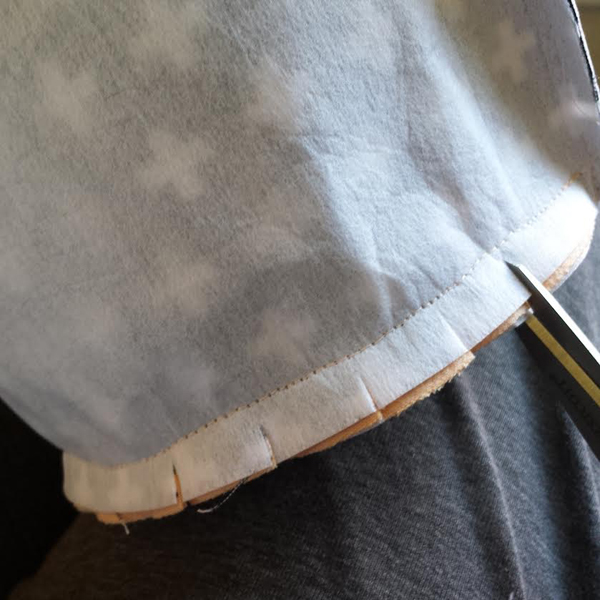
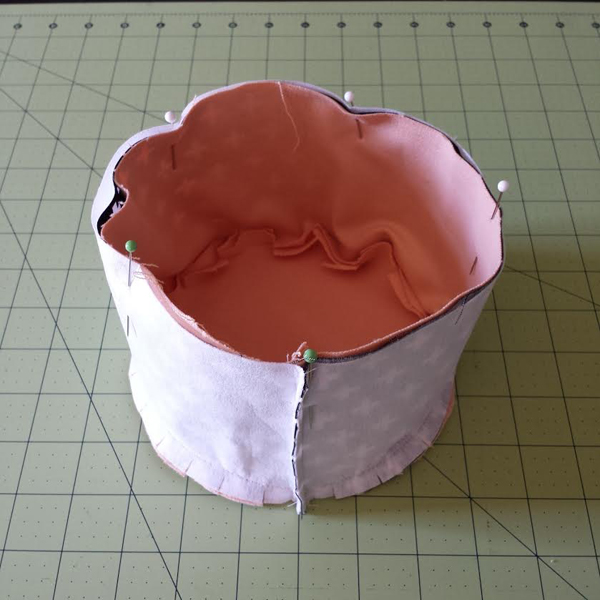
When a quilt top is finished, I sandwich it with cotton batting and a solid piece of fabric for backing. To join all three layers together, I quilt freehand on my industrial quilting machine, which lets me move fabric freely underneath the needle, kind of like drawing but in reverse. Being a free-spirited lady, I don’t draw my quilting patterns beforehand; I choose a simple motif, like a flower or a star, and just start sewing, creating a satisfying but not too uniform quilted texture. After quilting, I finish the edges, trim off extra threads, and hand-stitch my initials in the corner.
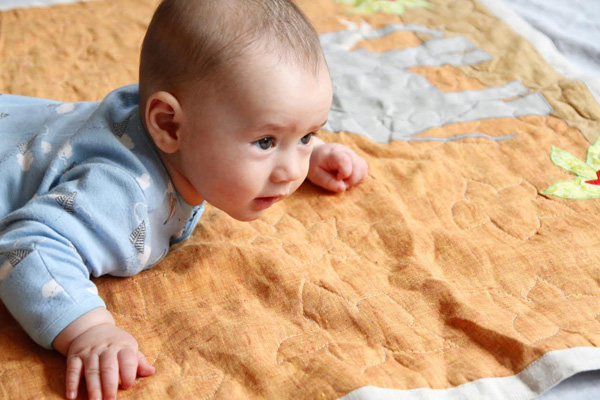
I know you can’t see the finished quilt very well in this picture, but you can see my beautiful baby nephew enjoying it, and I figured including it in this post wouldn’t hurt my chances of luring you to come see me at Booth #17 at the Bazaar.
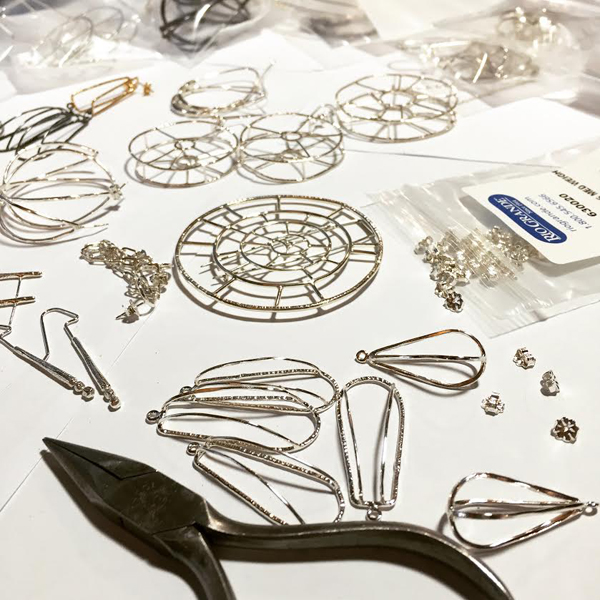
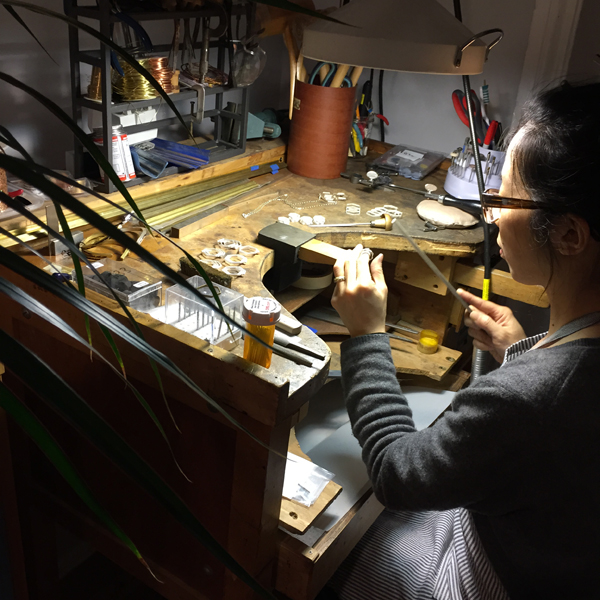
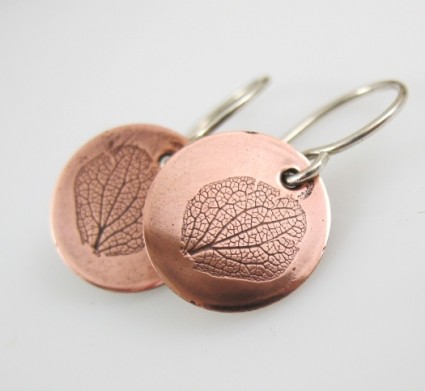
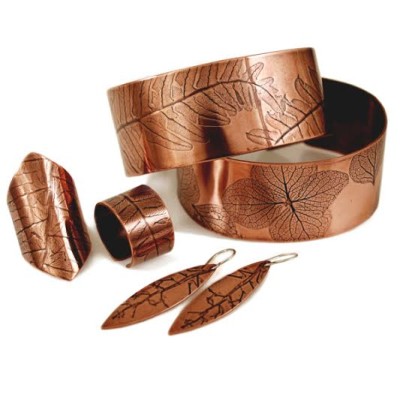
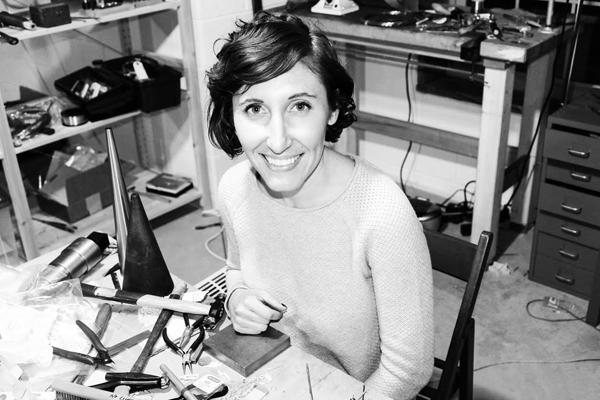 Samantha Skelton Jewelry Design is a one-woman jewelry machine located in Fairview Pennsylvania. I design, create, market and sell all of the work featured in my jewelry collection; however I wasn’t always interested in jewelry. My collection has grown from my love of metal, the form of each element in this collection has been directly influenced by industrial sculptures which I both studied and created.
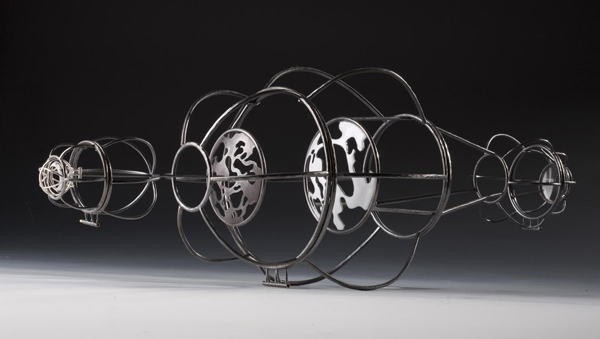
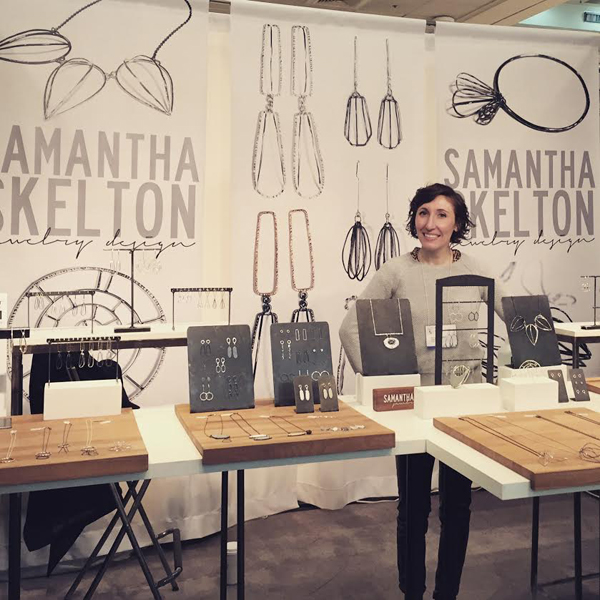 Visit Samantha Skelton Jewelry in Booth #62 at our Art Star Craft Bazaar on May 9th + 10th and visit her online at http://www.samanthaskelton.com/
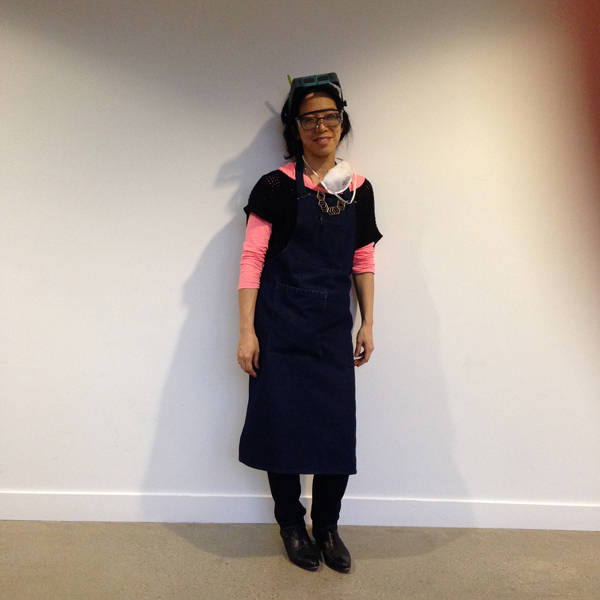
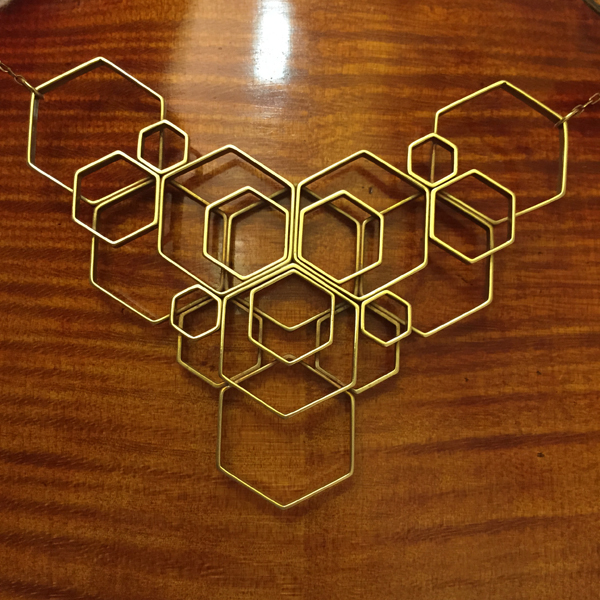
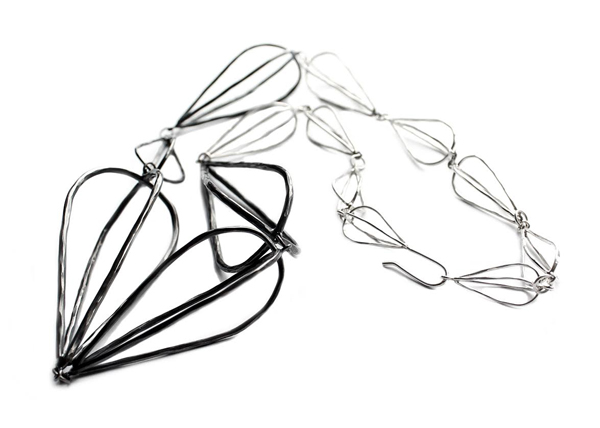
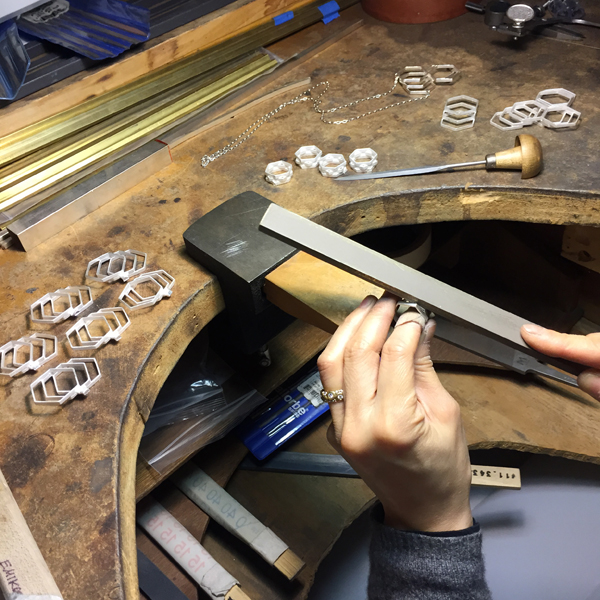
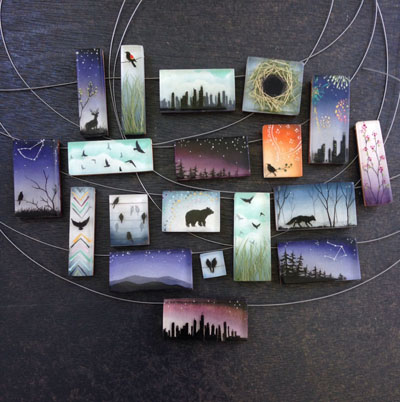
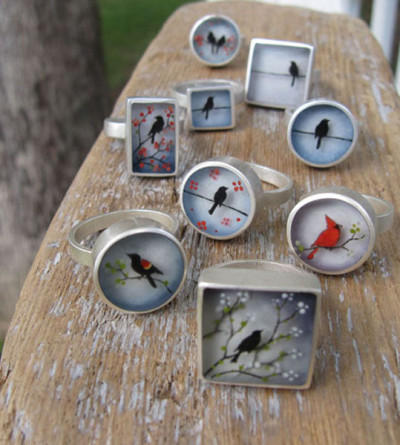
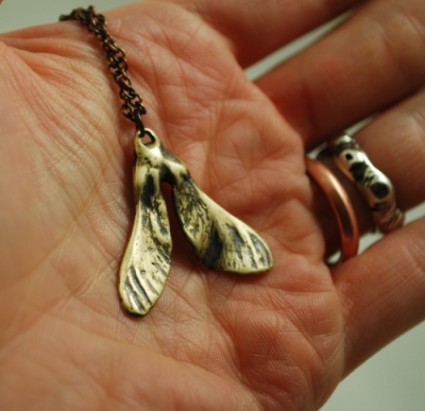
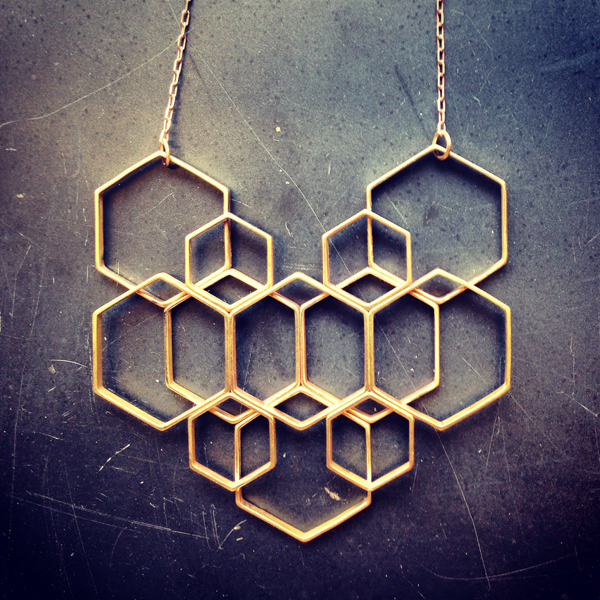 Architecture, music as math, chemistry, and symmetry–all my old flames– inexorably find their way into my work. I spend hours soldering and chasing flux through the narrow channels between my hexagons. Days fly by as I work out the kinks of an intricate piece of casting. Every method has its advantages and demands. To cast or not to cast? Precision soldering and cleanup versus casting and yet more cleanup?
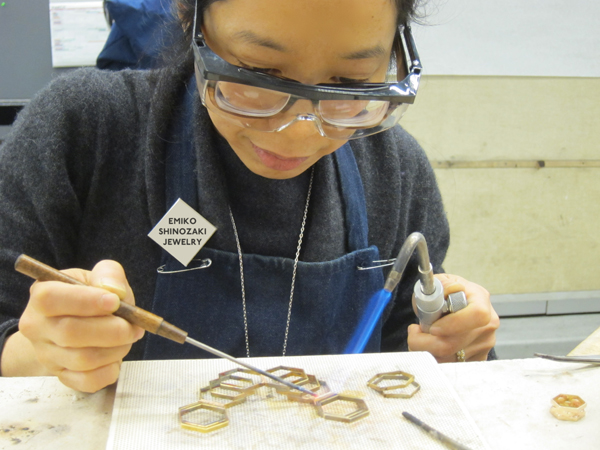
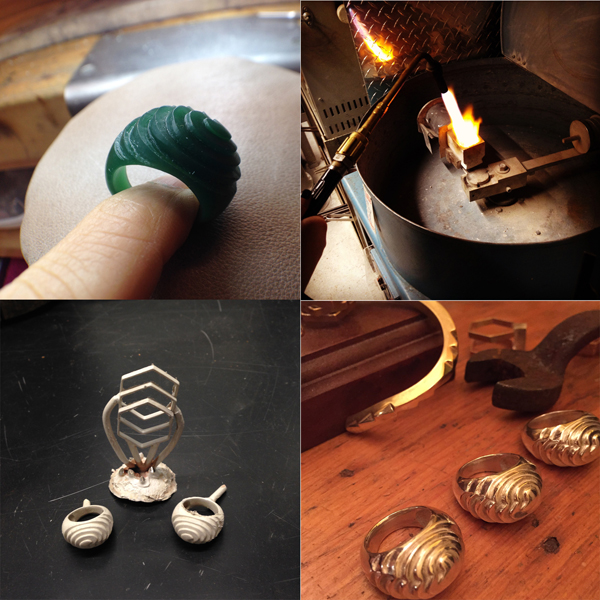
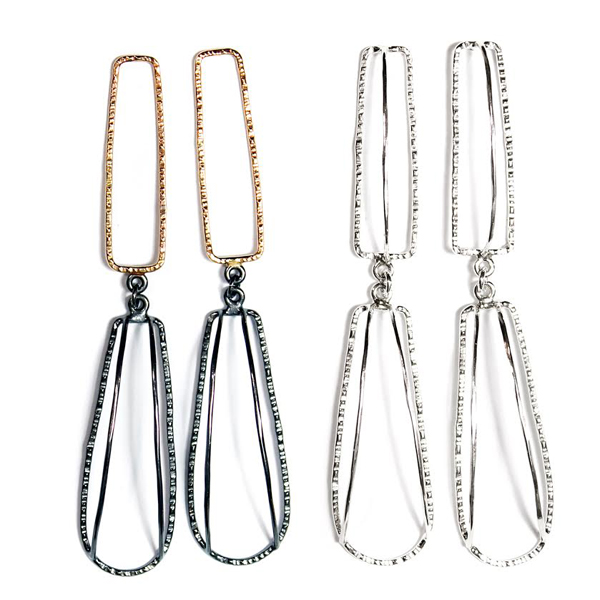
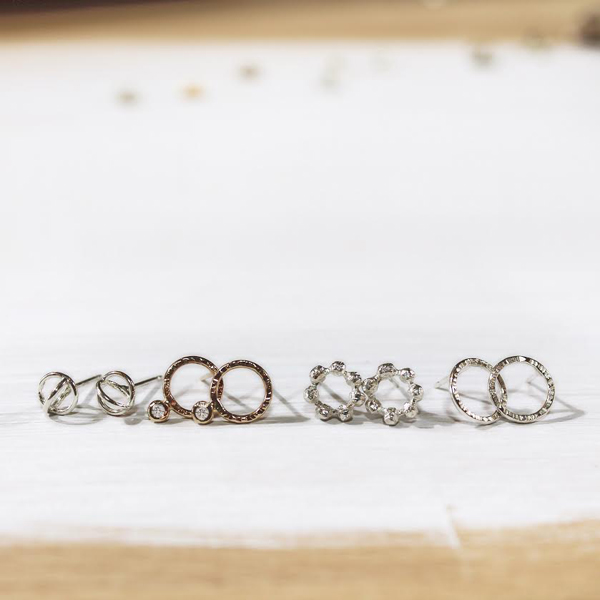
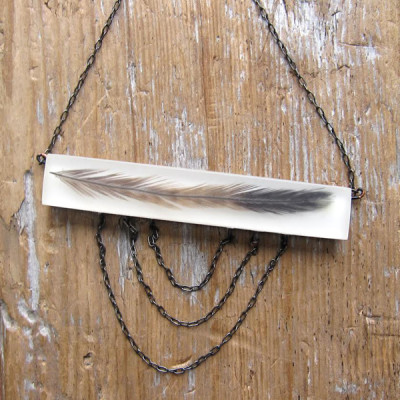
 I have an unending attraction to the physical changes that brass undergoes when thousands of degrees hit it. My necklace creations have intrinsic “torch marks” that deepen with age, lending depth and 3-dimensionality to an otherwise humble material. One of my necklaces can have upwards of 100 solder connections, sometimes less, sometimes more. As I’ve expanded my offerings, I’ve found the best 18K gold-platers in NYC and learned to make molds & cast silver with the lost-wax method. Each silver or brass Alt-triangle bracelet is hand formed, filed and finished, taking many careful hours from start to finish.
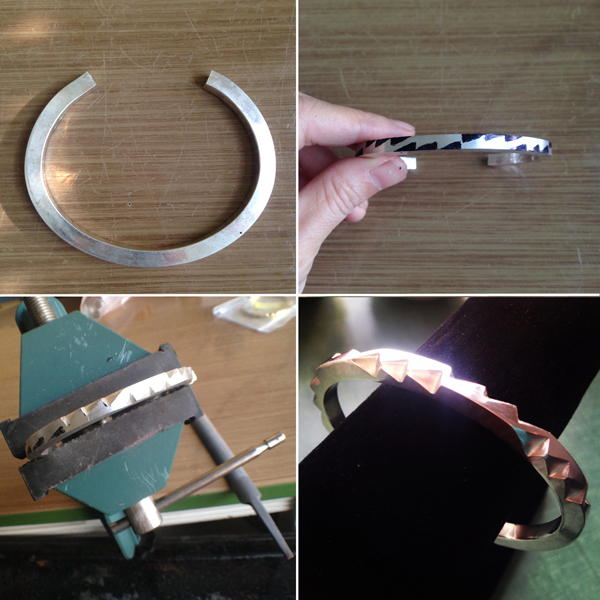
 These days I look at my hands and wonder at what jewelry-making has yet to teach me.


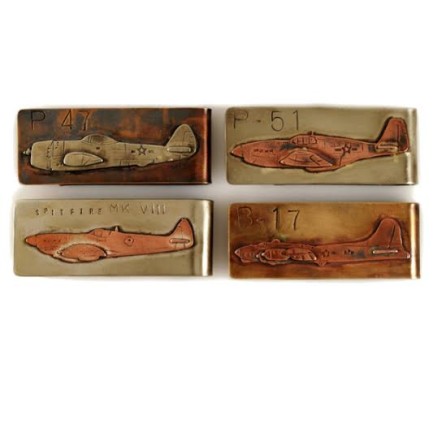
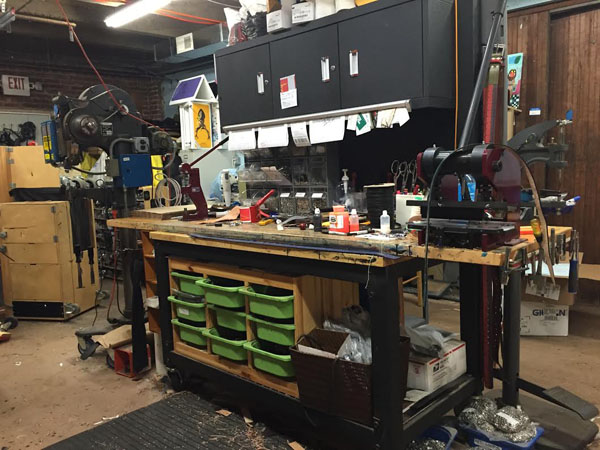
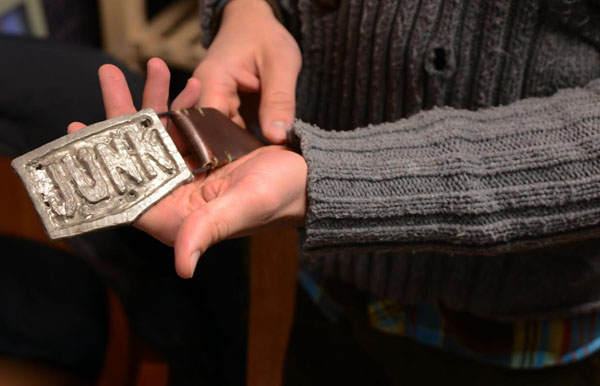
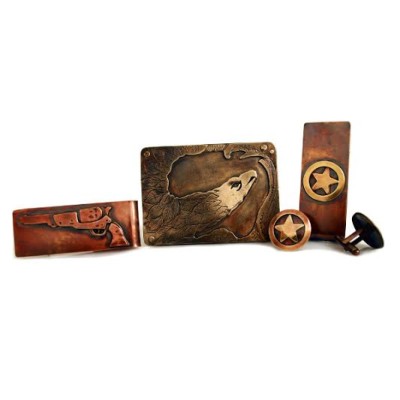 About Dreadnought Workshop: Brett is inspired by the city, American history, and the things he experiences living in an urban setting. Brett’s new line of belt buckles, tie clips, and cufflinks are made using various metal fabricating and casting techniques which he has learned through studio exploration.
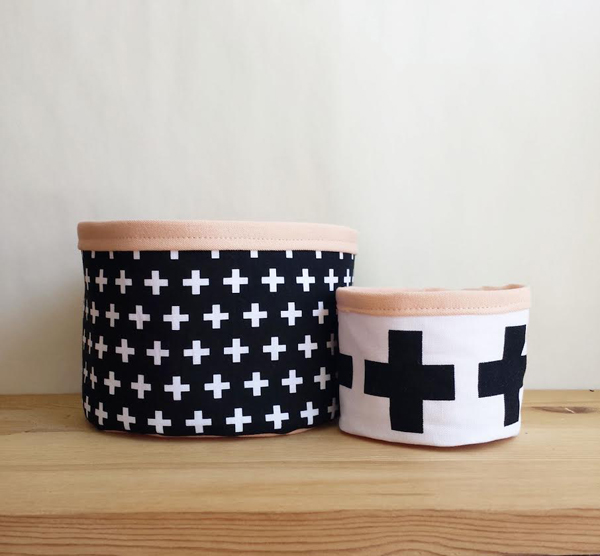


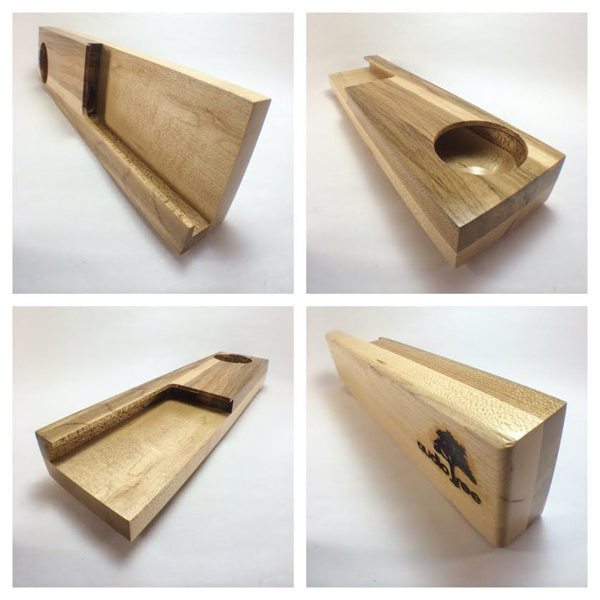
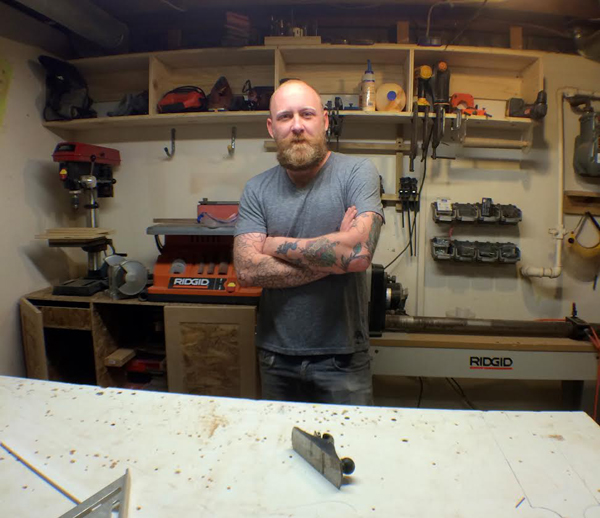 Audio Tree founder Daniel Knoll creates handmade wood products for smartphones and tablets, most notably the signature Iphone acoustic amplifier/docking station. He has over 15 years of woodworking and sound engineering experience which led to the development of Audio Tree LLC.
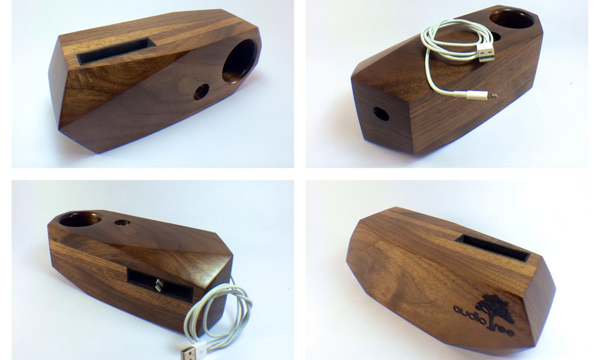 These speakers have been tested in a professional recording studio and proven to double the sound of your phone’s speaker using “passive amplification” meaning there are no electronics involved. Some have been designed to allow you to charge your phone by running your own charger through the speaker.
 For the first time Audio Tree will be at the
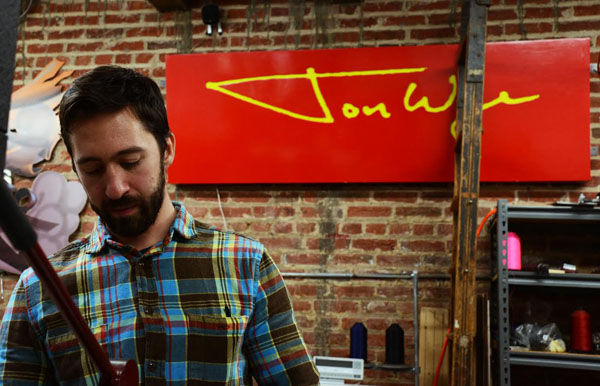
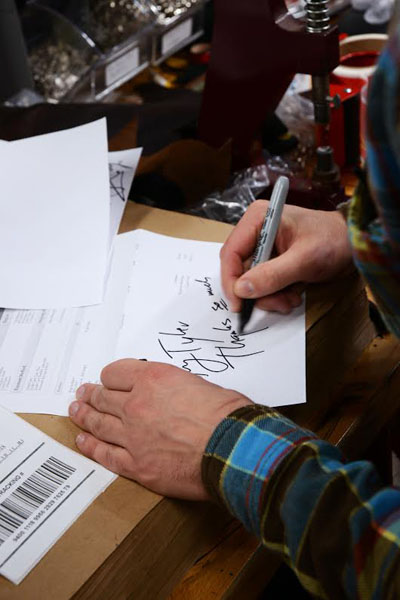
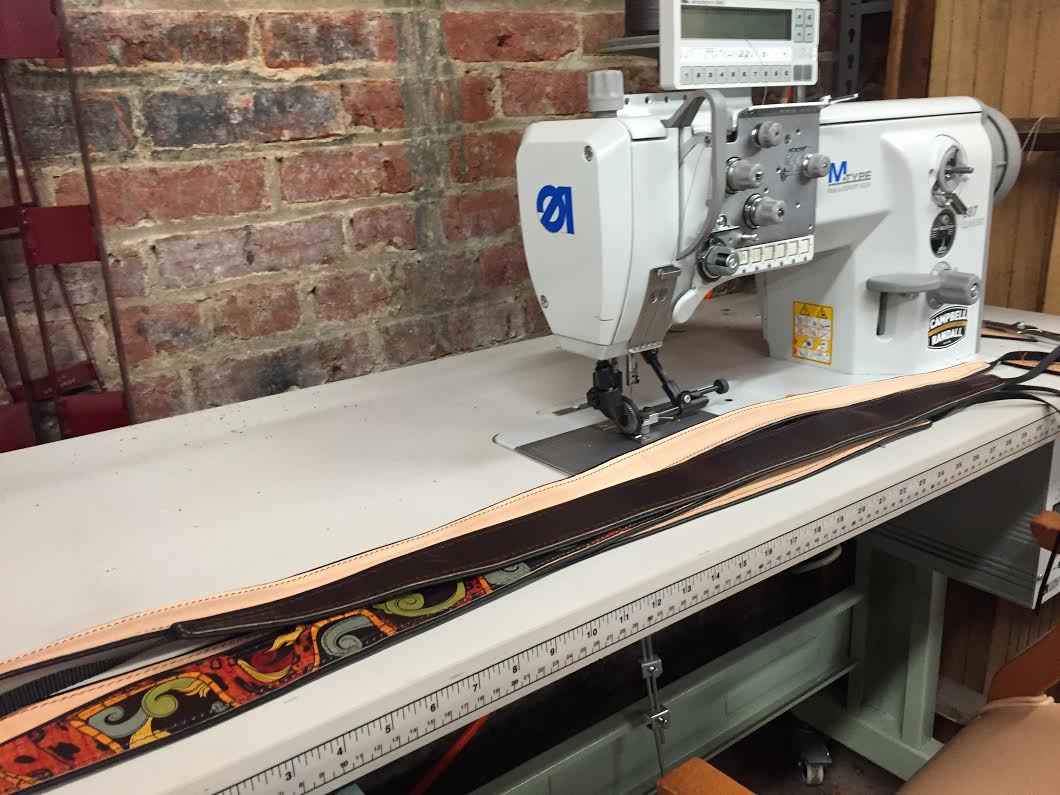
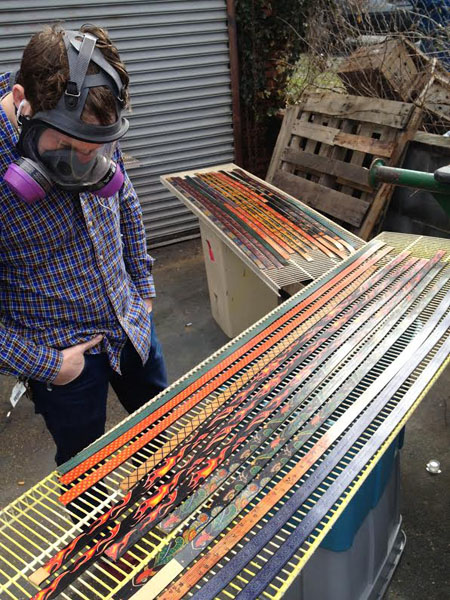 Jeff inspecting the belts after our specially formulated spray coating is added to protect the images in the leather.

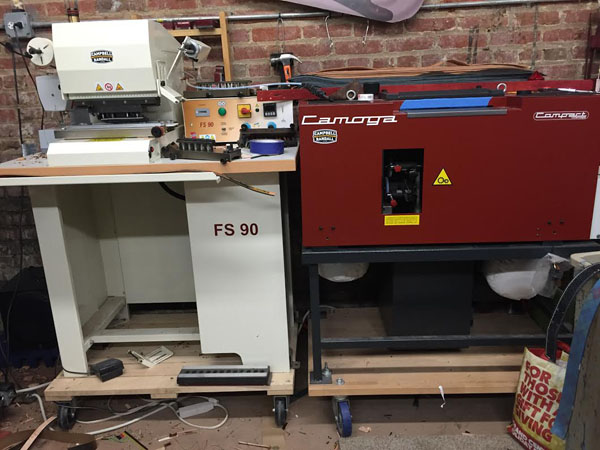
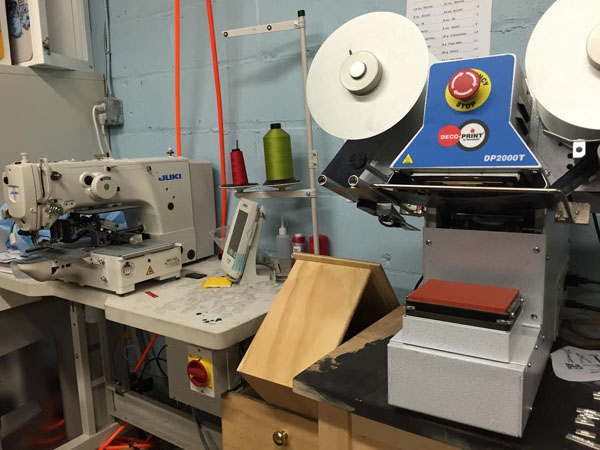 Left: A Juki automatic sewing machine, which helps us put on the tags on all our tees.