We are excited to be participating in Philadelphia Open Studio Tours again this year! We have some fun things that we have cooked up for you on October 3rd all day at Art Star (11-7pm)
1. Opening of “Tastes Like Broken Dreams” a solo show by Brooklyn based painter, Mauro Baiocco.
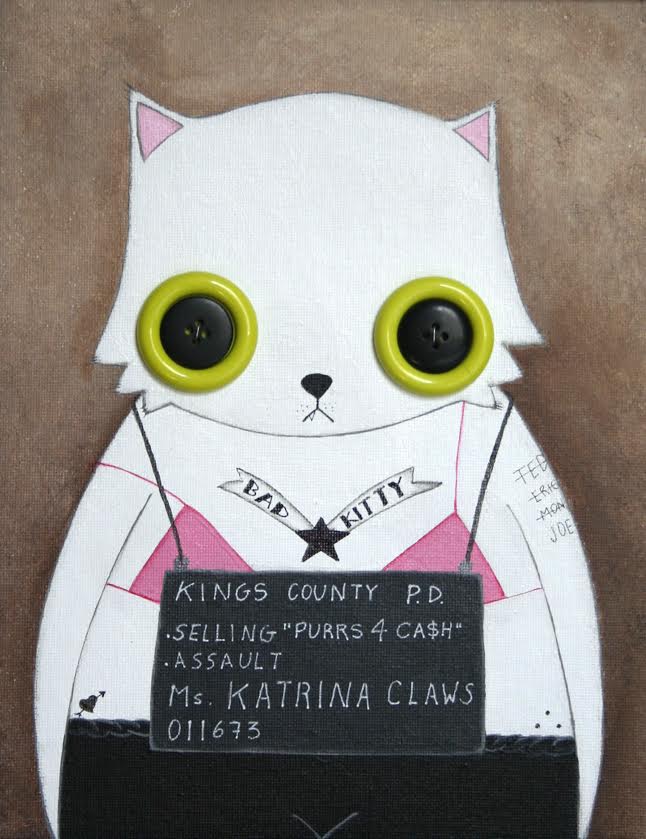 Mauro’s first solo exhibition at Art Star will feature a charming array of “Naughty but Nice” animal portraits. Yeah they may look cute and innocent on the surface but these cuddly animals have issues. The show will feature an all new collection of acrylic and ink paintings of Mauro’s cynical and bitter cast of furry friends. We will be celebrating the opening all day long during shop hours. Come ready to day drink with us, as we’ll have a boozy beverage or two to offer guests! Can’t make the opening? No worries, the show will be up in our gallery space through November 22nd.
2. Trunk Show / Make + Take with Christie Sommers of West Oak Design
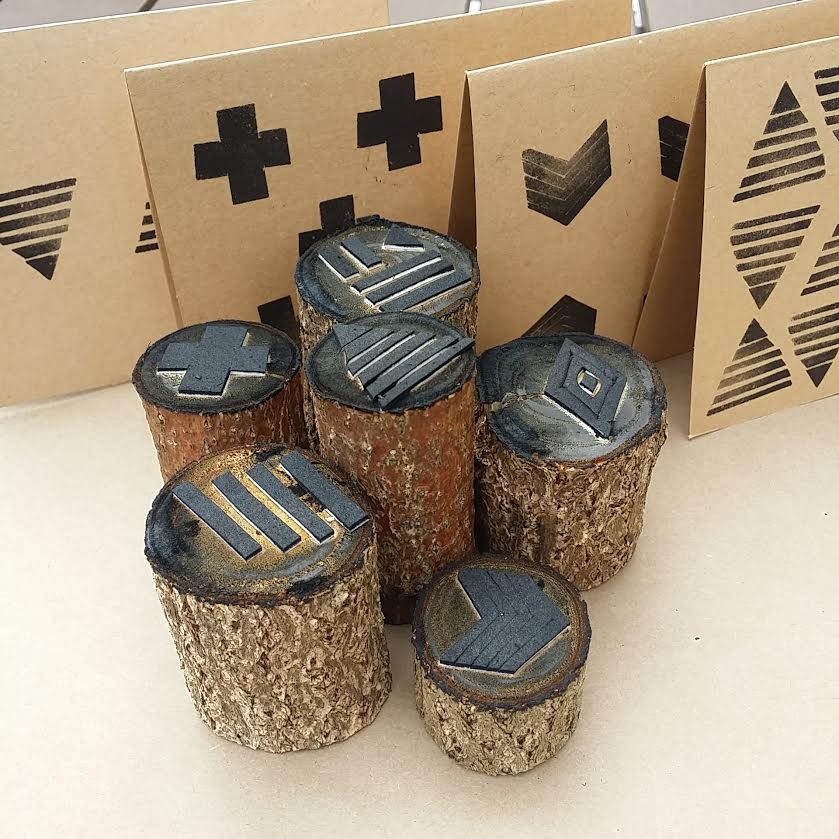 Art Star artist and regular blog contributor, Christie Sommers of West Oak Design will be set up with a collection of her latest designs for you to shop. She will also be providing a FREE DIY Stamp Make + Take all day long!
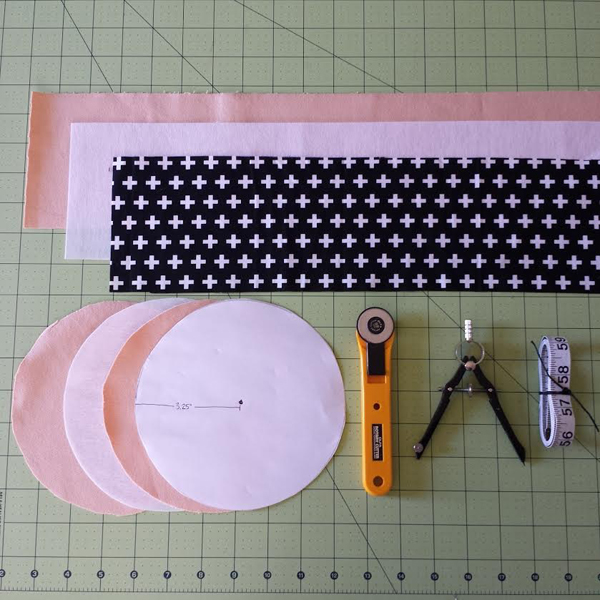
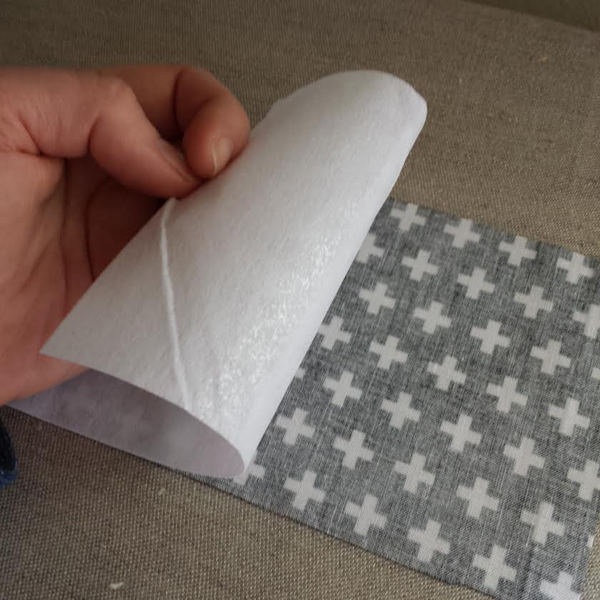
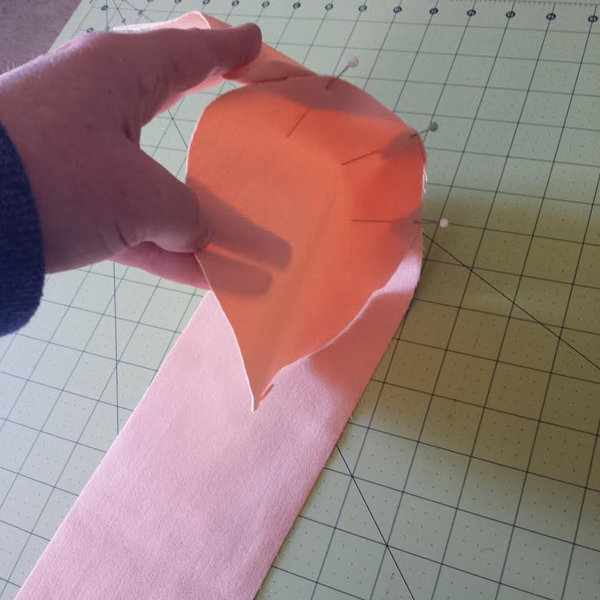
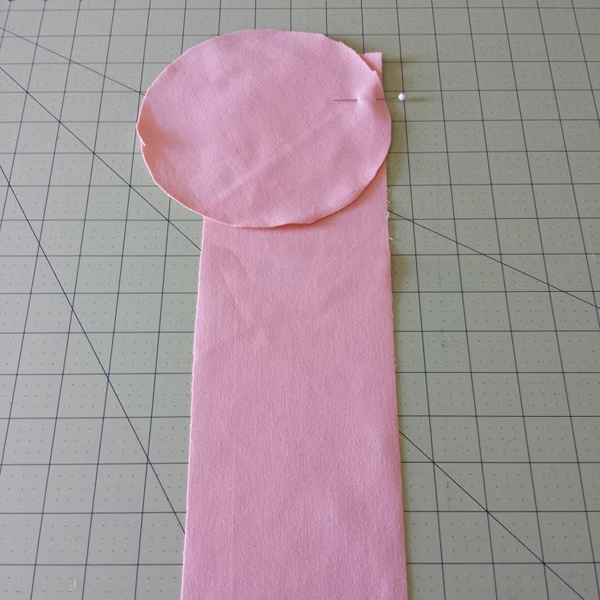
Guests can make a wood block stamp perfect for hand printing fabric, or creating your own stationary. Cut your desired shape out of foam sheets and mount to wood blocks. A variety of paper + stamp pads will be on hand for testing out your creation. Christie will provide instructions and everything you need to make your own one-of-a-kind stamp that you can take home for free!
No registration is required. Just come on by and get to craftin’! Did I mention boozy day drinks?
3. Pop Up Studio with illustrator, Julia Lemyre
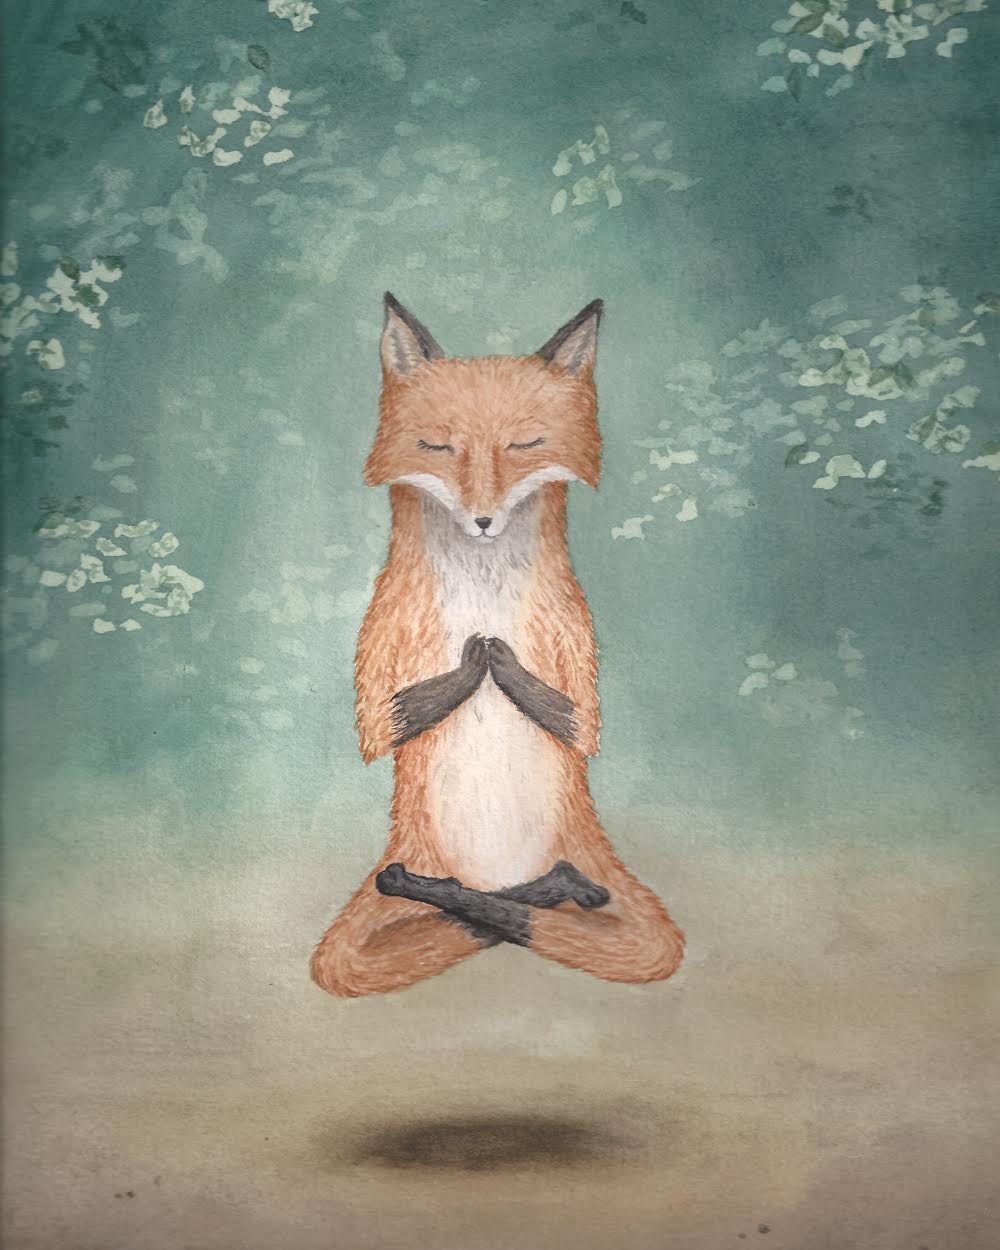 If you have stopped by our shop on a Saturday this summer, chances are you met our employee, Julia! Well, she is not only a super awesome shop helper, she is also an incredibly talented illustrator. She will be bringing along a selection of her original works and prints for you to peruse and shop.
Like I said, all this is FREE to attend and no registration is required. Bring some friends and come hang out with us! We will be open from 11-7 and can’t wait to see you!
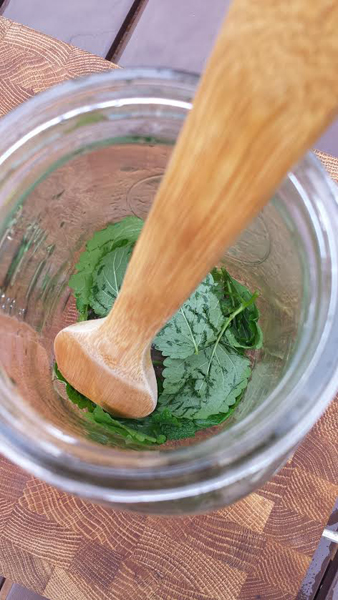
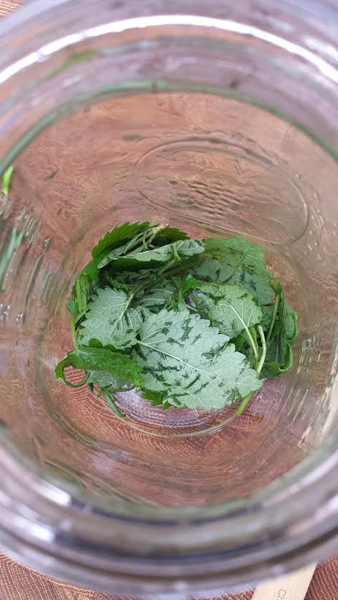
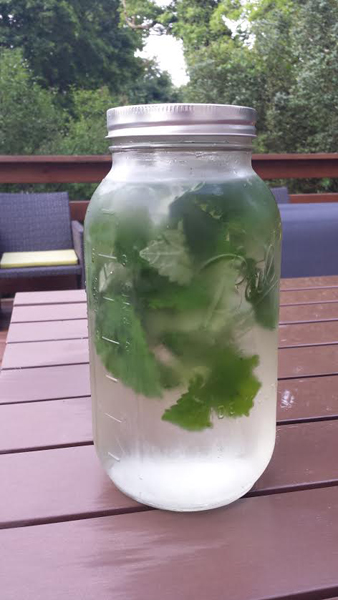
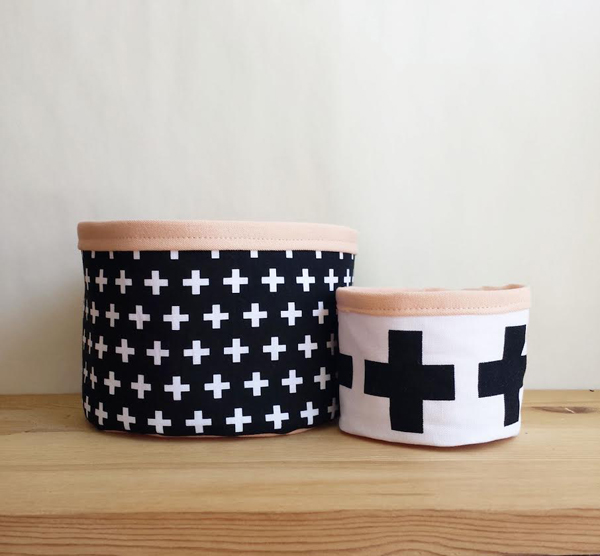


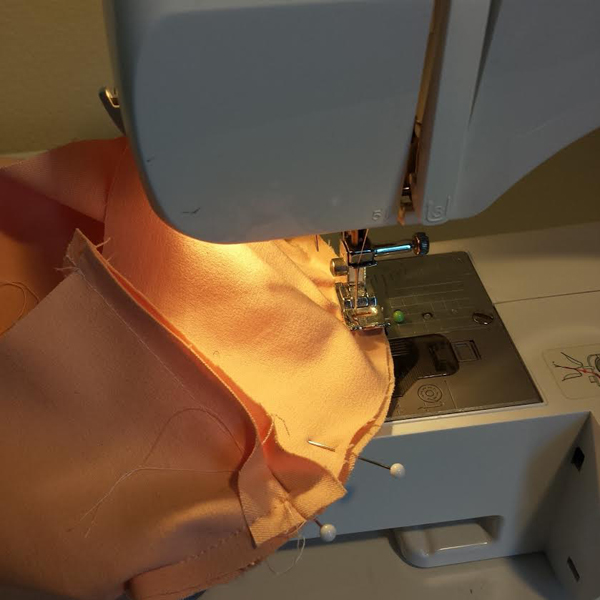
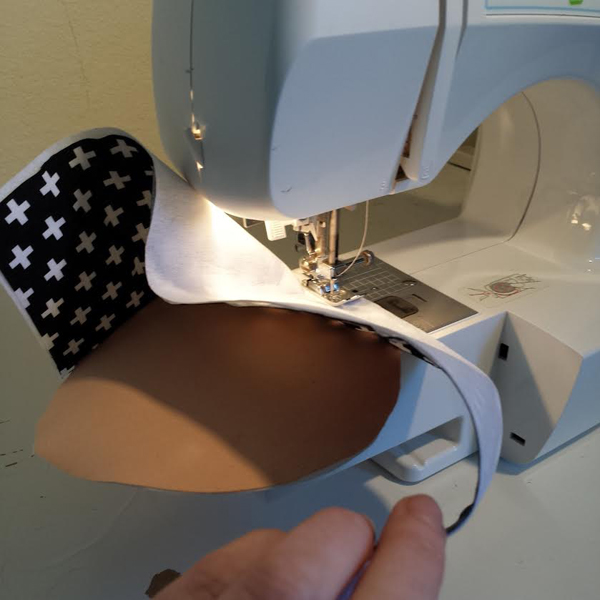
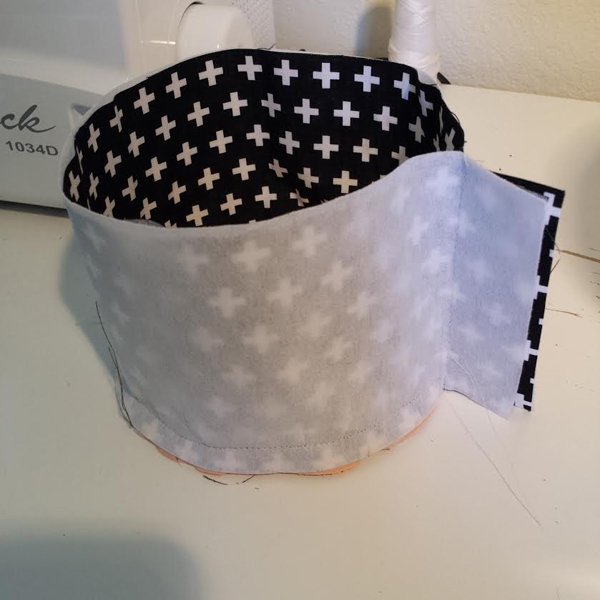
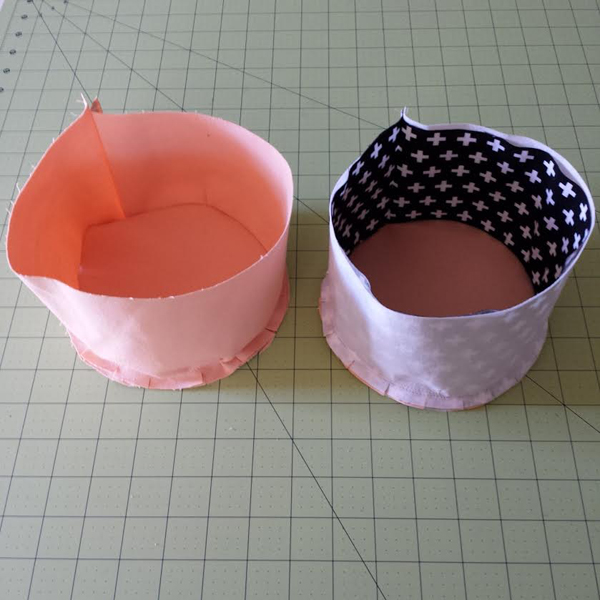

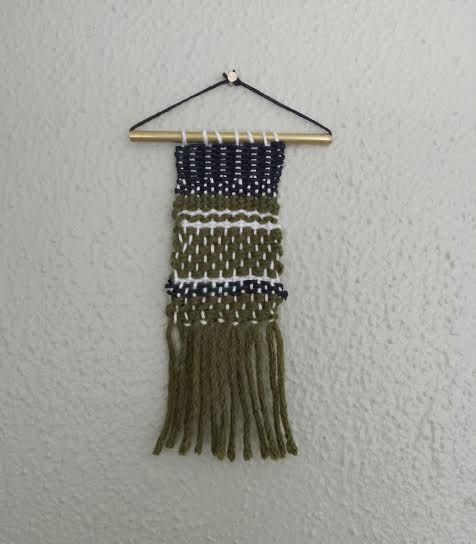
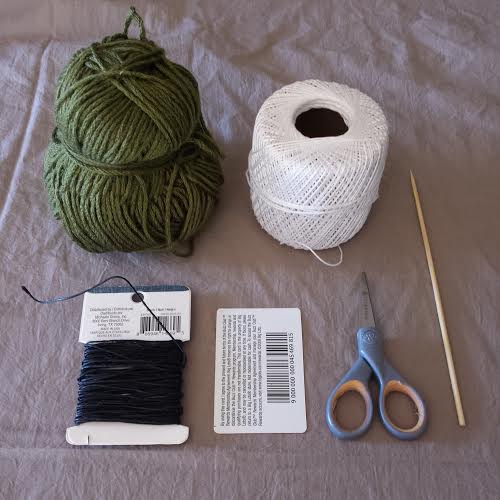
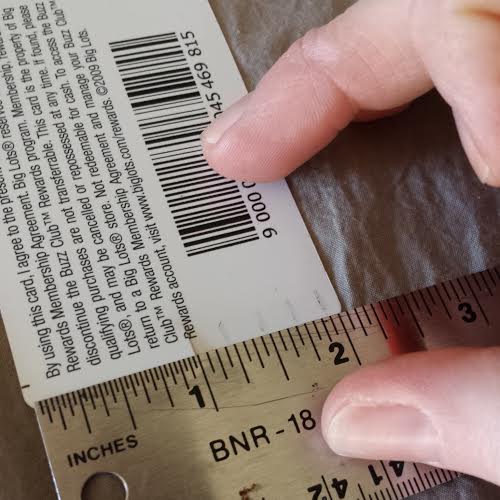

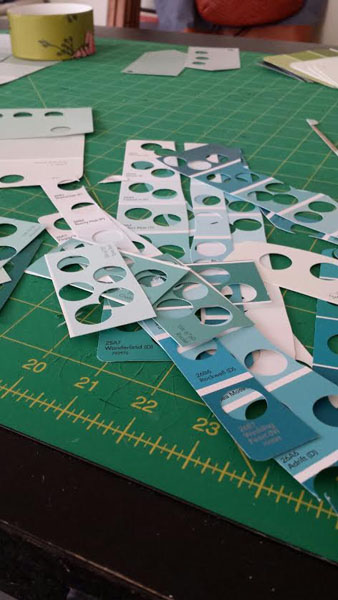
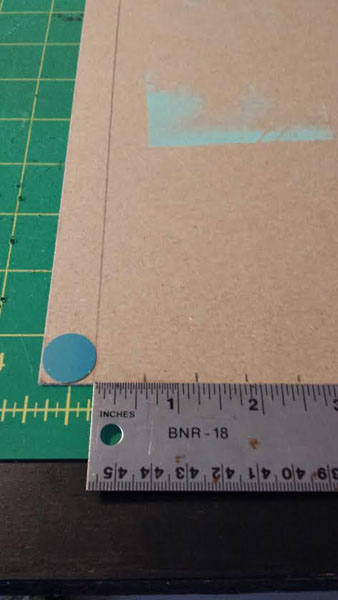
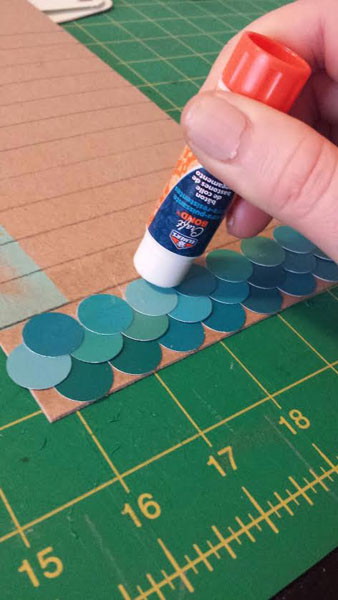
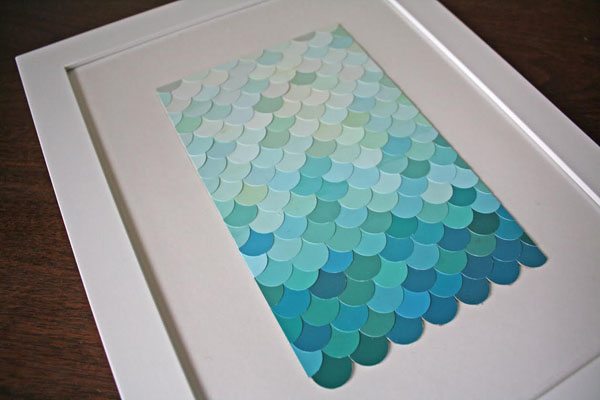
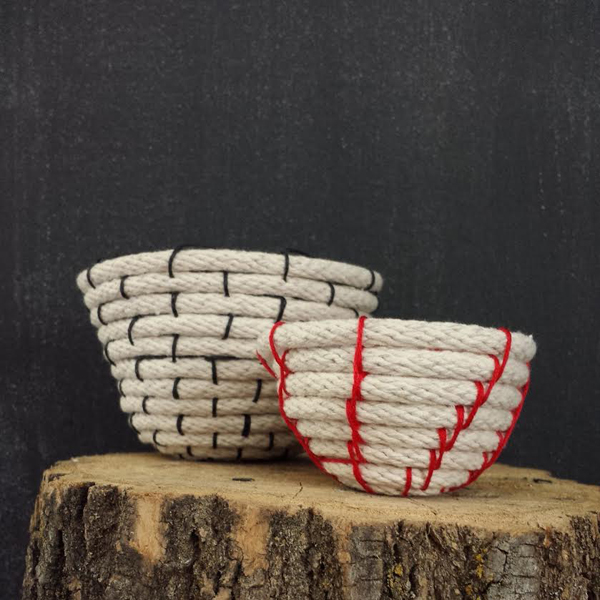
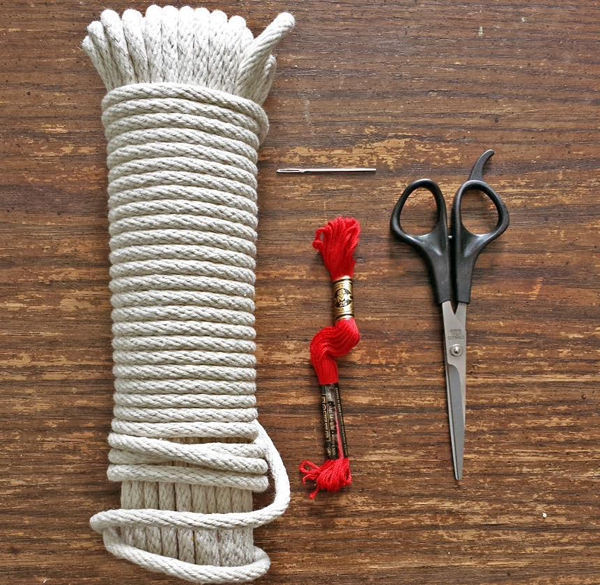
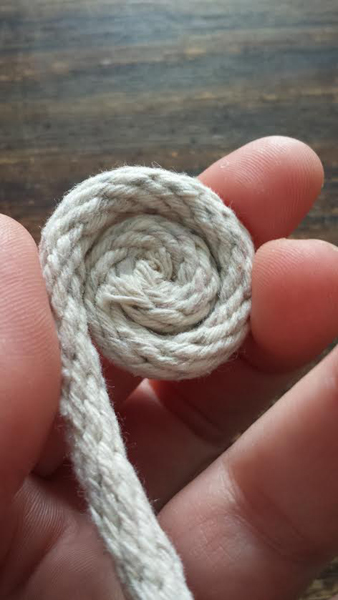

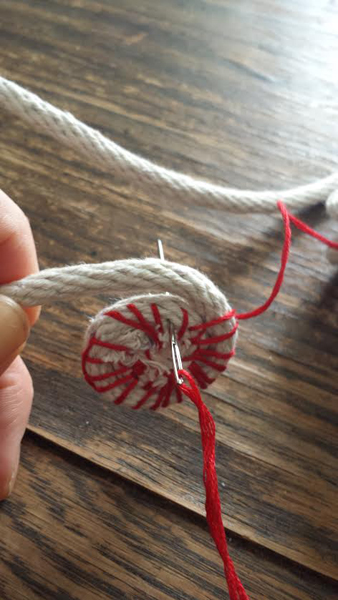
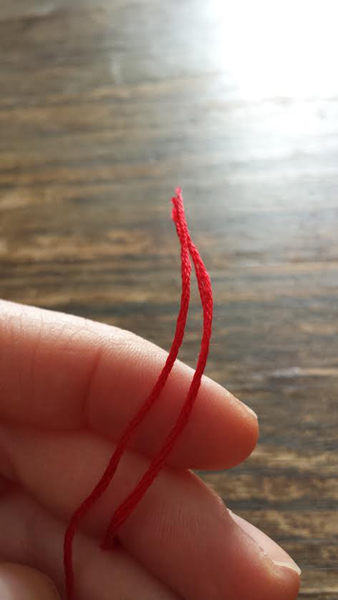
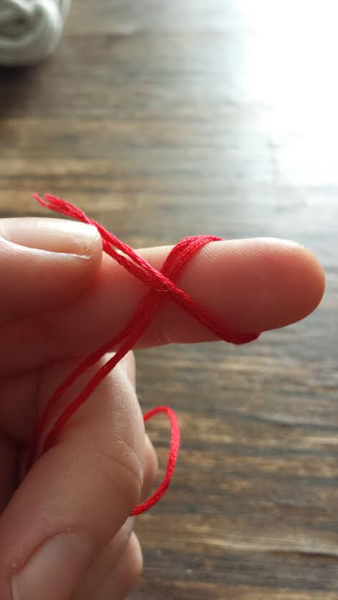
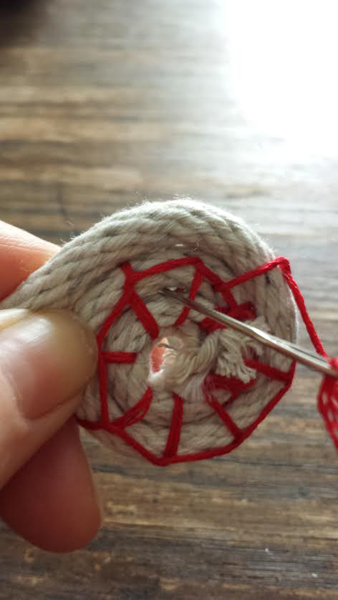
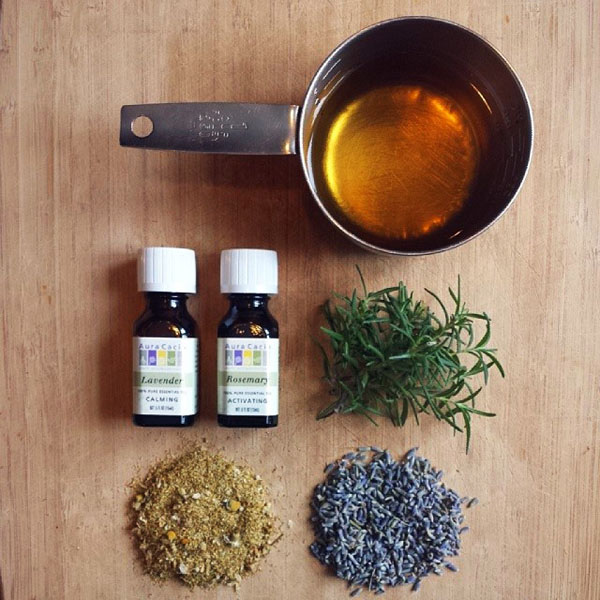
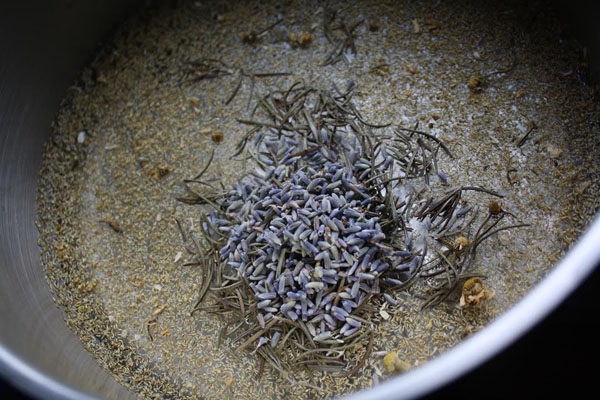
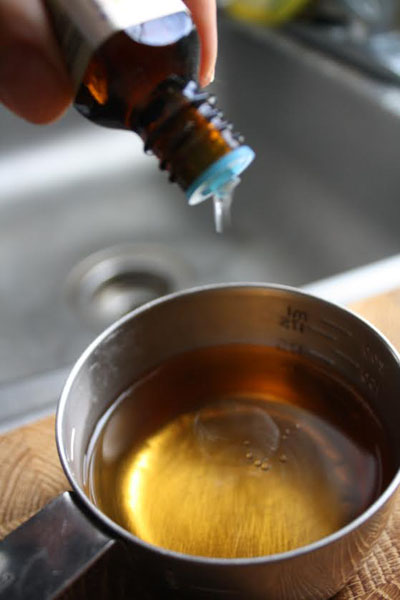
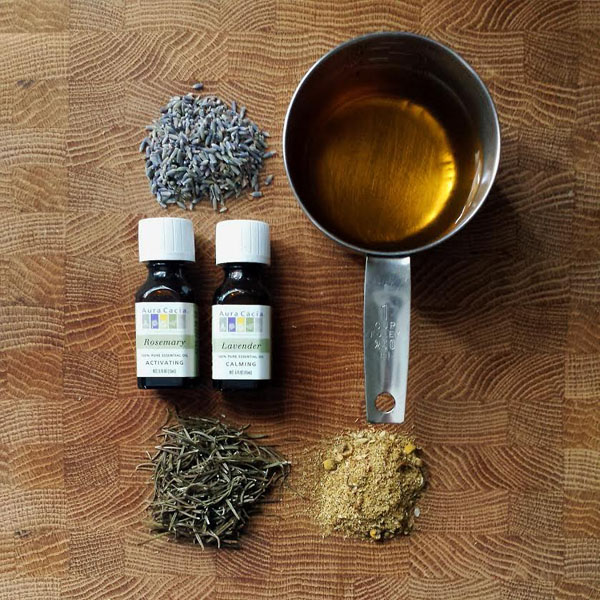
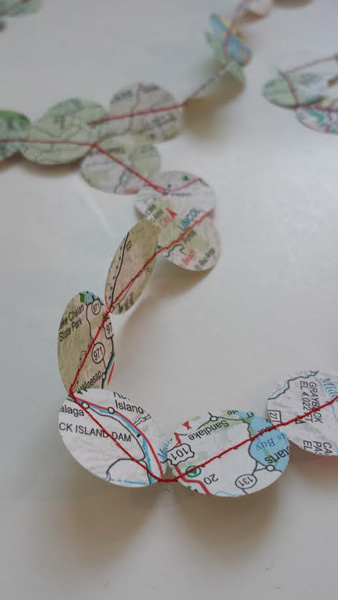
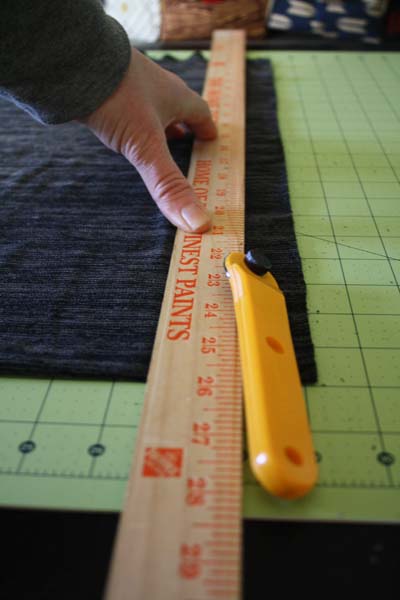
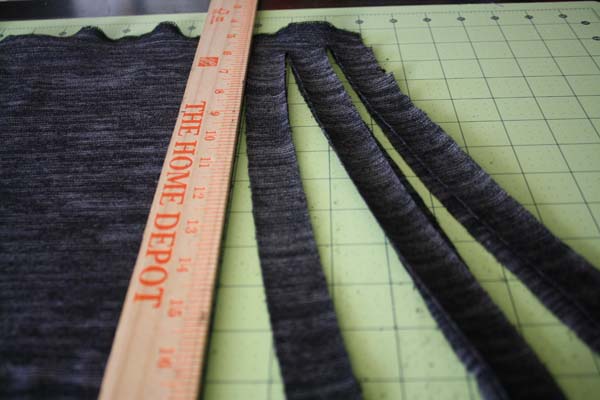
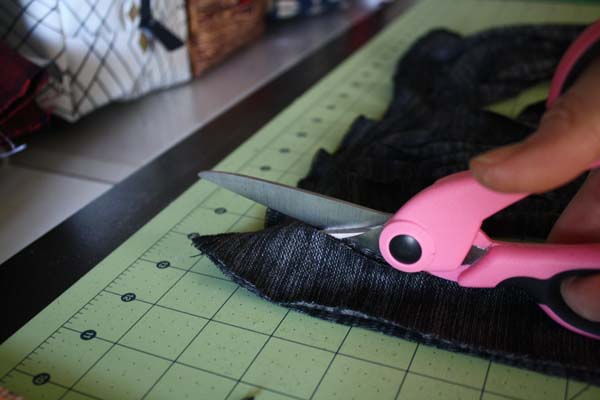
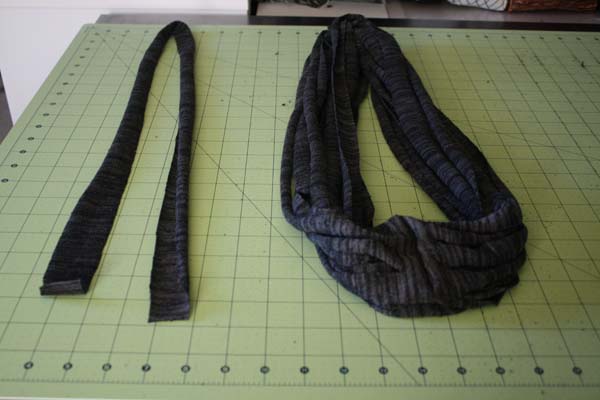
 by Christie Sommers of
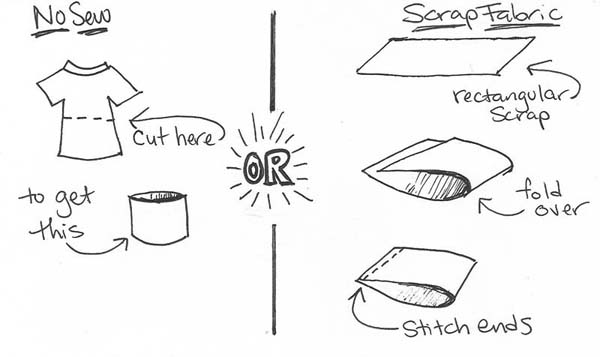
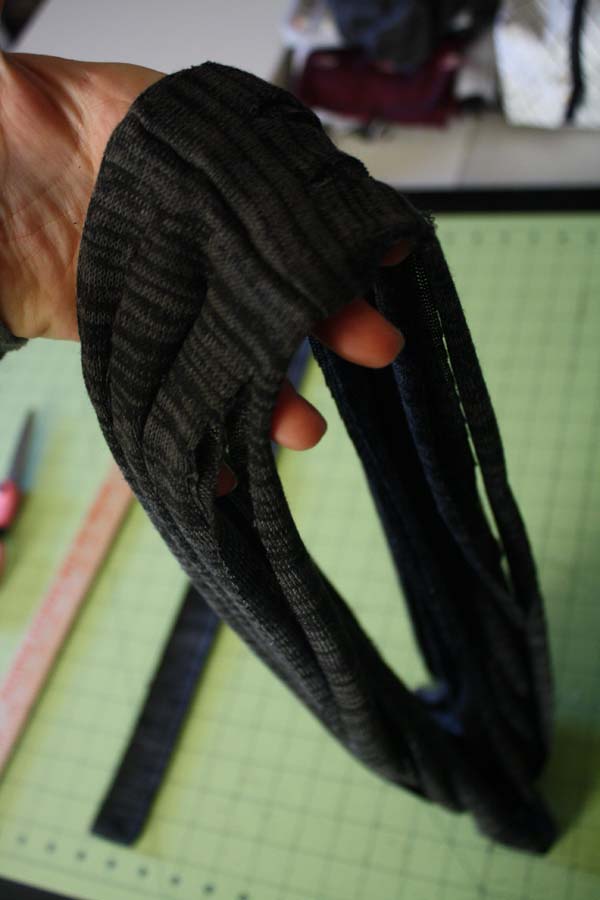
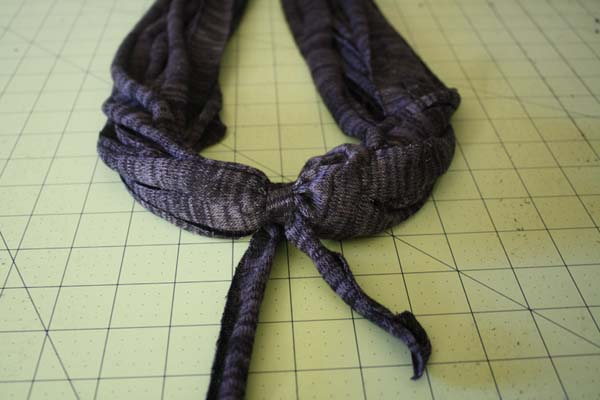
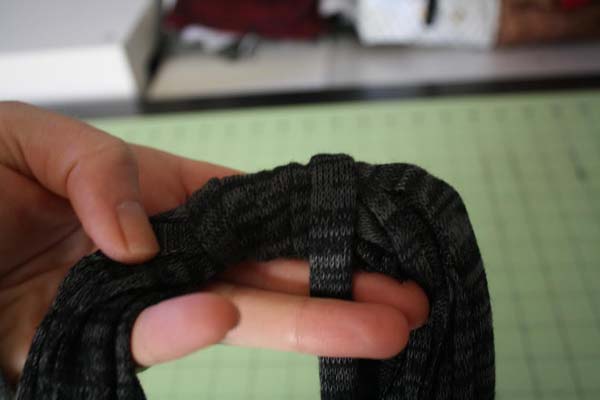
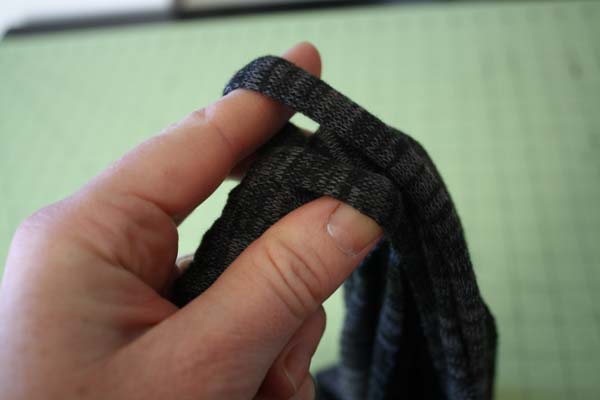
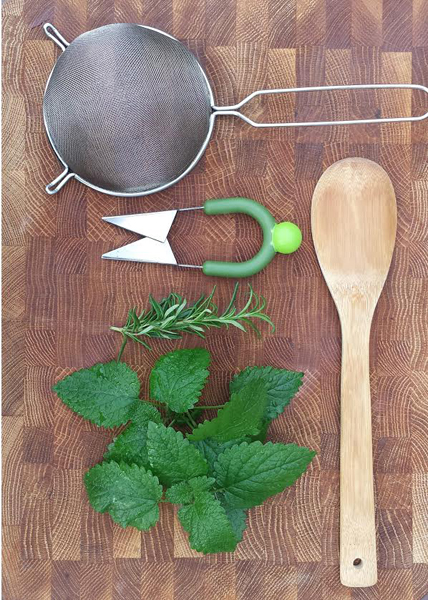
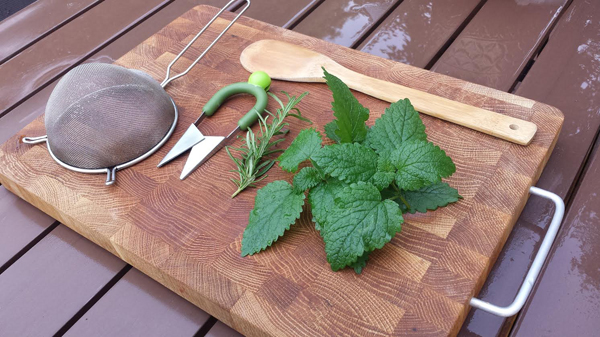
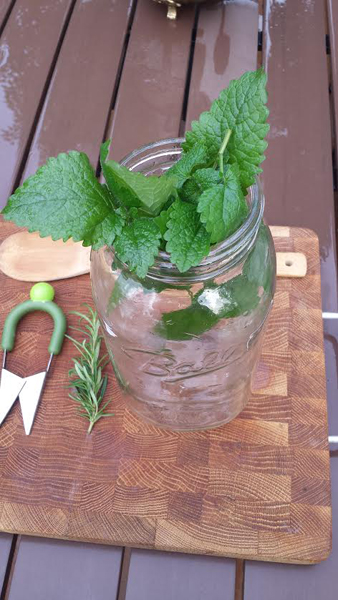
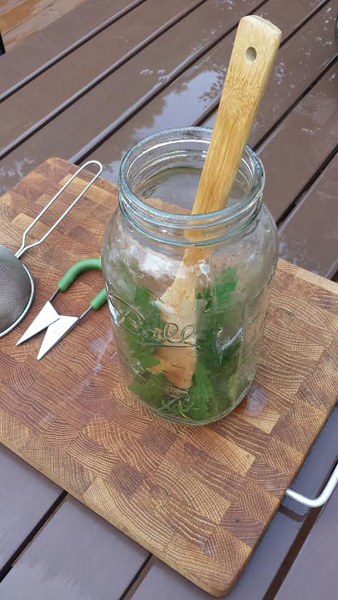
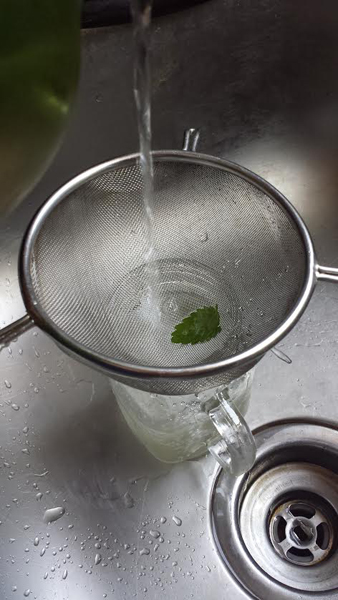
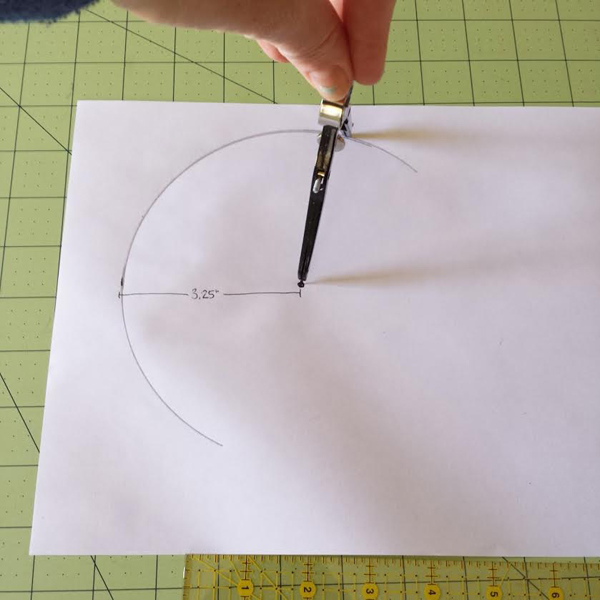
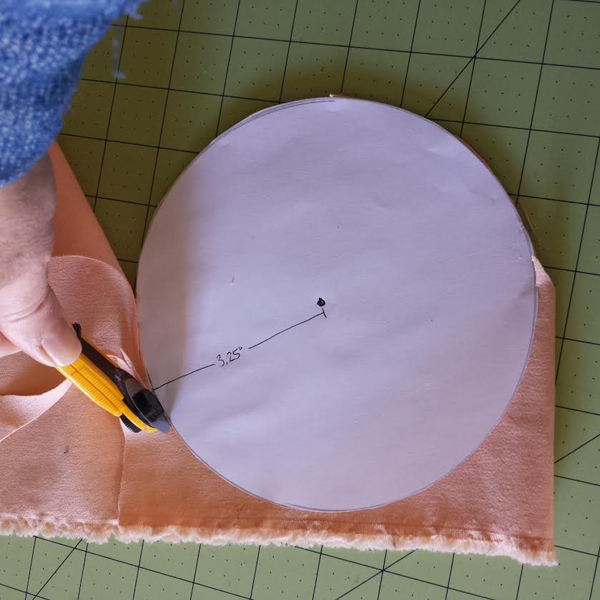
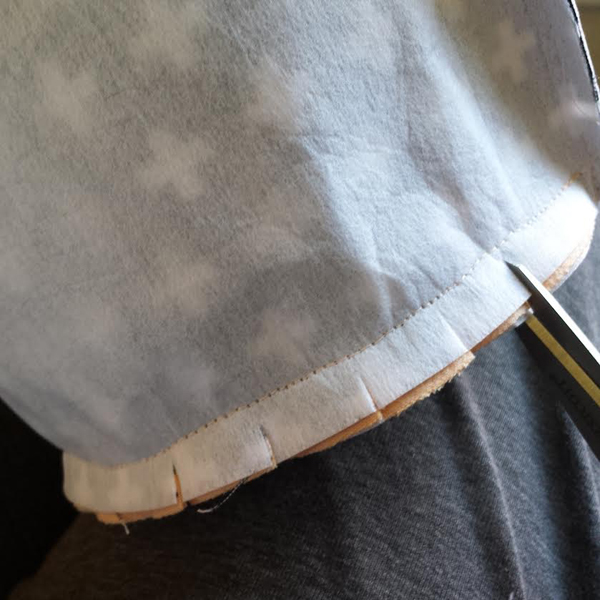
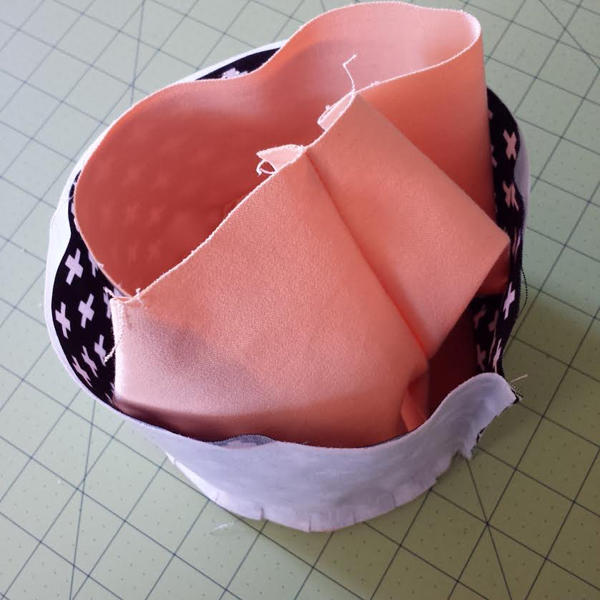
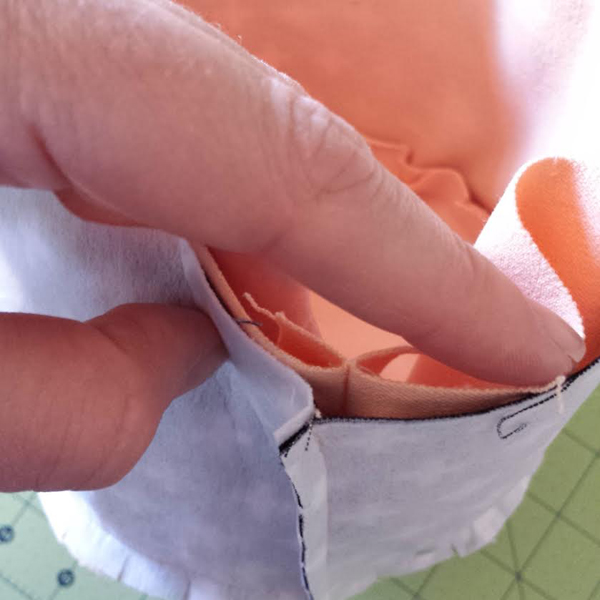
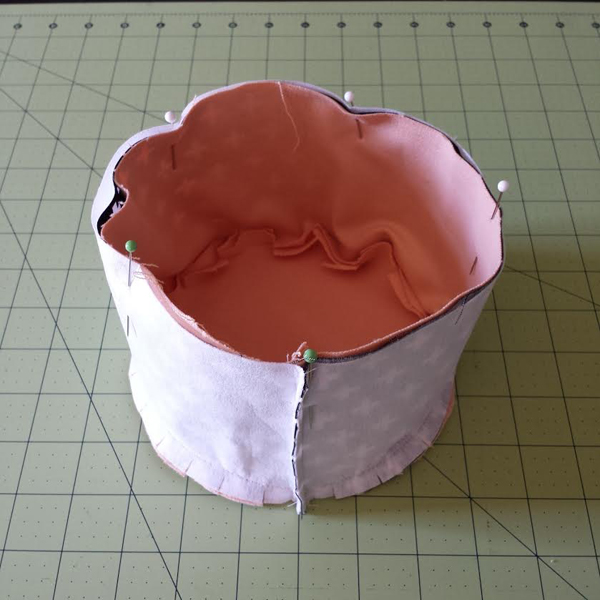
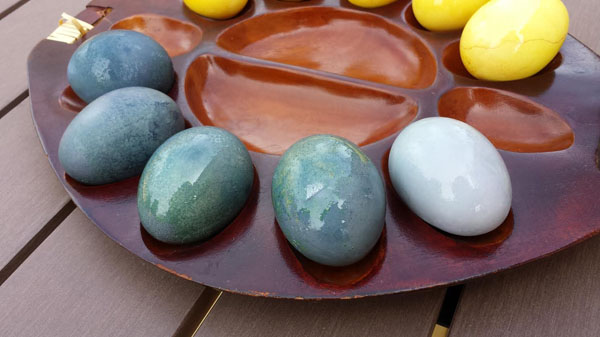
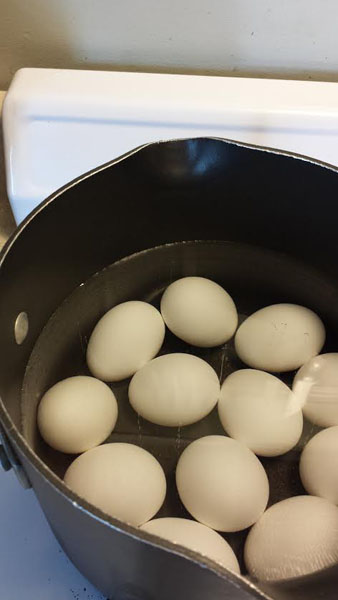
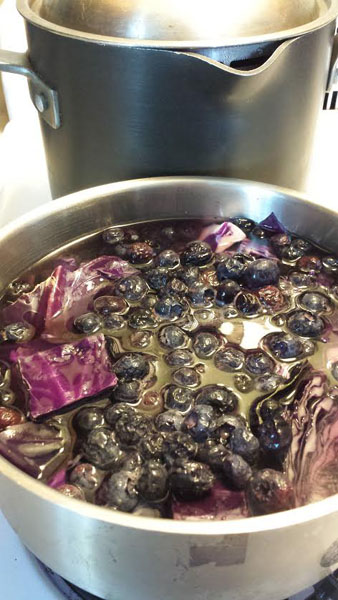
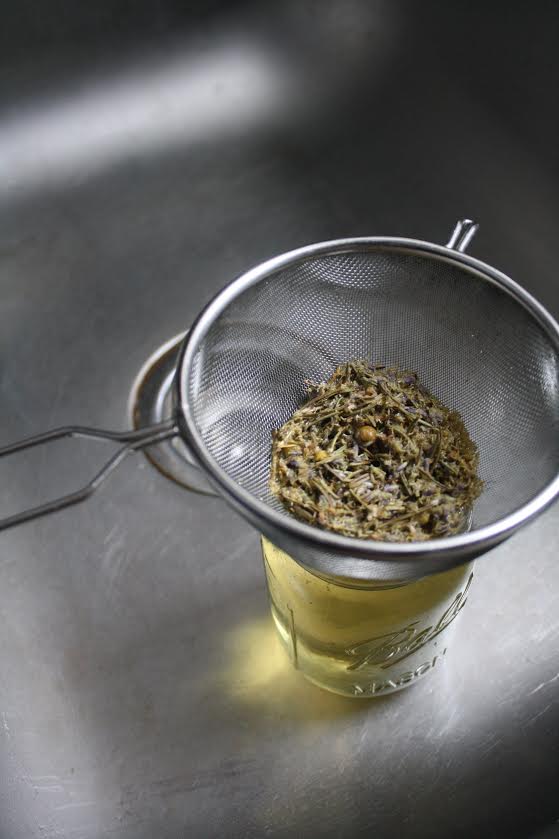
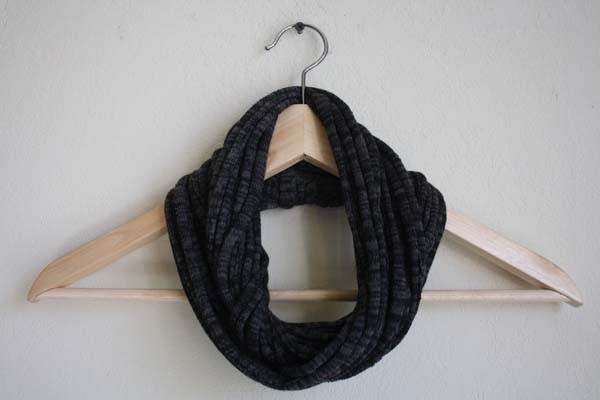
 Tutorial + Photos by