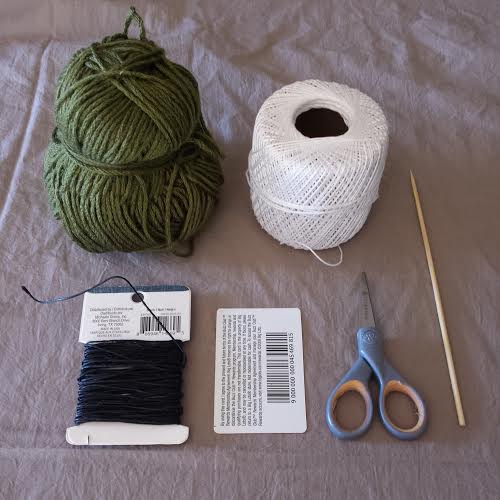
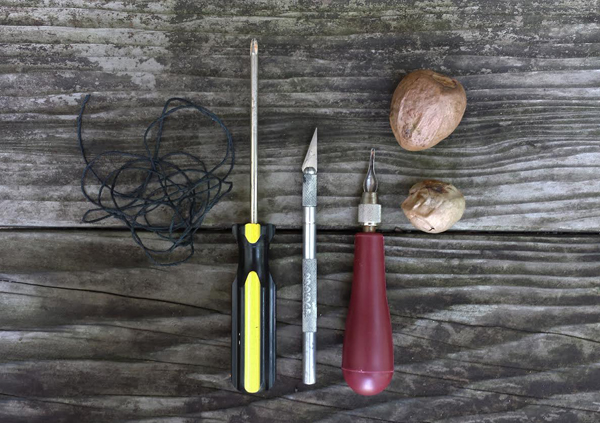
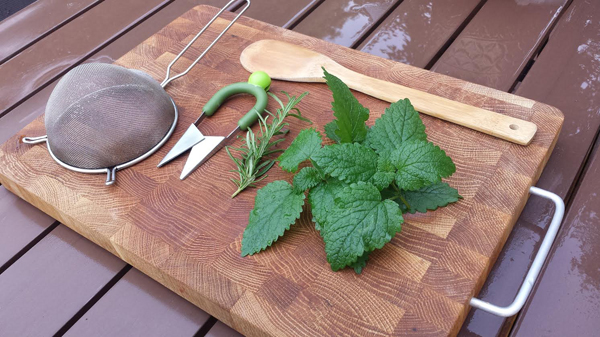
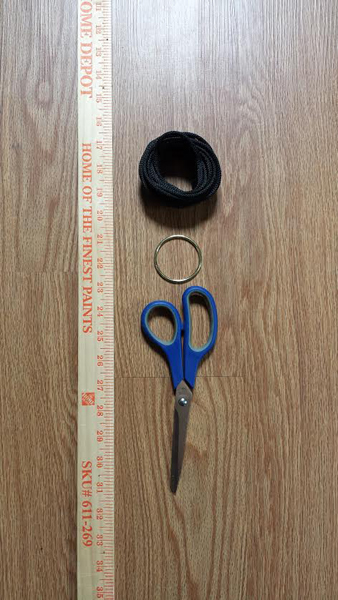
You will need:
*An old card of the un-needed variety… pre-approved credit cards, price club cards, your old West Coast Video card… Just make sure it’s nice and firm, no flimsy paper ones.
*A variety of string/yarn/twine. In this tutorial I am using a thin cotton cord for my warp (I’ll explain soon). For my weft I am using waxed cotton cord in black, thin gauge yarn in green, and more of the white cotton cord I used for the warp.
*scissors
*quilting needle (not shown)
*ruler
*pencil
*toothpick, wooden skewer, or short section of brass tubing
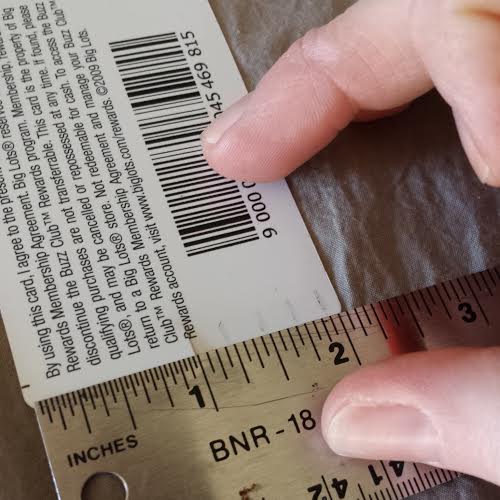
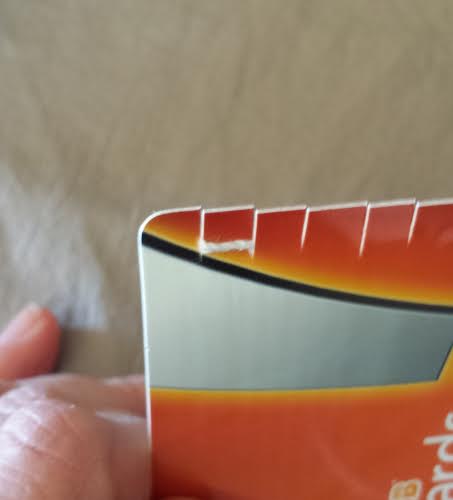
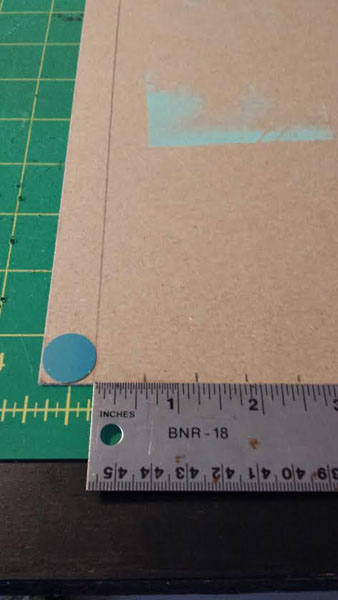
Chances are, the card you are using is 2″ x 3.5″. Turn your card sideways so that the 2″ side is at the top and the bottom. Start by marking every 1/4″ across the top and bottom (see pic). After all of your marks are made, come back with your scissors and make a small cut in each pencil marking. Cut about 1/4″ into the card each time trying to be consistent.
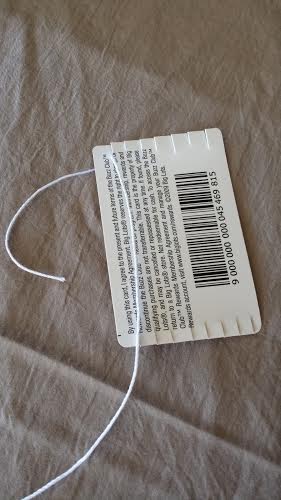
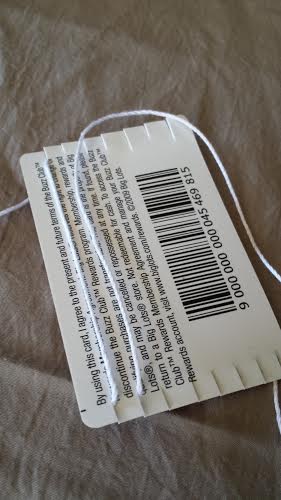
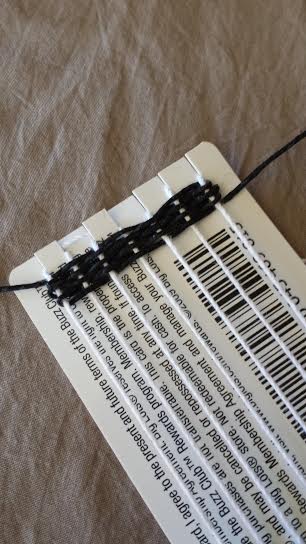
You will now begin to lay down your weft. The weft is the base that you will be weaving in and out of. I started in the top left corner bringing the thin cotton cord through the first cut from back to front. Bring the string down to the first cut in the bottom left corner, wrapping around the back and coming back up through the 2nd cut on the bottom left corner (see pics).
Continue this motion wrapping back and forth until you get to the end. You will have a tail hanging from your starting and end points. Make sure these tails are at least twice as long as your needle.
Now you are ready to start weaving!
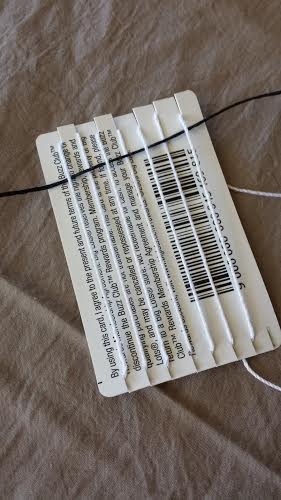
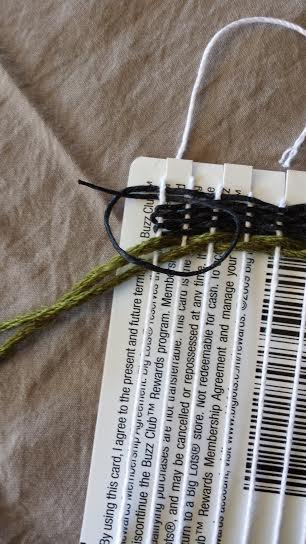
I threaded my quilting needle with the black cord and wove under one, over one from left to right. When you come back for your return pass make sure you do the opposite of what you did on the previous pass. If you went under the warp on the last pass, go over the next time. It sounds more confusing than it really is… see pic.
Continue for as long as you’d like before changing colors.
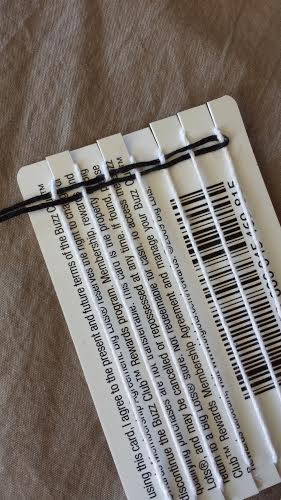
To change colors/yarn simply trim your previous weft (black cord) leaving a tail that is at least twice as long as your needle. Begin weaving the next color through starting on the opposite side of the previous weft’s “tail”.
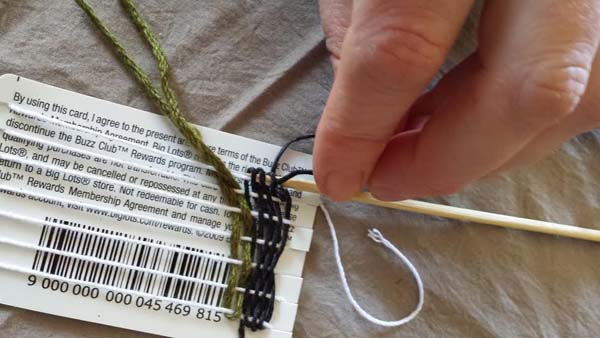
Continue weaving and changing color/yarn as desired until you simply cannot fit any more rows. You can use your needle to push each row up to the top so they fit snugly together.
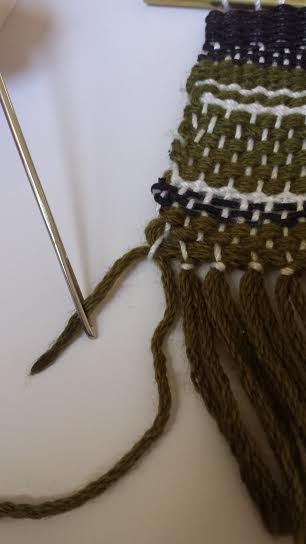
You’re probably wondering what to do with all of those little tails hanging out of the sides of your weaving. Some people leave them as a deliberate design choice. For this weaving, I am tucking these little tails in for a nice finished edge.
To tuck: starting at the top left, thread the first tail onto your needle. Tie the tail to the first string of warp and slide the needle down through the loops of the weft carefully trimming the tail and letting it slide back slightly into the loops so that it is hidden.
Once all of your tails are tucked in, you can stop here or add fringe if you like.
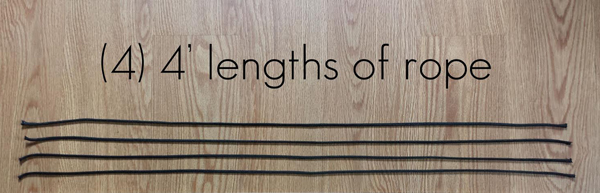
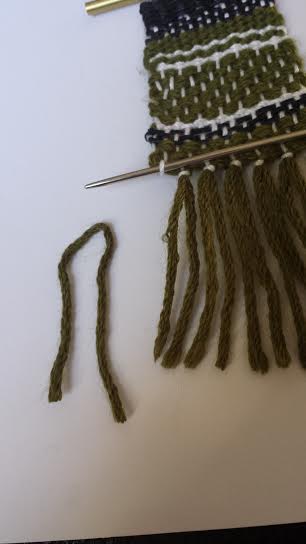
For the fringe: Because this is such a small weaving, I am going with a very simple fringe. Cut seven 4″ pieces of the green yarn.
Thread the first one onto your needle and run the needle through the bottom left warp loop.
Line up the ends of the 4″ piece of yarn and tie it into a knot, sliding the knot snugly up against the bottom of the weaving before tightening.
Repeat across the remaining white warp loops with the remaining 4″ yarn pieces.
Do a final trim across the bottom of your fringe.
Finish your weaving by lining up a 8″ piece of black string with your toothpick/skewer/tubing and thread it through the top warp loops. Tie a knot in your black string & you can easily hang it on a nail. Heck, you can even use a longer string and make it into a necklace… go nuts.
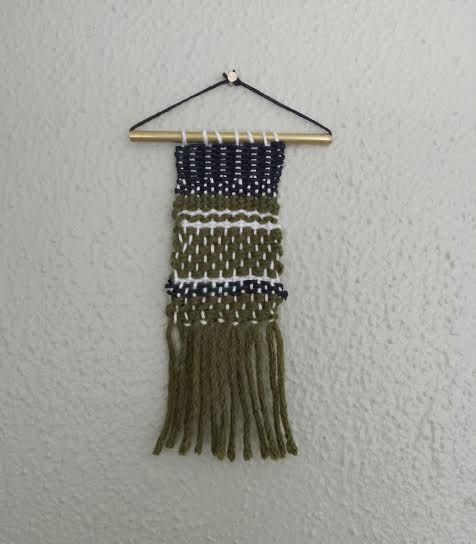
You’re finished!
Once you get the hang of the simple act of weaving one over, one under…. take to the internet or your local library and research some new techniques!
*Disclaimer: I am not a trained weaver. I am self taught. Most people start with the fringe first and work their way up. Starting at the top works for me… so that is how this tutorial goes;)
Enjoy!
—————————————————————————————————————————————
Christie Sommers is the designer and maker behind West Oak Design. She handcrafts small batch and one of a kind goods for home, women, and kids in her Wyndmoor, Pa studio.www.westoakdesign.com
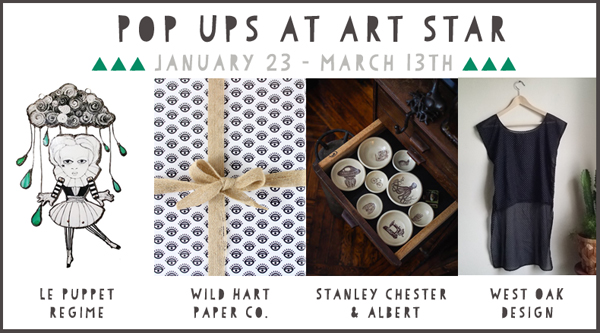 These mini shops will be set up by each individual artist, so you can expect a branded display that reflects each of their personal aesthetics. This gives us an oppurtunity to really spotlight these 4 customer favorites!
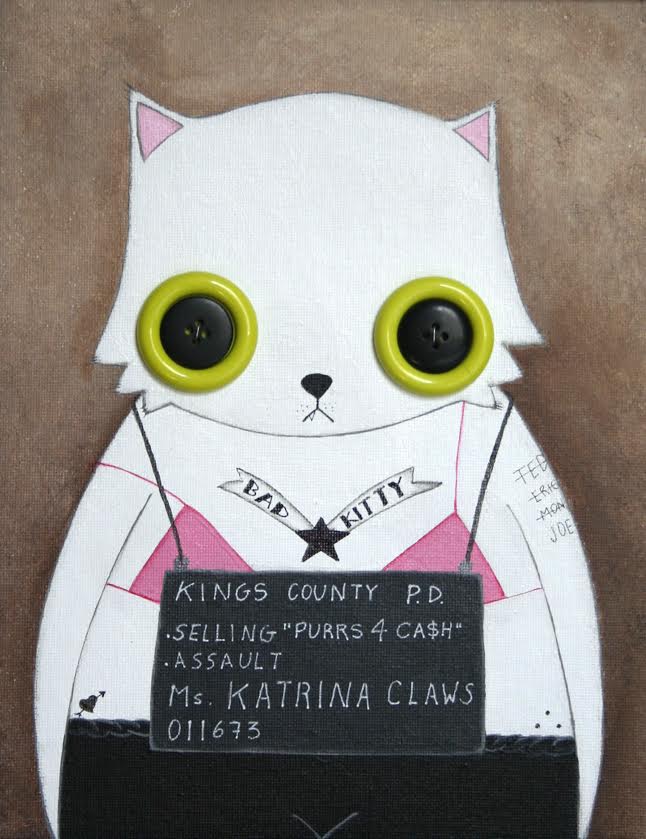 Mauro’s first solo exhibition at Art Star will feature a charming array of “Naughty but Nice” animal portraits. Yeah they may look cute and innocent on the surface but these cuddly animals have issues. The show will feature an all new collection of acrylic and ink paintings of Mauro’s cynical and bitter cast of furry friends. We will be celebrating the opening all day long during shop hours. Come ready to day drink with us, as we’ll have a boozy beverage or two to offer guests! Can’t make the opening? No worries, the show will be up in our gallery space through November 22nd.
 Art Star artist and regular blog contributor, Christie Sommers of
  If you have stopped by our shop on a Saturday this summer, chances are you met our employee, Julia! Well, she is not only a super awesome shop helper, she is also an incredibly talented illustrator. She will be bringing along a selection of her original works and prints for you to peruse and shop.
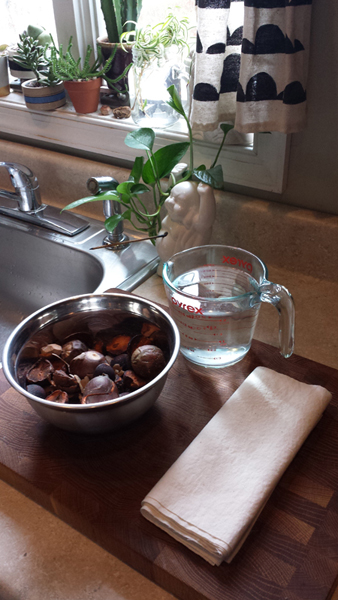
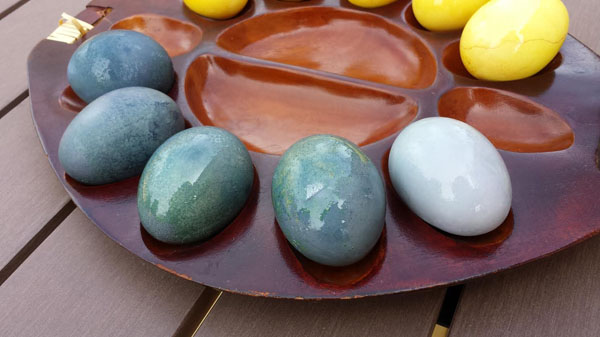
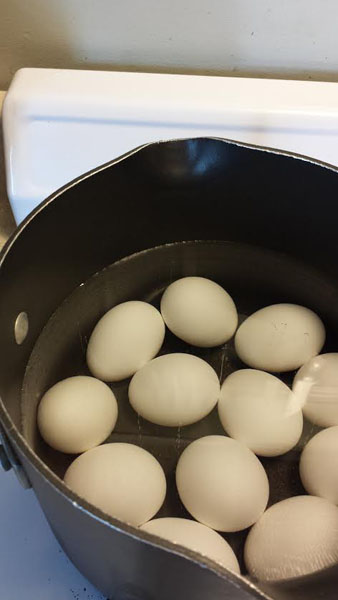
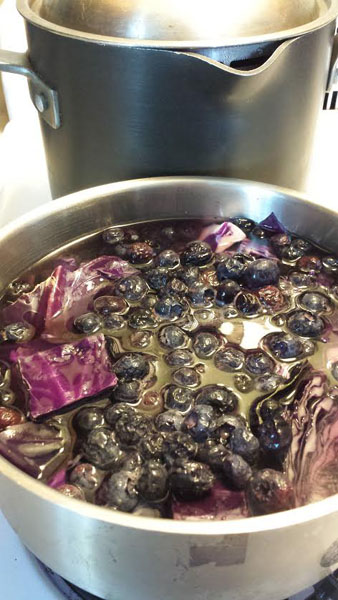
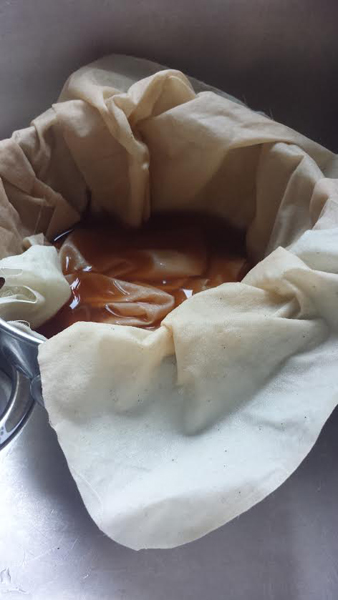
 When you are ready to dye:

 You will need: