Photos and Tutorial by Christie Sommers
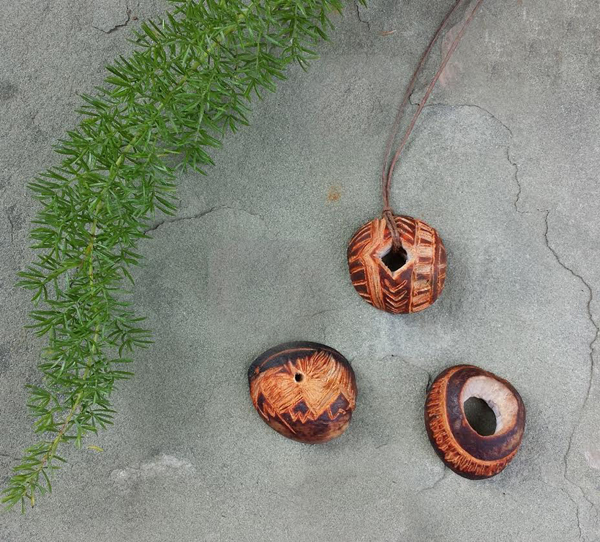
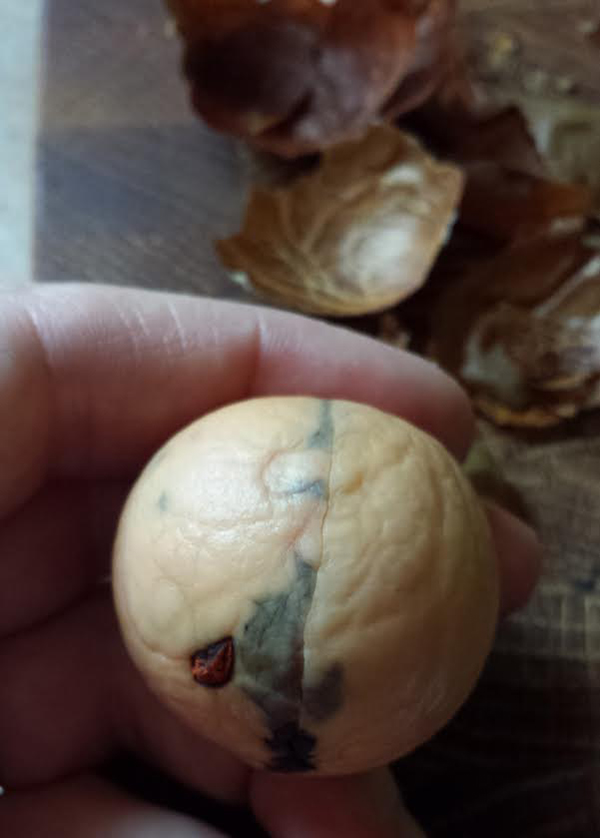
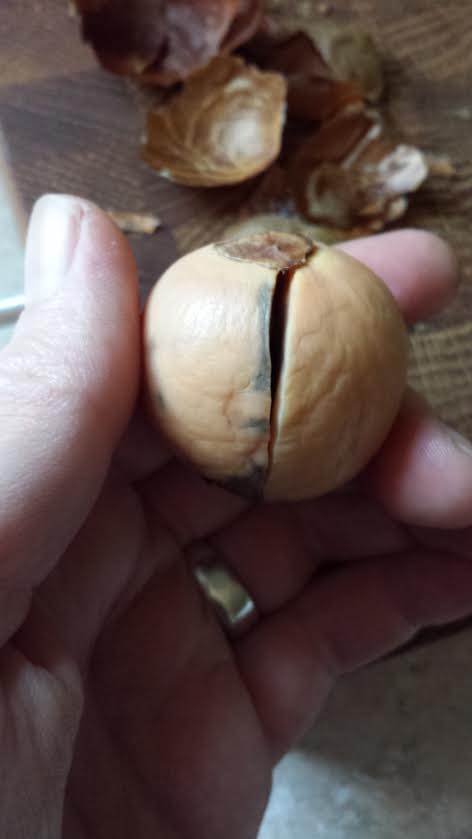
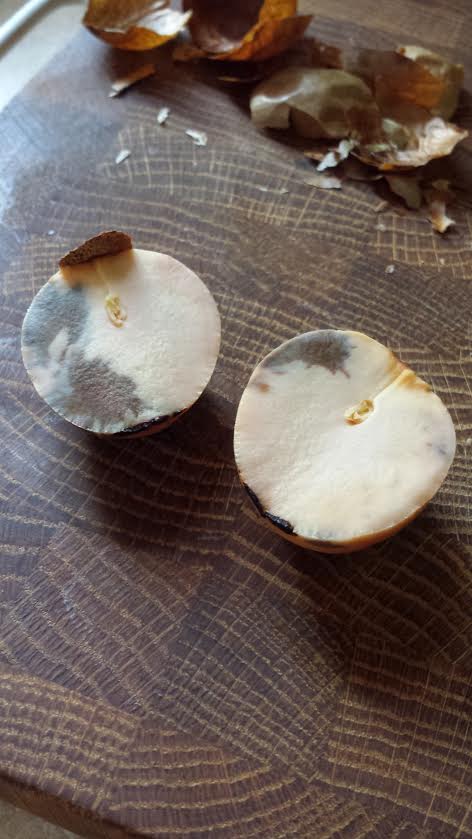
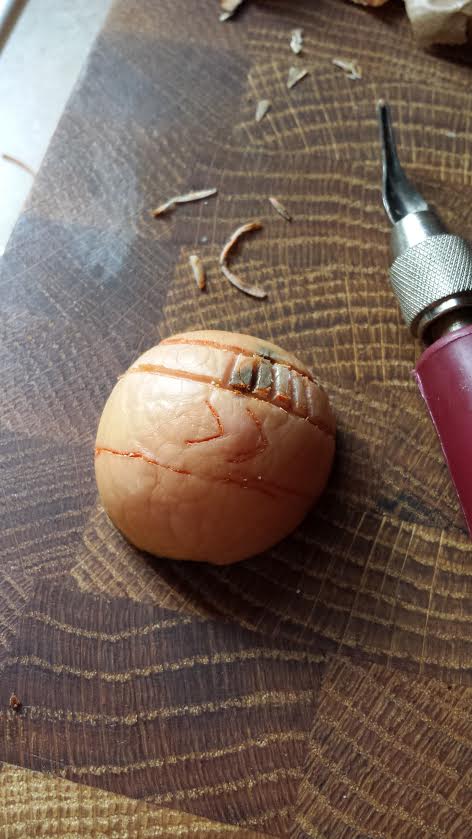
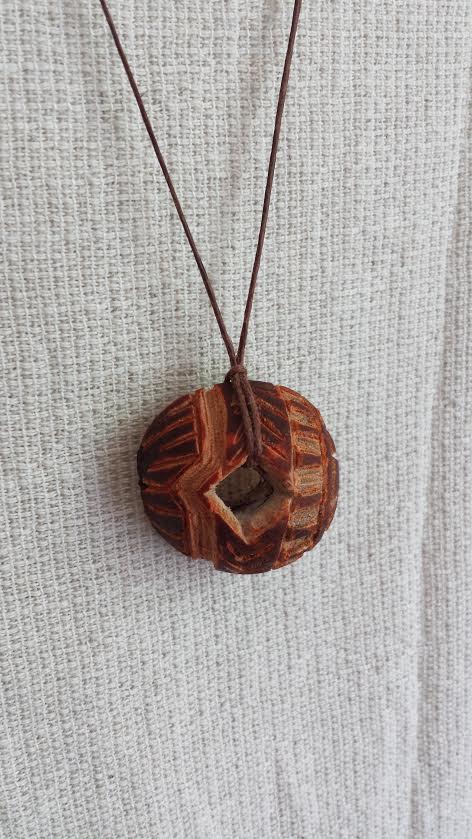
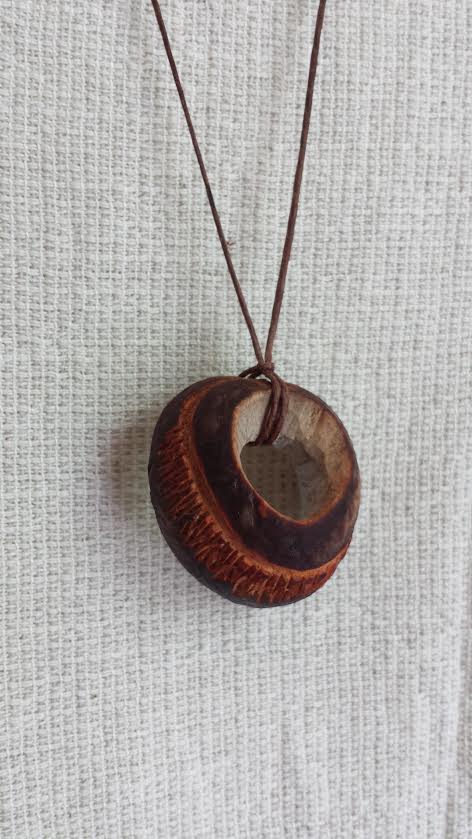
In my last tutorial, I showed you one way to carve avocado seeds to make a pendant necklace. Today I will show you how to turn those failed attempts and carving scraps into a dye suitable for dying natural fibers like wool and cotton.
This is a simplified method that will result in a subtle, warm pink/rust color. If you are looking for deeper color saturation, or if you require colorfast results for fabric that must hold up through multiple washing, you will need to use a mordant. I’m keeping it simple and will be using my dyed fabric to make zip pouches.
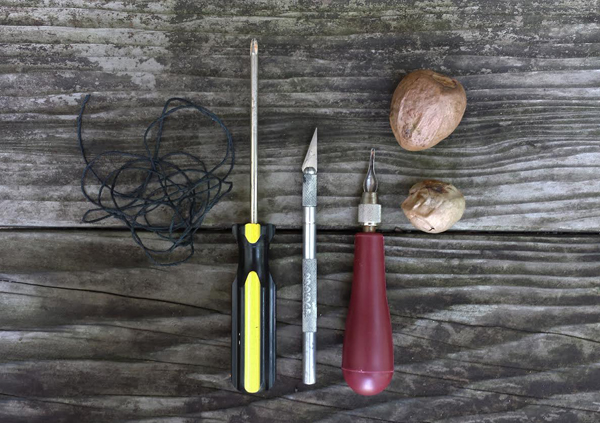
You will need:
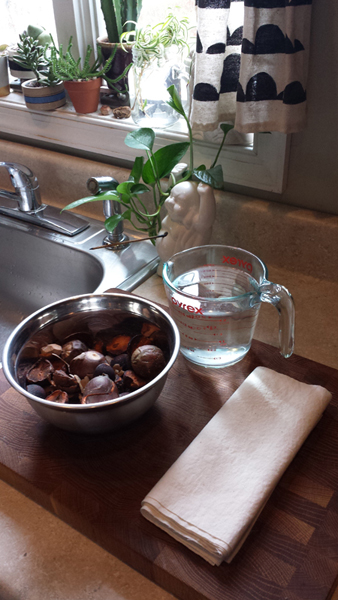
– avocado seeds, carving scraps from last tutorial (I used about 2 cups)
– 4 cups of filtered water
– 100% natural fabric or yarn (synthetic fabrics will not hold the dye without a mordant) I used a half yard of 100% cotton fabric. As with any newly purchased fabric, you should give it a run through the wash.
– fine mesh sieve
– a bowl or container large enough to hold dye and fabric. Stainless steel is great for this, plastic will stain.
To make your dye:
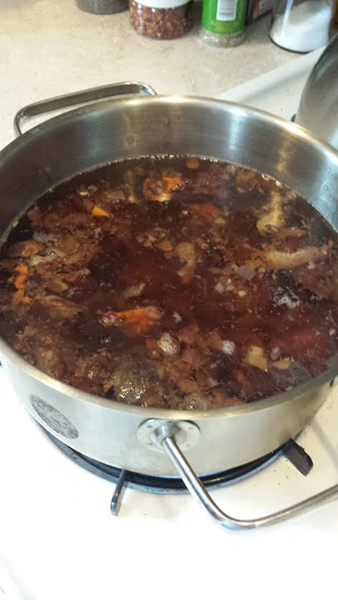
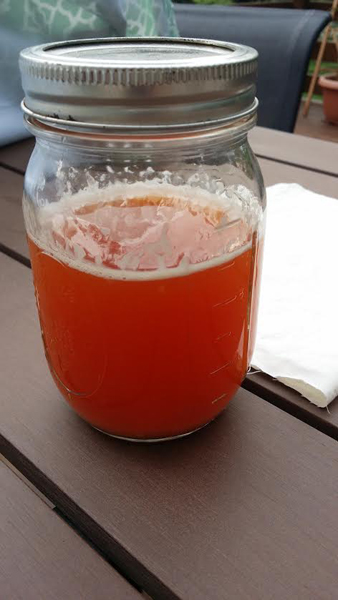
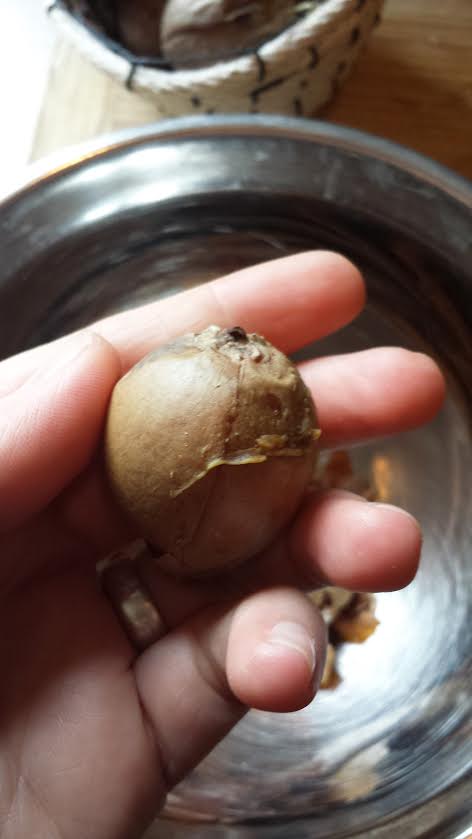
Bring 4 cups of water to a boil, add avocado seeds and scraps. Cover lightly.
Boil for at least 30 minutes. *note… the seeds have an astringent, cedar wood smell. You may want to crack a window or use the oven fan.
I let my seeds sit in the water overnight in attempt to pull out as much color as possible. You can skip this step if you’re feeling impatient.
 When you are ready to dye:
Put your fabric into a pot and cover completely with tap water. Bring to a boil and let simmer for 5-10 minutes. This should strip away anything clinging to the natural fibers… (like soap residue or oils) and make it more susceptible to absorbing and holding dye.
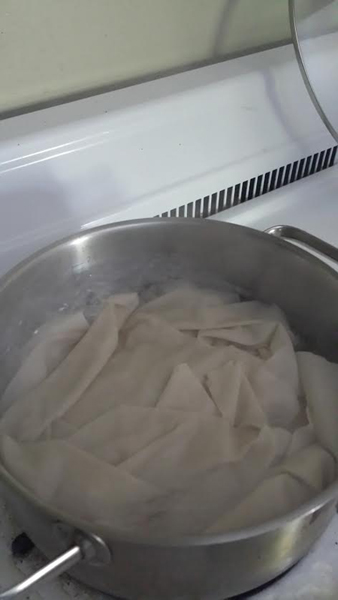
Remove fabric from water and set aside
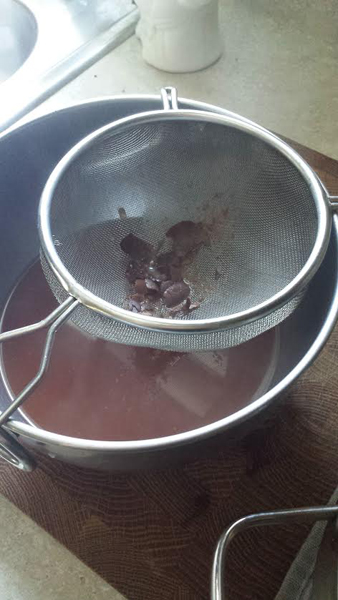
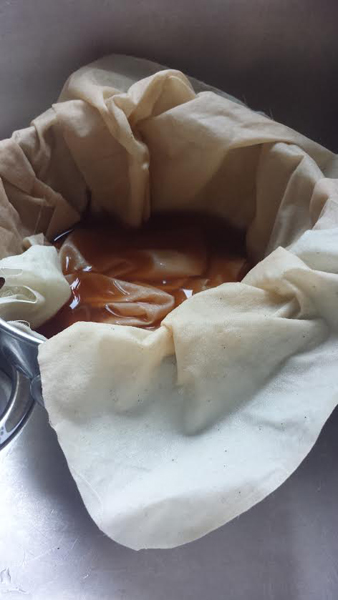
Pour your dye through a fine mesh sieve to remove all seeds and bits. Submerge fabric into dye and let sit for at least 30 minutes. The longer it steeps, the deeper the resulting color.
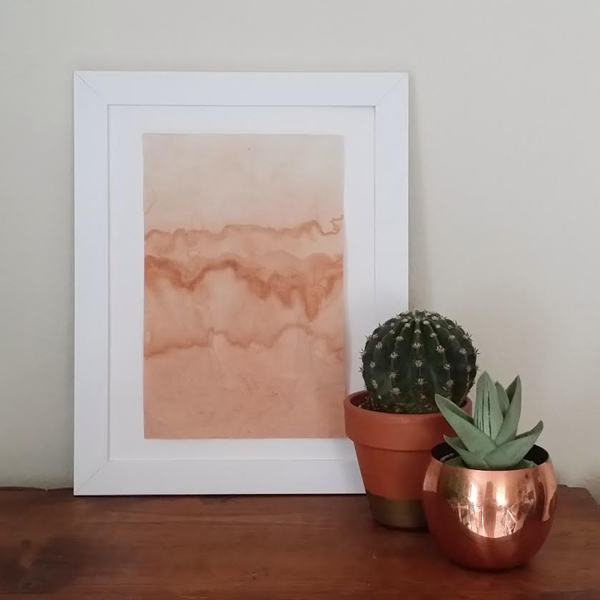
For a color gradient effect, try submerging your fabric for 10 minutes, pulling it out of the dye bath a few inches every hour for a few hours. I fully submerged a few pieces of fabric and tried a gradient effect with the others.
After dyeing:
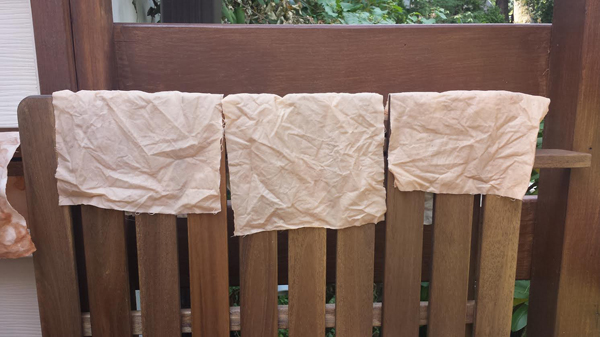
Taking note that your fabric will fade when it dries, remove fabric from dye bath when you have reached a desired depth of color. Allow your fabric to air dry.
After your fabric has completely dried, rinse it in cold water. Let dry again, and your fabric is ready to use!
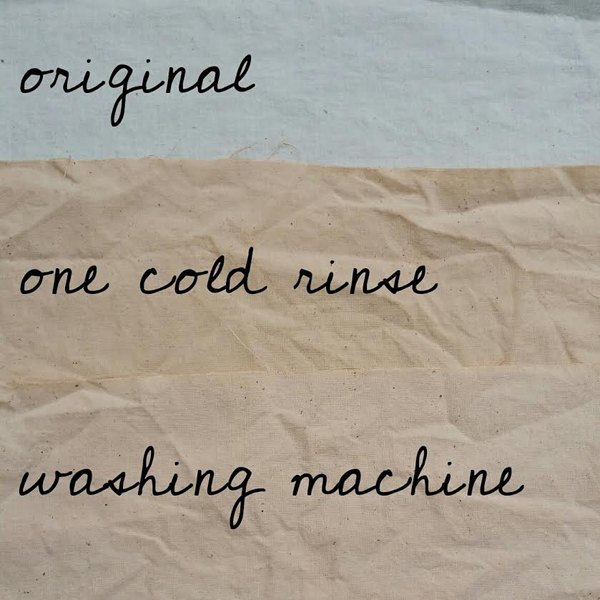
Here’s a little color chart to show the results I got from rinsing in cold water once, and placing the other in a full laundry cycle.
When I removed my gradient dyed fabric from the dye bath, I was really happy with the result. There was a bit of sediment in my dye which clung to the fabric creating a marbled effect that I loved. I decided to frame that one without giving it a rinse.
You can save your dye liquid in a sealed jar in the fridge for up to one week.
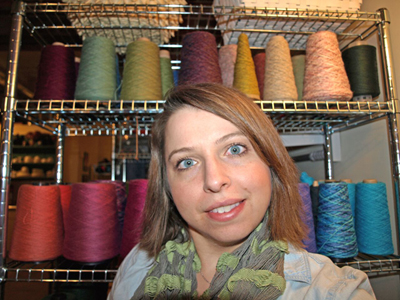
Christie Sommers is the designer and maker behind West Oak Design. She handcrafts small batch and one of a kind goods for home, women, and kids in her Wyndmoor, Pa studio.www.westoakdesign.com
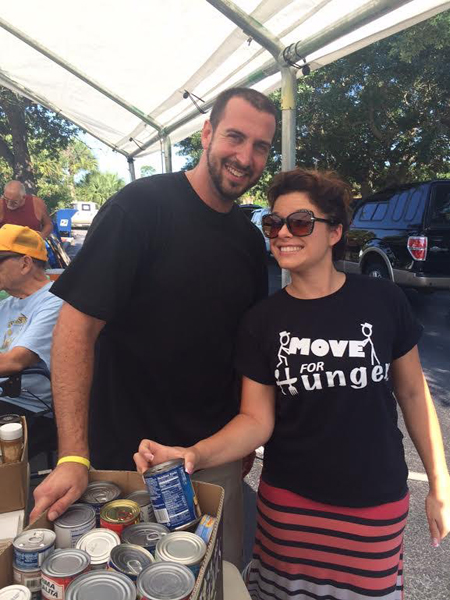
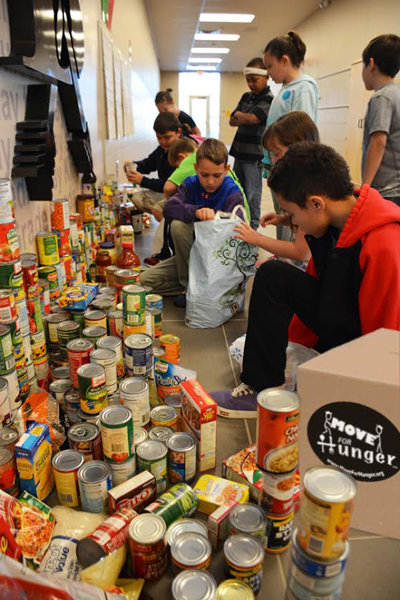 Movers who partner with Move For Hunger collect unwanted, unopened, non-perishable food items and deliver them to local food banks. With this simple idea and growing network of 600+ moving companies, thousands of realtors, and corporate housing professionals, Move For Hunger has delivered over 5 million pounds of food to local food banks throughout North America, providing meals for more than 4.2 million Americans.
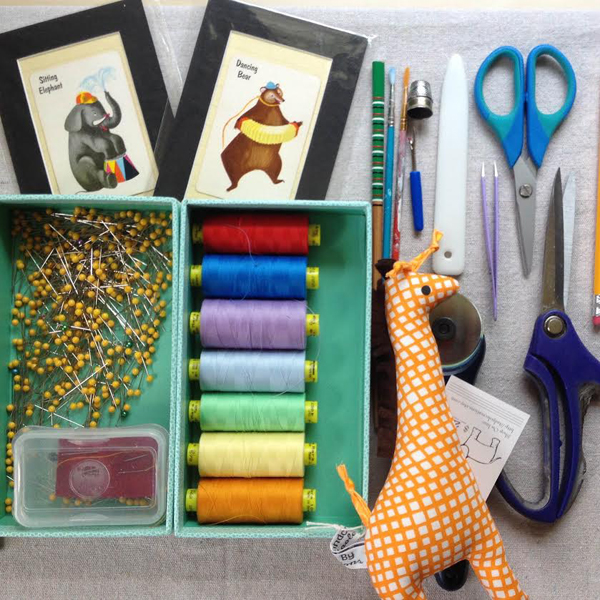
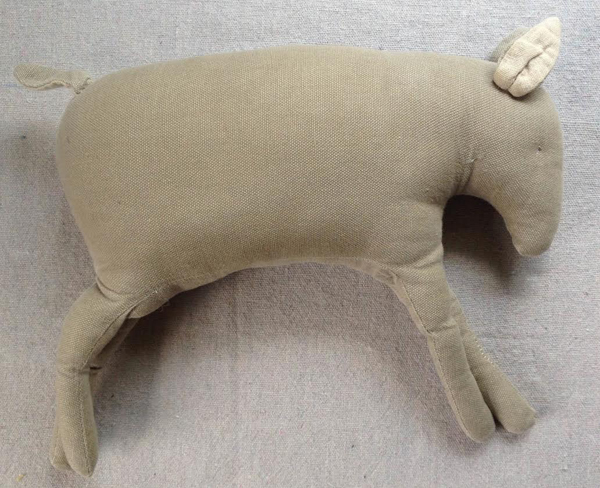
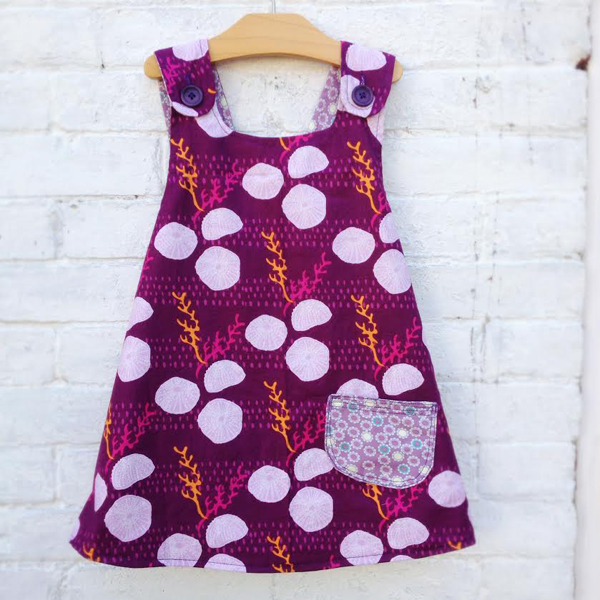
 Wilder always had an eye for color and fabric. She originally started with knitwear but when their daughter came along she wanted to make timeless clothes that weren’t easily found in shops. Believe it or not she’d always been intimidated by sewing, mostly due to the half broken machines that she’d found in thrift stores and been working on. Her friend gave her some expert advice, buy a cheap, new machine with instructions (this is key) and learn the ropes on that. She did and with a few quick lessons from said friend, figured out sewing was not as terrifying as she’d first thought. It, in fact, was fun and liberating!
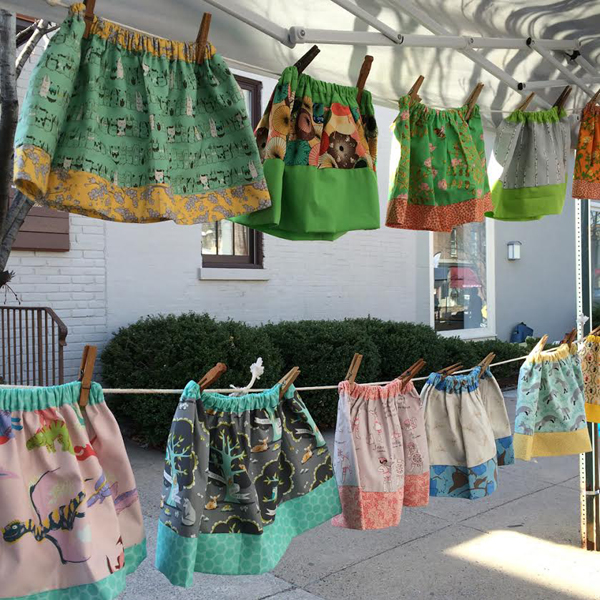


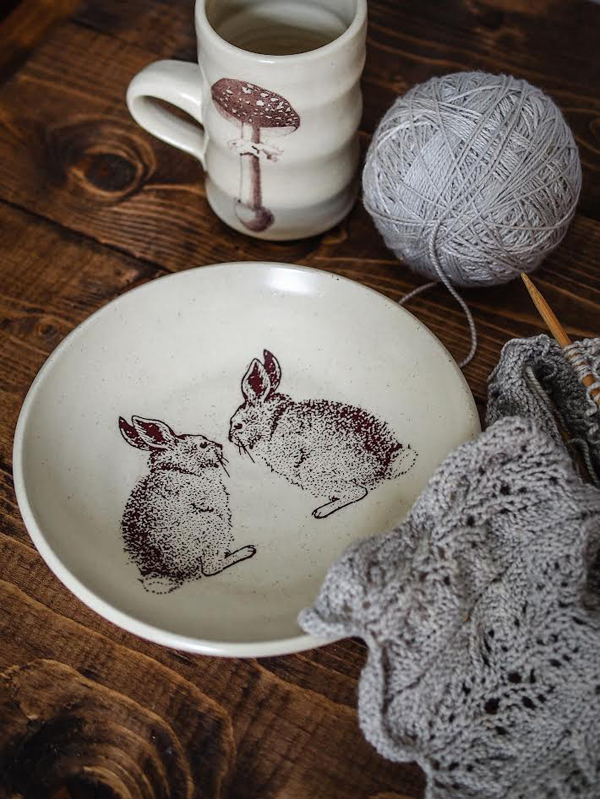
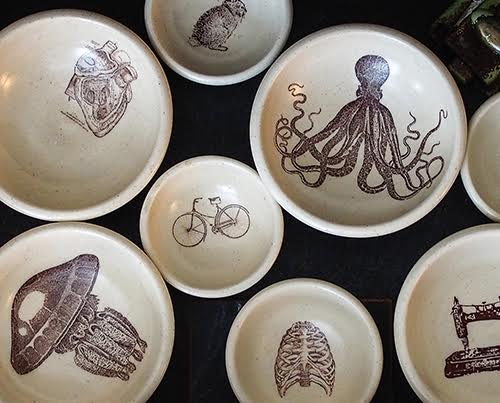
 when i started making pots under Stanley Chester & Albert about two and a half years ago, i had almost 15 years working as a ceramic artist under my belt, including a BFA and an MFA in ceramic sculpture. i started SC&A with a very simple premise: to produce well made vessels that would be accessible to a diverse audience and appeal to a population of people who normally didn’t buy handmade pots. with that in mind, i decided to stick to simple forms like bowls and cups – things that could be used in a variety of ways and be at home in any domestic environment.
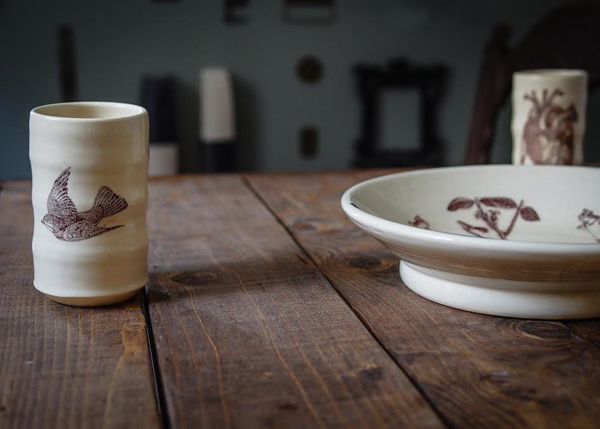 i’ve always been in love with vintage imagery, pop culture and snark, and the unexpected ways they can be combined. as for putting them on pots, it all started about seven years ago when i was still in grad school. i made a vase for a friend’s birthday: on one side was a dead flower, and the other said “BITCH PLS”. no one around me really got why it was funny, but i thought it was hilarious at the time (and still do). ceramics sometimes has a tendency to be overly formal and serious, so i love to disrupt that expectation.
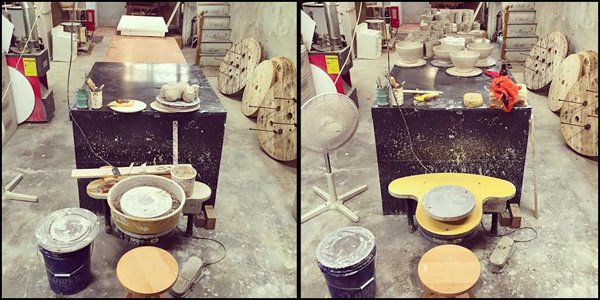
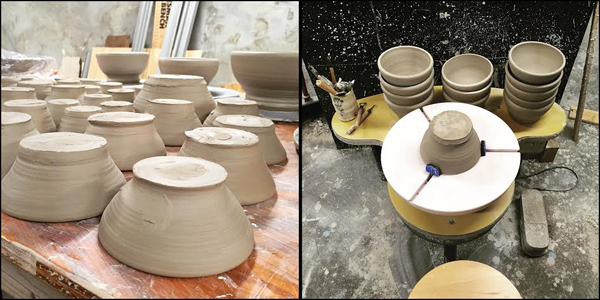
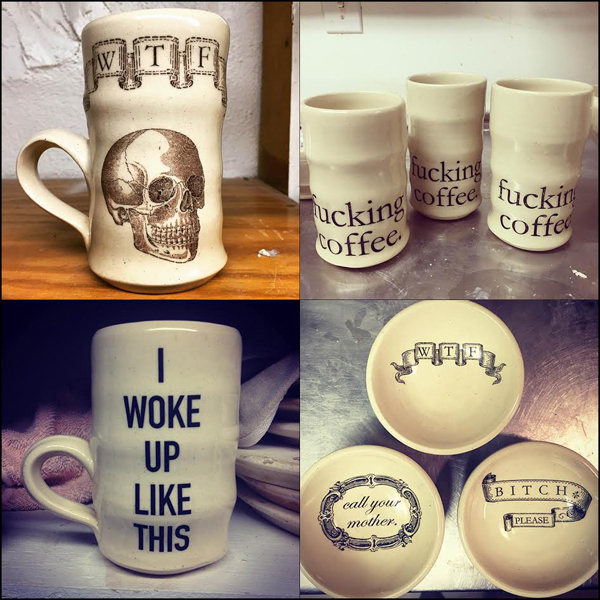 most everything i make starts on the potters’ wheel, thrown by yours truly. i favor simple, elemental forms. everything is thrown generously and has a solid weight and heft to it. i want these pieces to stand up to daily use in your home, not put on a shelf only to be admired.
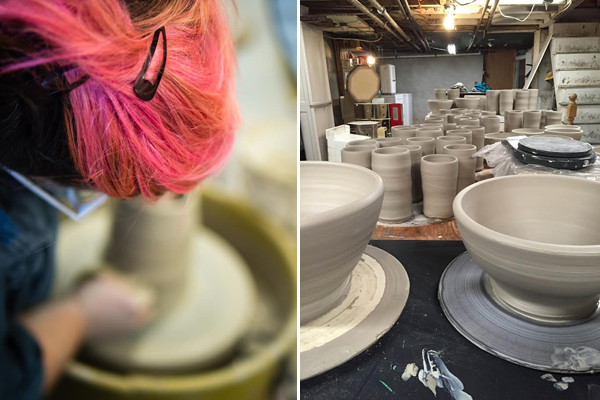 after the pots are trimmed and dried, they are bisque fired to 1860 degrees, and then glazed and fired again to 2232 degrees. almost everything i make is dipped in a clear glaze to allow the clay body (which is a really delicious speckled while stoneware) to shine through. i try to keep glazing very simple, mostly because i really hate glazing, but also because i’m more interested in using the vessel as a blank canvas for the images i apply.
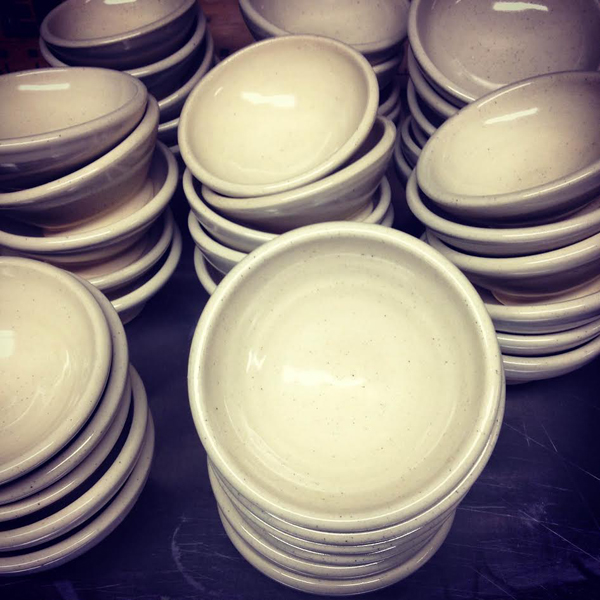 i was introduced to the waterslide decal process by my colleague and friend, Sharon Bartmann. i immediately saw the possibility of decals and ended up running with it like mad. i source my images from copyright free and vintage websites and books, in particular the Dover series of illustration books, which compiles a huge variety of images in one place. after scanning or downloading, i play with the images in Photoshop a bit, adjusting contrast, brightness, proportion and orientation. because of the way the printer works, high contrast images without a lot of shades of gray work best.
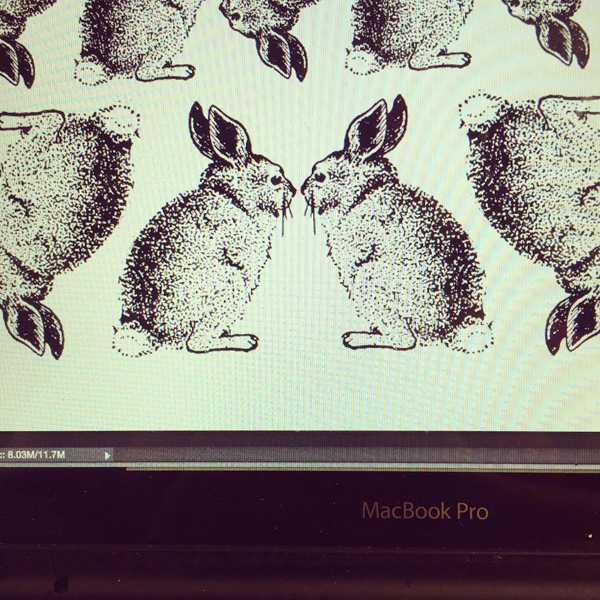
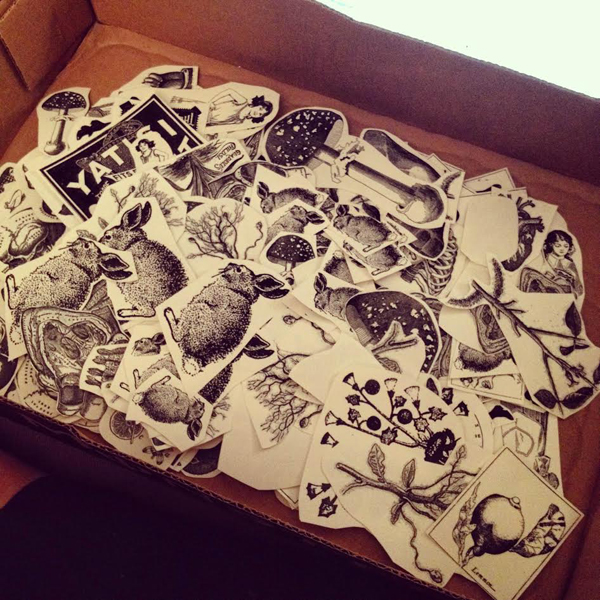

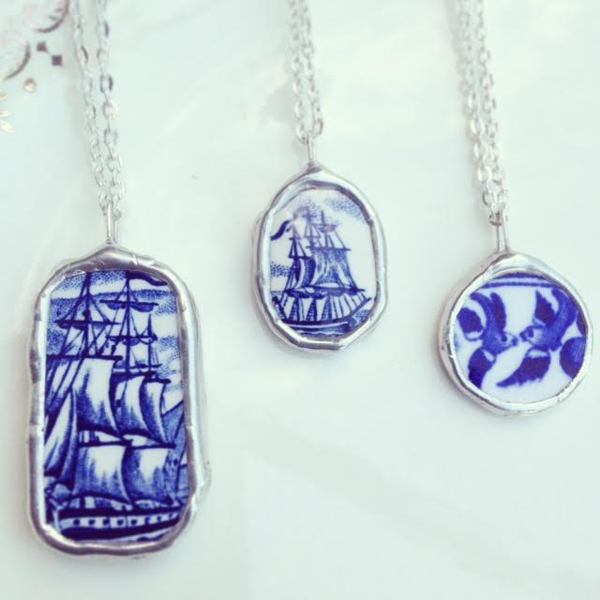
 once i have the image the way i want it in Photoshop, i print it out using a special printer and special decal paper. from there, i cut out the image, put it in water, and then affix the cellophane image to the vessel. it’s fired once more to permanently bond the image to the glaze. although the images are printed with black ink, once they are fired they turn a lovely reddish brown sepia color. with that aesthetic in mind, i gravitated toward imagery from the Victorian and Edwardian eras. i love anatomy and so skulls, hearts, bones and brains frequently find their way onto my work.
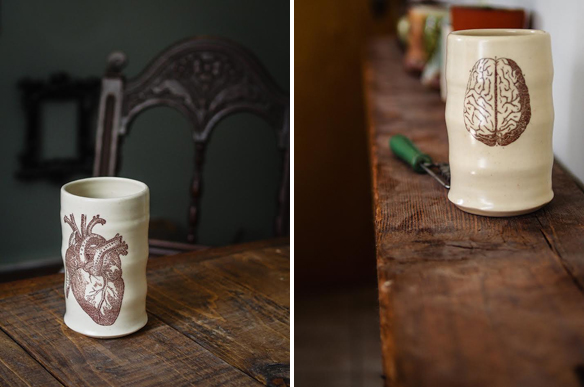


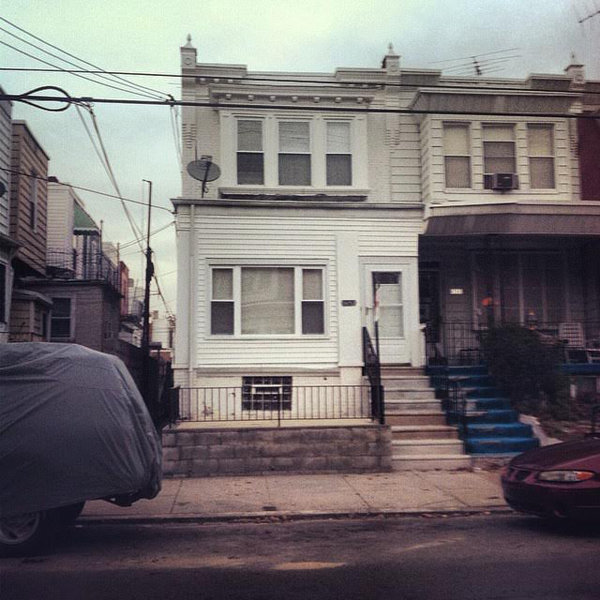
 My studio is in a giant live/work industrial loft at Western Avenue Studios & Lofts in Lowell, MA, a complex of historic mill buildings that are home to over 300 artists. Lowell was the birthplace of the American Industrial Revolution and there are dozens, maybe hundreds, of old mill buildings that have been transformed into studios, condos, schools, restaurants, and small businesses.
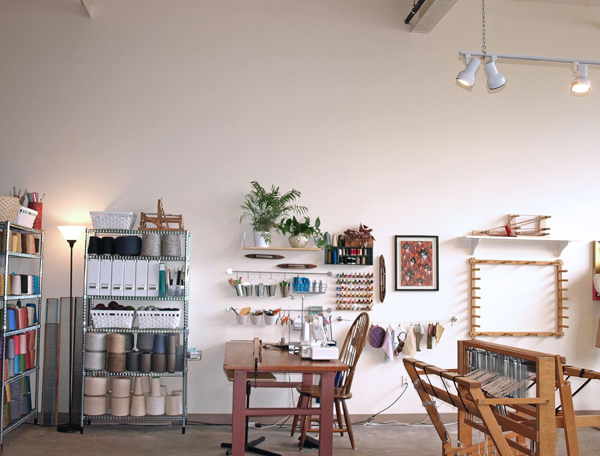 A lot of artists and craft hobbyists talk about their tendencies to hoard fabrics, beads, paint, pretty much any kind of supply they can get their hands on. Here at Loomination, it’s all about the yarn. I usually have about 250-300 pounds of yarn on hand, and I use it up really fast!
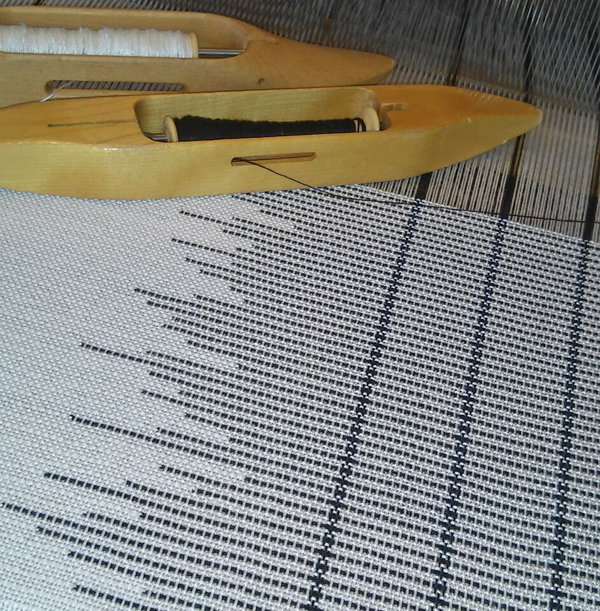
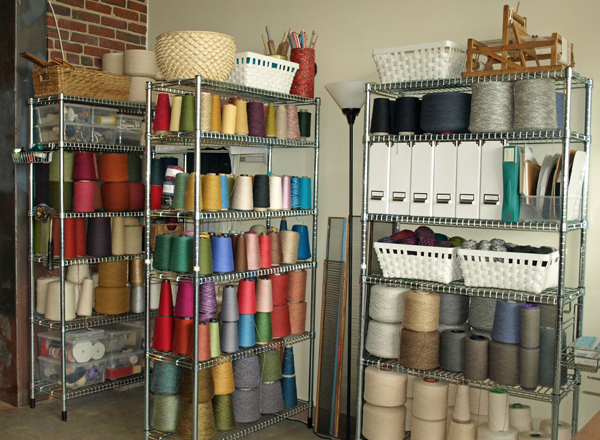 Every product I create is made using fabric that I have woven myself. I start with the yarn (of course!) and thread it on to my vintage handloom, a huge wooden machine that is operated by hand. It can take up to 8 hours for me to prepare the loom before the actual weaving can begin. After the fabric is woven, the next step is to wash and shrink it before sewing into the final product. The fabric shrinks A LOT, usually 15-25% for most pieces, although it depends on the fibers I’m using. Calculating shrinkage is a big part of the process.
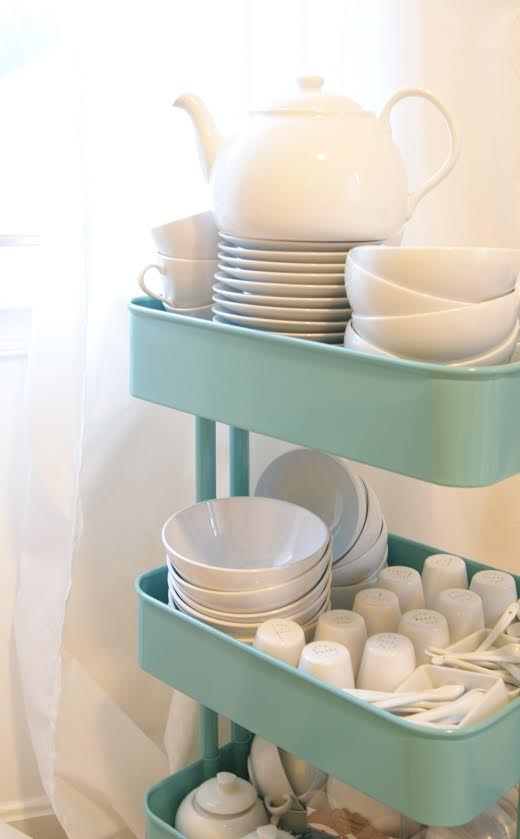
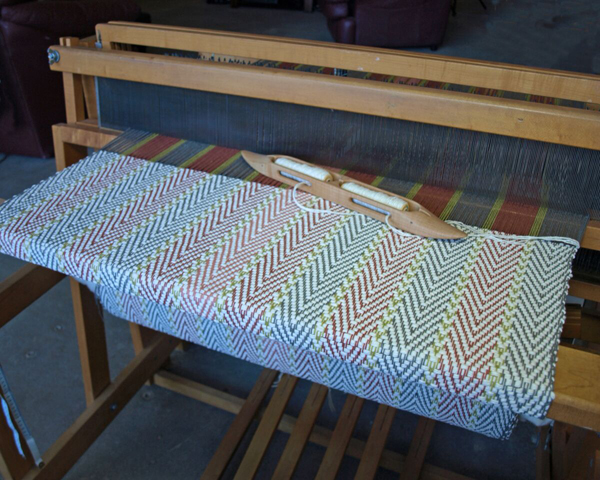 My newest collection of tableware – tea towels, placemats, and table runners – is what I’ve mostly been working on lately. I just started making placemats a few months ago and I’m a bit obsessed with them – there are so many different color combinations that I’ve been dying to try. Most of my home textiles are inspired by vintage feed sacks and ticking fabrics, everyday designs that are timeless and classic.
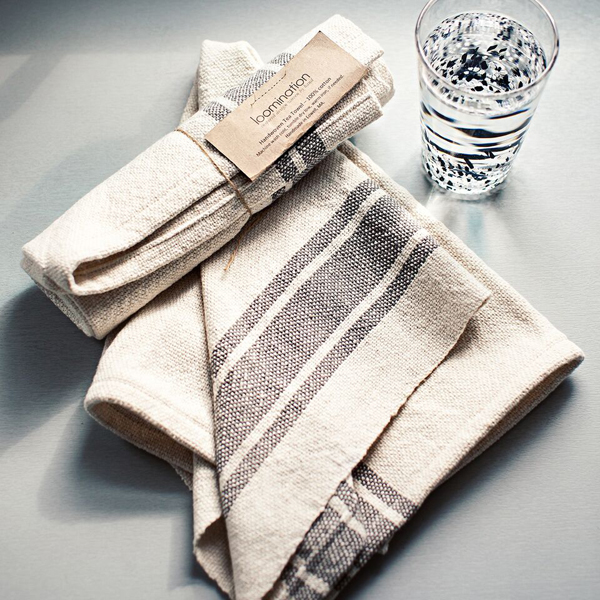
 I’m really excited to participate in the